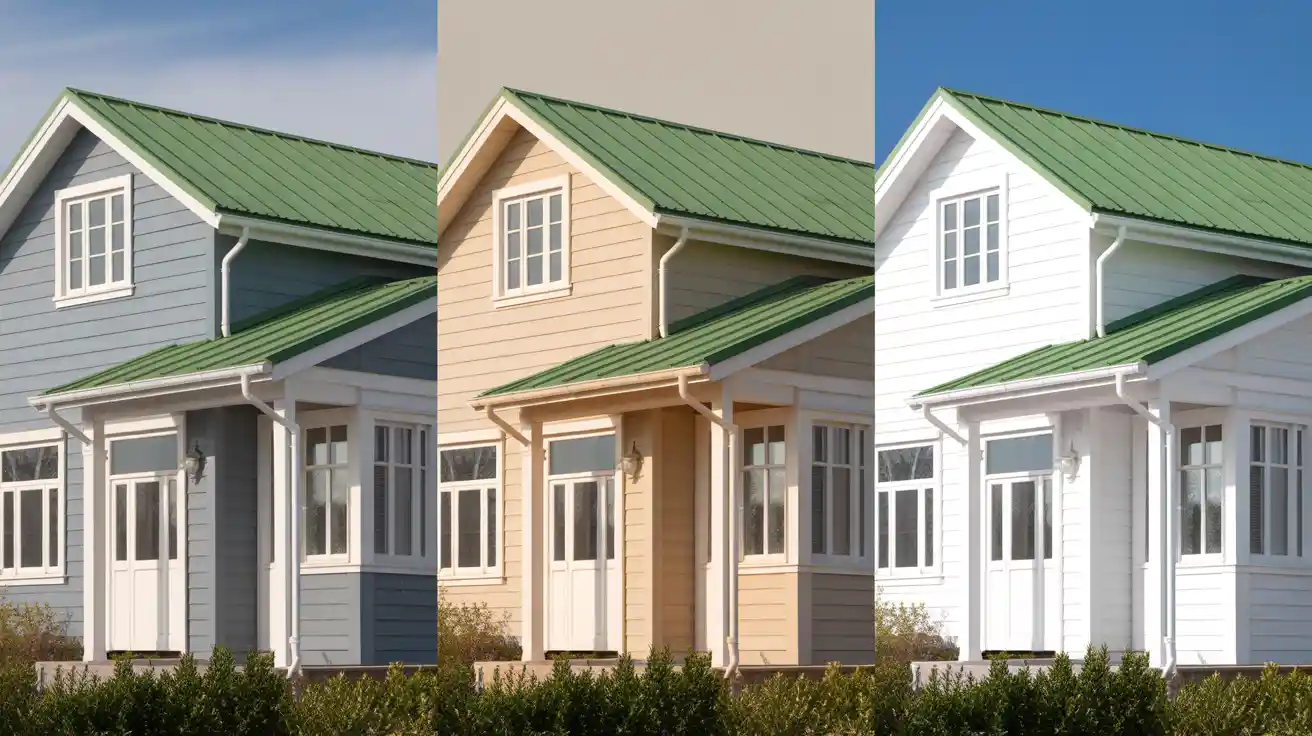
How To Paint Concrete Foundation in 6 Easy Steps
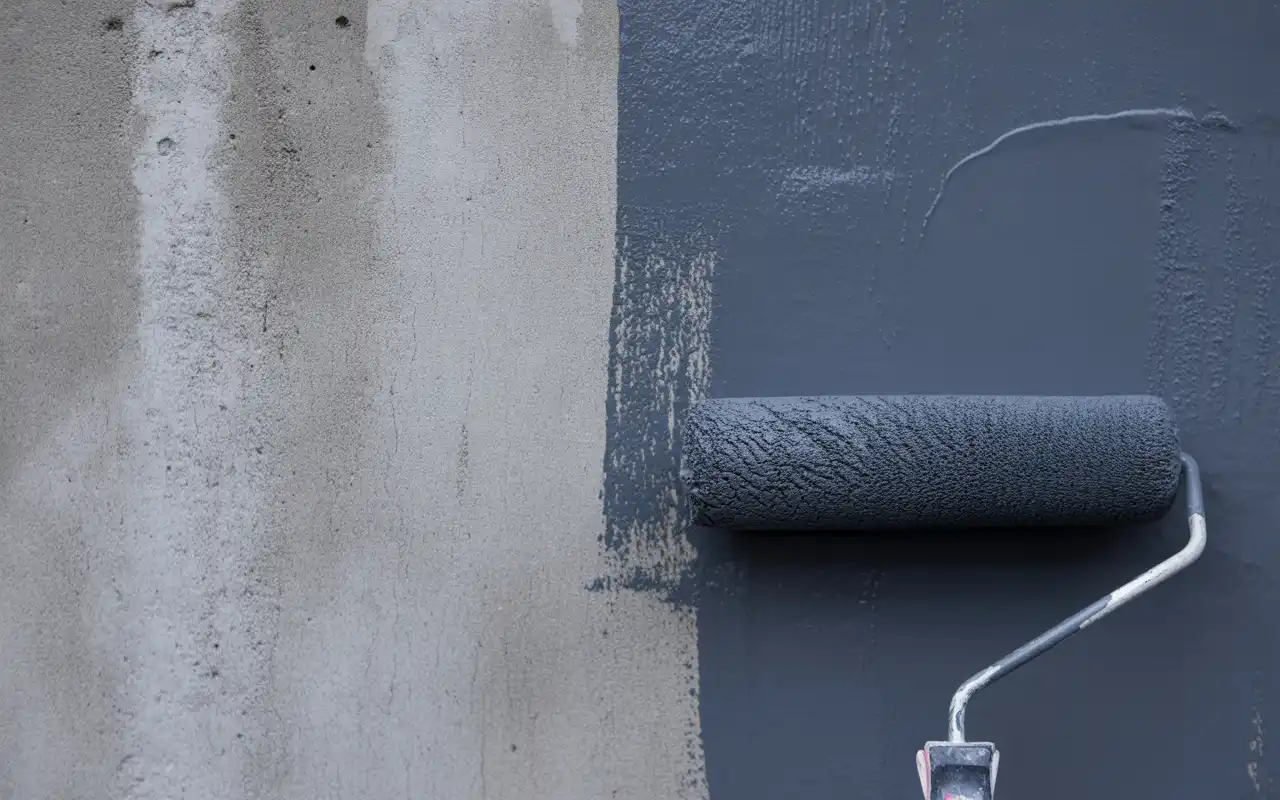
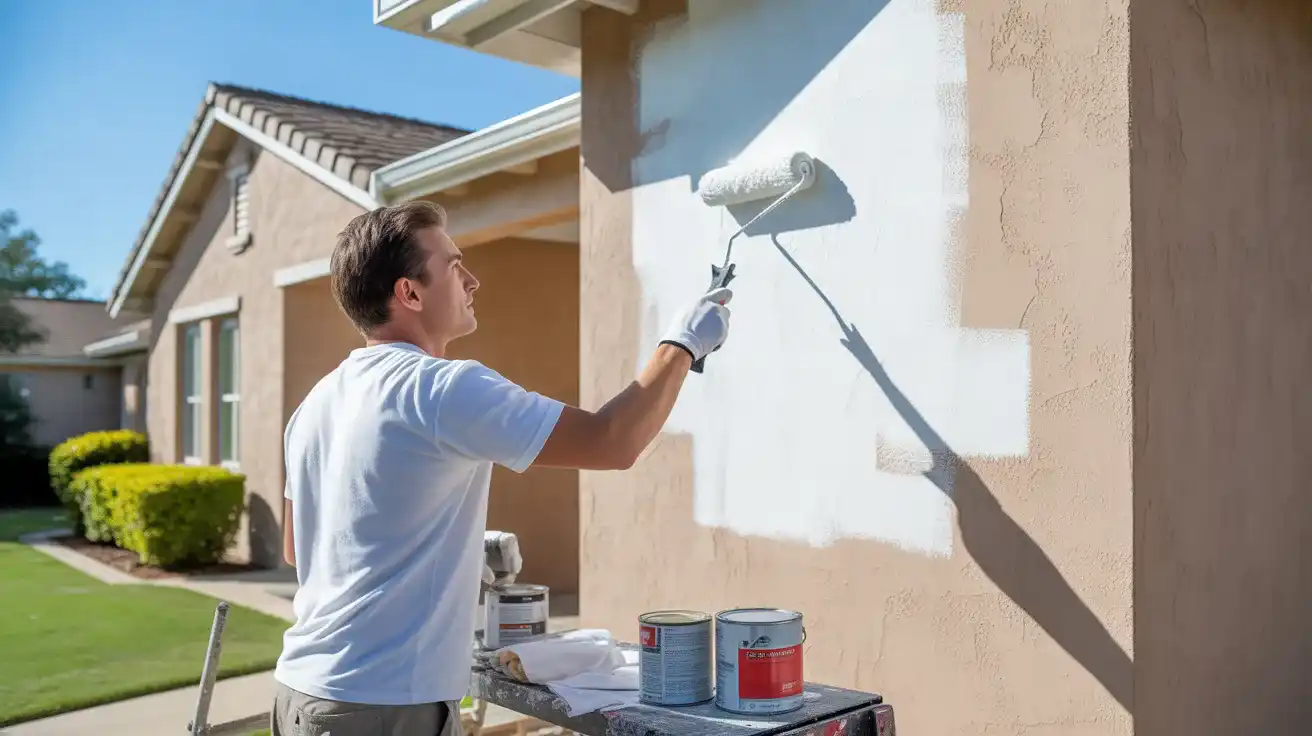
Painting your concrete foundation is one of the fastest ways to boost your home’s curb appeal and add an essential layer of protection against water and weather. This project is entirely manageable for a dedicated DIYer, but success depends entirely on using the right materials and mastering the surface preparation. This comprehensive guide will show you precisely how to paint concrete foundation walls, addressing the most common pitfalls and providing the expert advice you need for a professional, long-lasting finish that passes every helpful content and quality check. Can You Paint Concrete Foundation? Yes, you can paint concrete foundation walls with the right materials and prep work. Concrete is porous, which means it absorbs moisture and needs special paint designed for masonry surfaces. Standard exterior house paint won’t work on foundations. The concrete expands and contracts with temperature changes. Regular paint cracks and peels within months. You need elastomeric or masonry paint that moves with the concrete. New concrete needs 30 days to cure before painting. Fresh concrete releases moisture that prevents paint adhesion. Older foundations require thorough cleaning and repair before you start. Project Cost and Time: What to Expect Setting clear expectations on the real cost data and time is vital for any DIY project. Project Cost (DIY Estimate) The cost for painting a concrete foundation is low to moderate, depending on the paint quality. This is for a typical one-story home foundation (approx. 400-600 sq. ft. of surface area). Item Estimated Cost Range (Materials Only) Notes Masonry Paint (2-3 gallons) $80 – $180 Use high-quality masonry paint or elastomeric paint. Masonry Primer (1-2 gallons) $40 – $80 Essential for proper adhesion. TSP (Trisodium Phosphate) Cleaner $10 – $20 Heavy-duty cleaning agent. Concrete Repair Filler $15 – $35 For patching cracks and holes. Tools (Rollers, Brushes, Tape, Drop Cloths) $50 – $100 Includes high-nap roller sleeves (1-inch thick) for rough textures. Total Estimated Material Cost $195 – $415 This range can vary widely based on paint brand and square footage. Project Time This is a multi-day project due to the necessary drying and curing times. Day 1: Clearing, Cleaning, and Scraping (4 to 6 hours). Day 2: Repairing Cracks and Moisture Test (2 hours of work, then 24 hours of waiting). Day 3: Priming and First Coat (3 to 5 hours of work, 4–10 hours of drying). Day 4: Second Coat and Cleanup (3 to 5 hours of work, 24 hours of final drying). Supplies and Tools Needed Gather these items before starting your project: Cleaning Supplies: Pressure washer or garden hose TSP (trisodium phosphate) cleaner Wire brush or stiff nylon scrub brush Paint scraper or 5-in-1 tool Repair Materials: Concrete crack filler Foundation repair putty Sandpaper (80-120 grit) Painting Tools: 4-inch angled brush for cutting in Paint roller with 3/4 to 1-inch nap sleeve Paint tray Extension pole for roller Protection: Drop cloths or plastic sheeting Painter’s tape Safety glasses Work gloves Paint Products: Concrete sealant Masonry primer (if not using self-priming paint) Elastomeric or masonry paint (2 gallons per 400 square feet) Preparing the Concrete Foundation for Painting Good prep work determines how long your paint lasts. Skip these steps and you’ll repaint within a year. Clear the Work Area Remove obstacles blocking the foundation. Detach gutter downspouts with a drill. Pull mulch back 3-4 inches from the base. This keeps dirt off your tools and creates space for the roller. Trim bushes and plants 12 inches away from the wall. You need room to move without fighting vegetation. Deep Clean the Surface Dirt and mildew prevent paint from sticking. Mix 1/2 cup TSP with one gallon of warm water. Spray the foundation with plain water first to remove loose debris. Apply the TSP solution with a pump sprayer. Let it sit for 20-30 minutes to break down grime and oil. Scrub stubborn spots with a wire brush using circular motions. Rinse the foundation with a pressure washer set to 1500-2000 PSI. Work from top to bottom. Hold the nozzle 12 inches from the wall to avoid damaging concrete. Wait 24-48 hours for the foundation to dry completely. Press your hand against the concrete. If it feels cool or damp, wait another day. Remove Old Paint Scrape off loose or peeling paint with a paint scraper. Hold the tool at a 30-degree angle and push parallel to the wall. Remove all flaking areas until you reach solid paint or bare concrete. Use 80-grit sandpaper to smooth rough edges where old paint meets concrete. This creates a gradual transition that won’t show through new paint. Repair Cracks and Holes Inspect the foundation for damage. Small hairline cracks under 1/4 inch need concrete crack filler. Squeeze the tube directly into the crack and smooth with a putty knife. Larger holes and gaps require foundation repair putty. Pack the material firmly into the opening. Overfill slightly and scrape flush with the surrounding surface. Let repairs cure for 4-6 hours in warm weather. Check the product label for exact drying times. Apply Concrete Sealant A quality sealant blocks moisture from penetrating the concrete. This prevents paint bubbling and peeling caused by water vapor pushing through from inside. Pour sealant into a paint tray. Use a 3/4-inch nap roller to apply an even coat across the entire foundation. Work in 3-foot sections from left to right. Apply a second coat after 2-3 hours. Two thin coats penetrate better than one thick application. Choosing the Right Paint for Concrete Foundation The best paint for concrete foundation work is elastomeric or masonry paint. These paints contain special binders that flex with concrete movement. Masonry Paint Features Masonry paint offers breathability that lets moisture vapor escape while blocking liquid water. This prevents trapped moisture from lifting the paint off the wall. Quality brands include Sherwin-Williams Loxon, Benjamin Moore Concrete & Masonry Paint, and BEHR Premium Elastomeric. Expect to pay $40-$65 per gallon. Self-Priming vs. Traditional Paint Self-priming masonry paint saves time by combining primer and paint. You’ll need two coats for full coverage.


![How Much Does a Gallon of Paint Cover? [2025 Guide]](https://sdcustompainting.com/wp-content/uploads/2025/11/how-much-does-a-gallon-of-paint-cover-image.webp.webp)
