
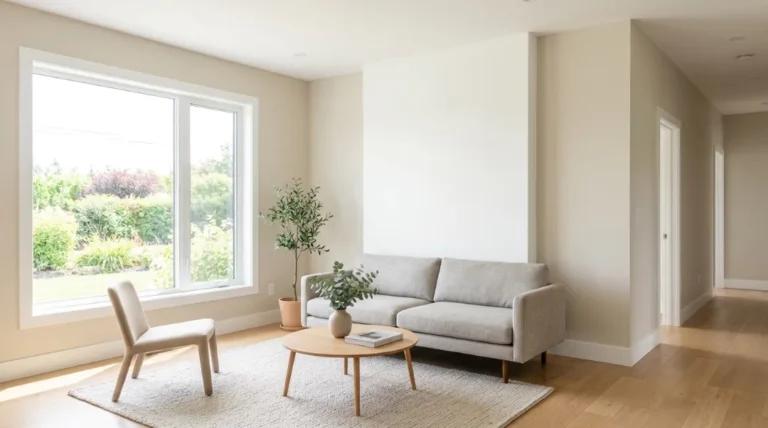
The walls of your house say a lot about it. The whole room feels off if they’re dull, scratched,...
You finally set aside the weekend, bought the paint, and got the surface ready. After that, you check...
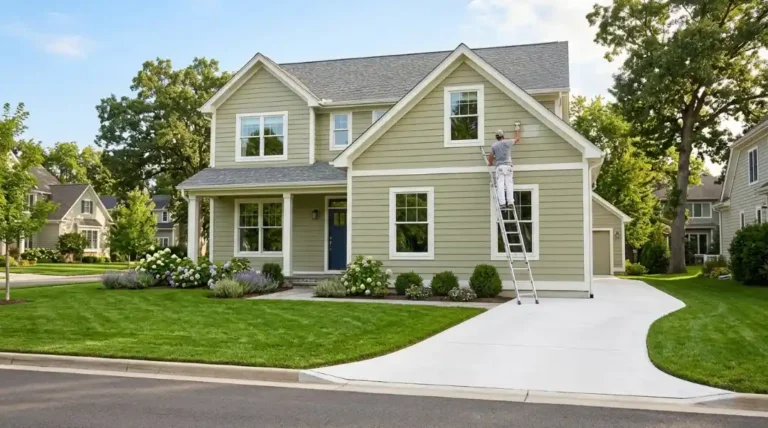
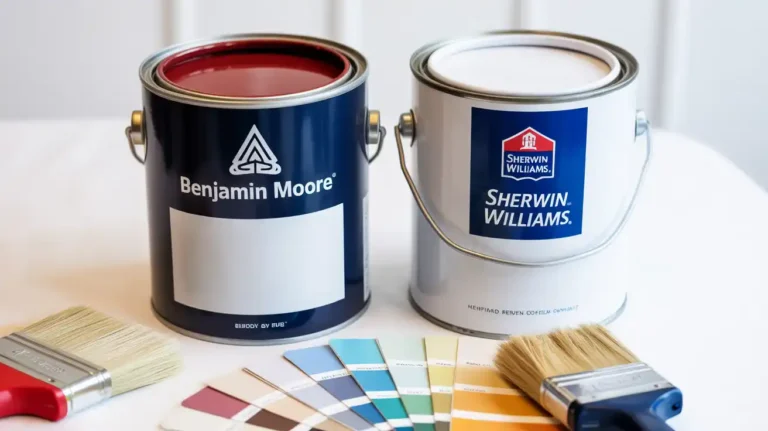
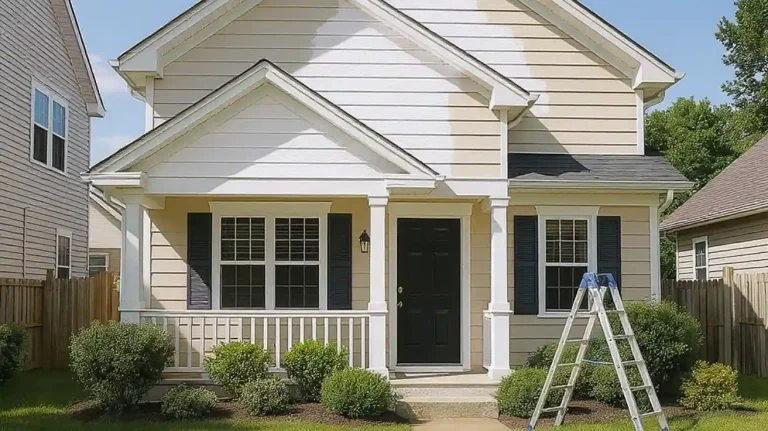
The best exterior paint is a 100% acrylic latex formula from brands like Sherwin-Williams, Benjamin Moore,...
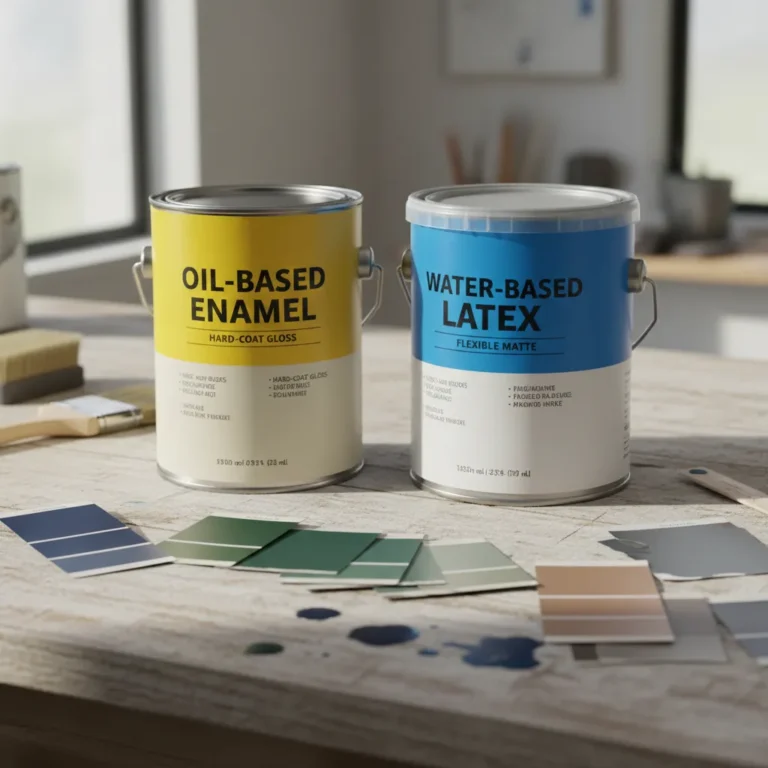
You stand in the paint aisle. Two options. Zero clarity. Picking the wrong paint can mean peeling, cracking,...
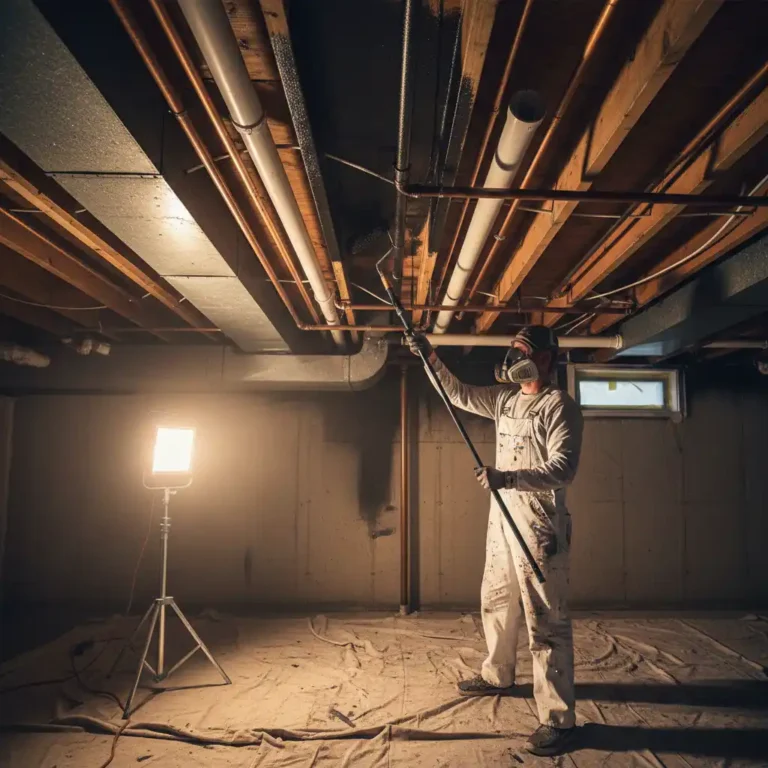
Painting a basement ceiling black sounds bold. But it works. If your basement has exposed pipes, HVAC...

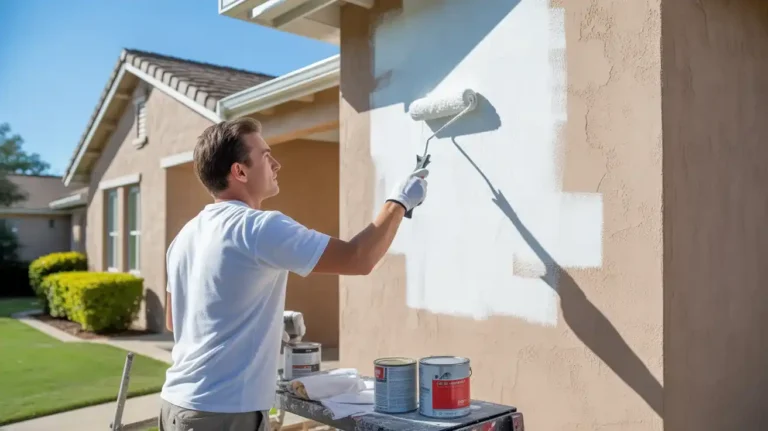
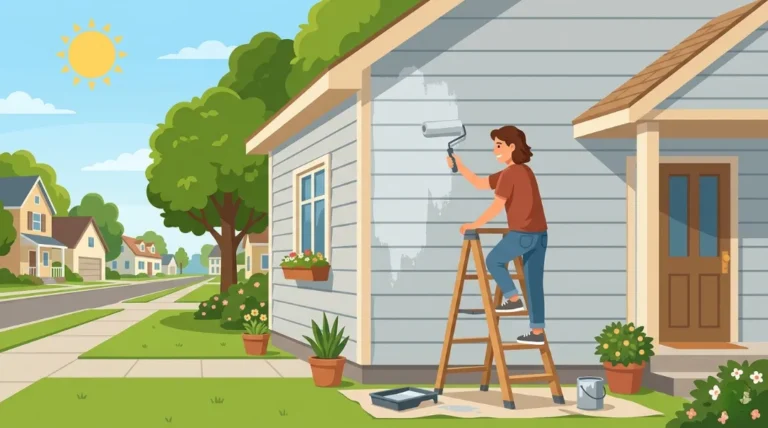
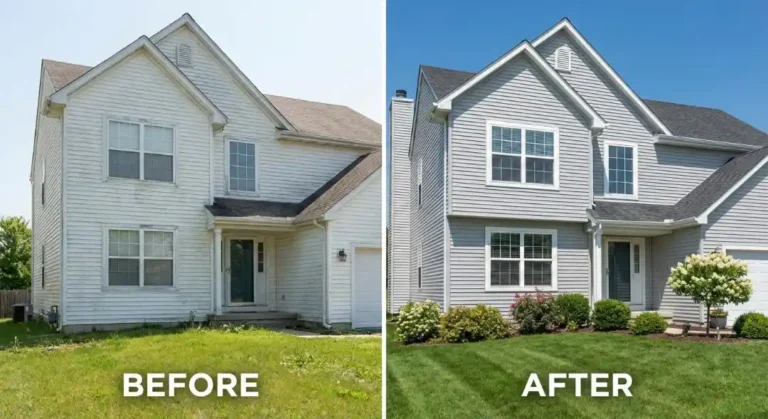
Planning to paint your home’s exterior can feel overwhelming, especially when you’re unsure...
Choosing the right paint for your home often feels like a high-stakes decision. You want a finish that...
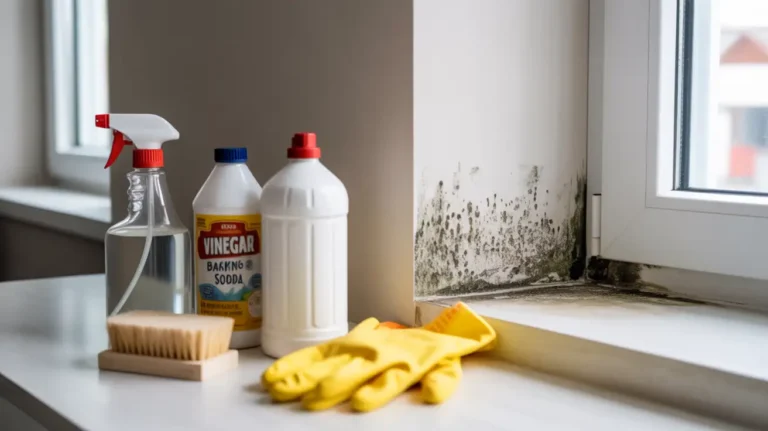
Discovering black or green spots creeping across your freshly painted walls can feel overwhelming. You’re...

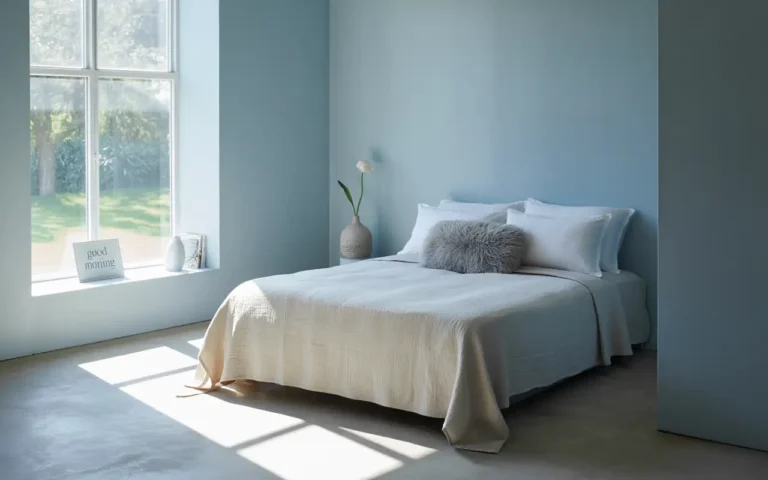
Planning a fresh coat of paint for your bedroom or home office? You’re probably wondering about...
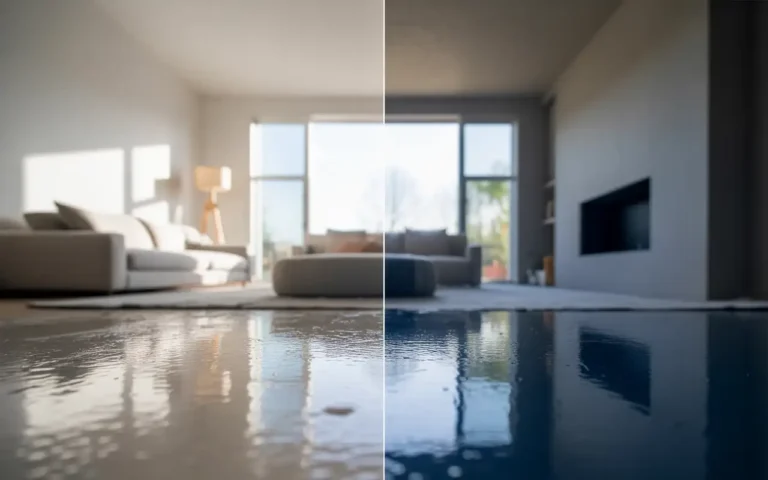
Fresh paint transforms a room, but the lingering smell can make your space unbearable for days. You open...
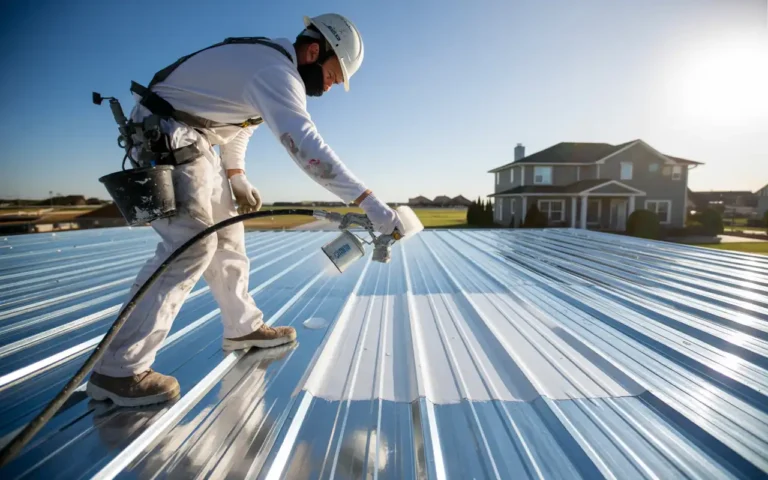
Most homeowners think a faded or rusted roof means they need to spend thousands on a full replacement....
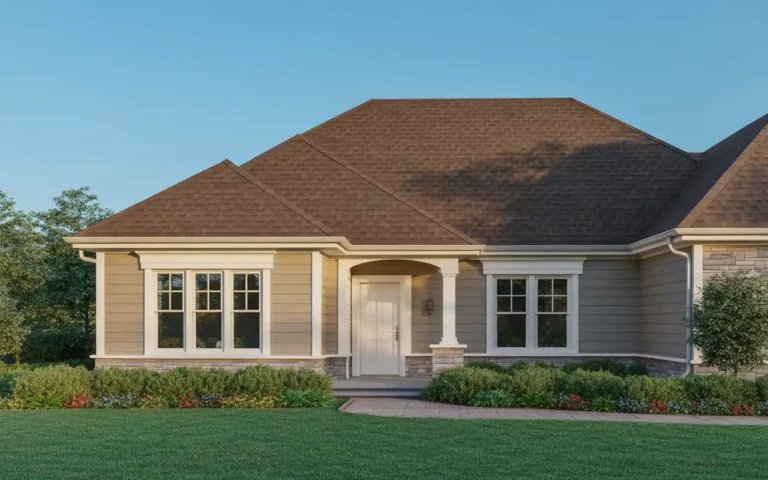
Your roof is already brown. Now you need a wall color that makes your whole house look pulled together,...
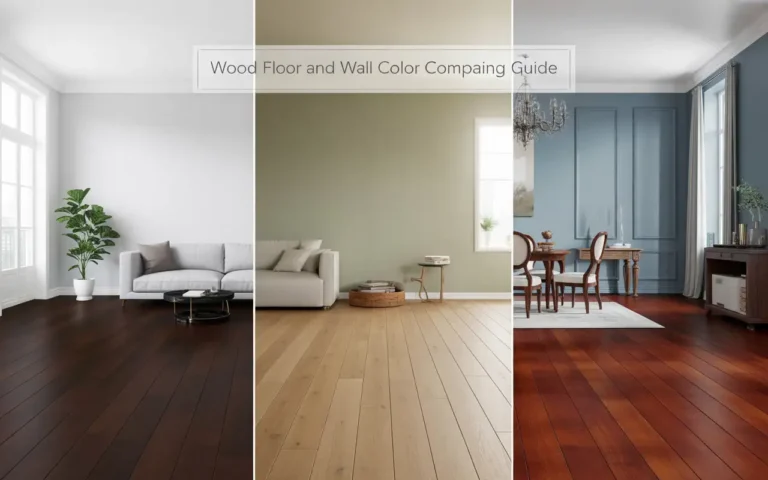
Choosing the right wall color for your wood floors can feel overwhelming. You stand in the paint aisle,...
You spend hours at the paint store. You pick the right shade. The color sample looks great. After you...
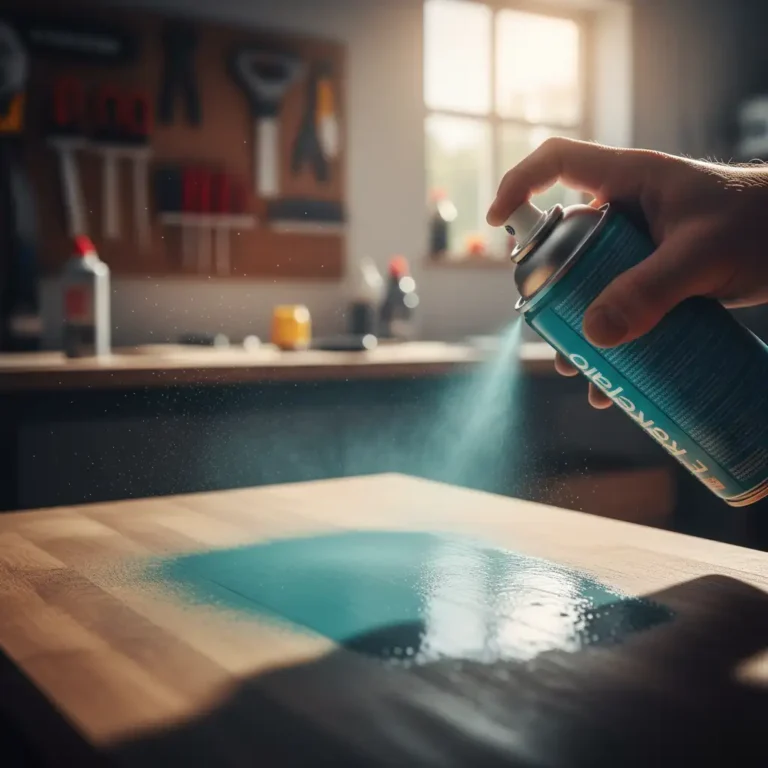
Spray paint looks dry fast, but it is easy to ruin a finish by touching it too soon. If you are wondering...
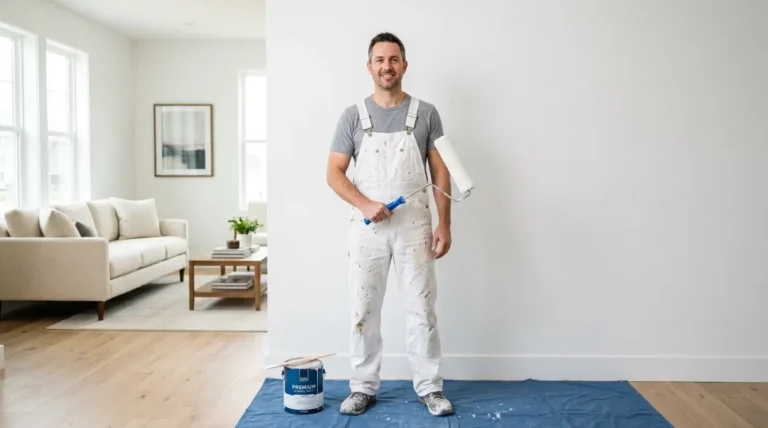
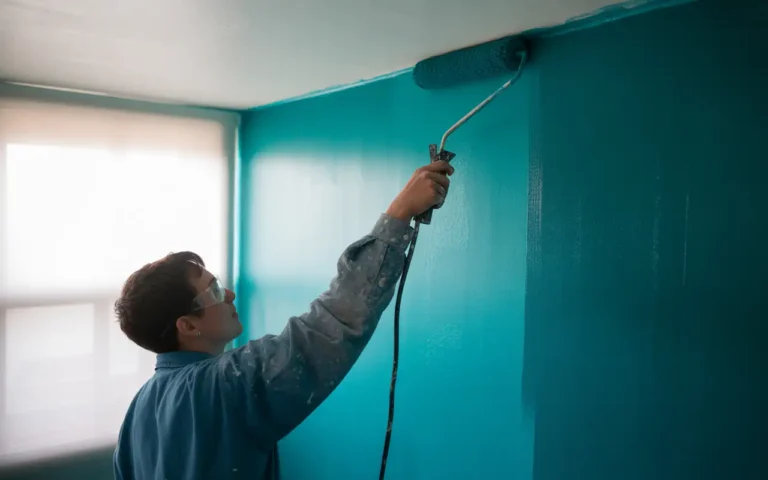
Walk onto any construction site or home renovation project, and you’ll spot them immediately. Painters...
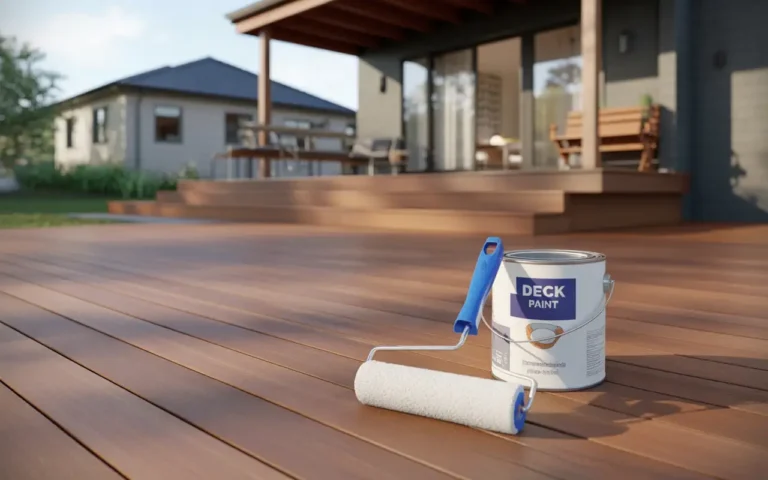
To get the most out of your outdoor space, you need a surface that looks good and stays safe. It is frustrating...
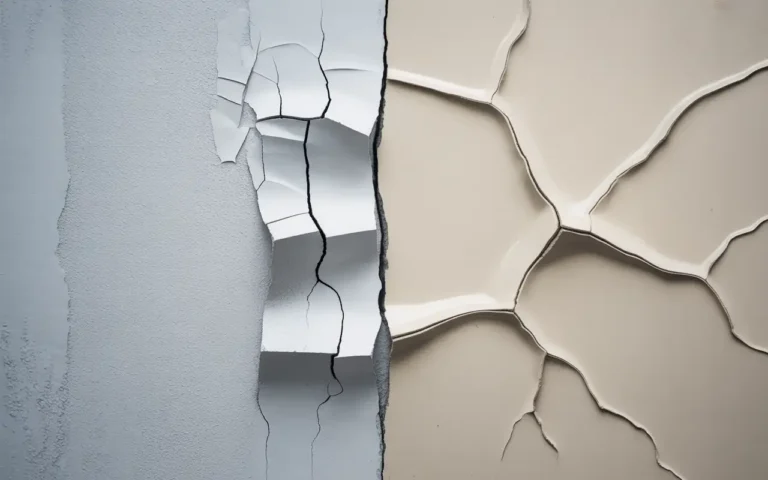
You’ve noticed those hairline cracks spreading across your stucco walls. Water stains keep appearing...
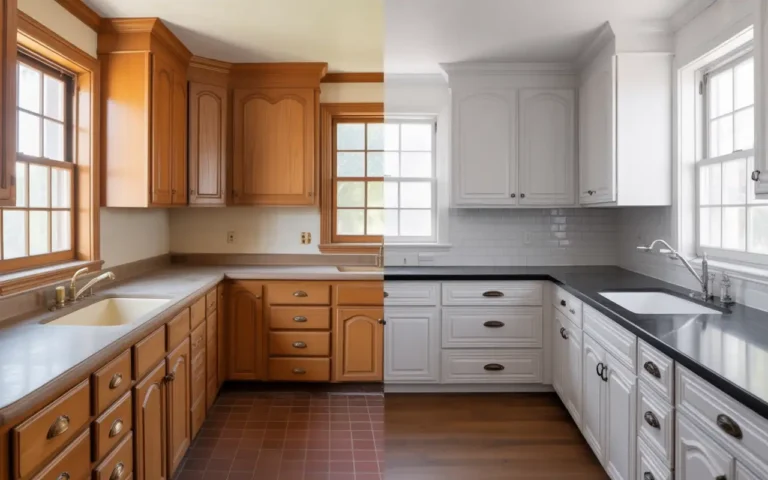
When you look at your outdated oak kitchen, the big question isn’t just about the color. It is about...
Thinking about refreshing your home with a new coat of paint? You’re probably wondering how much...
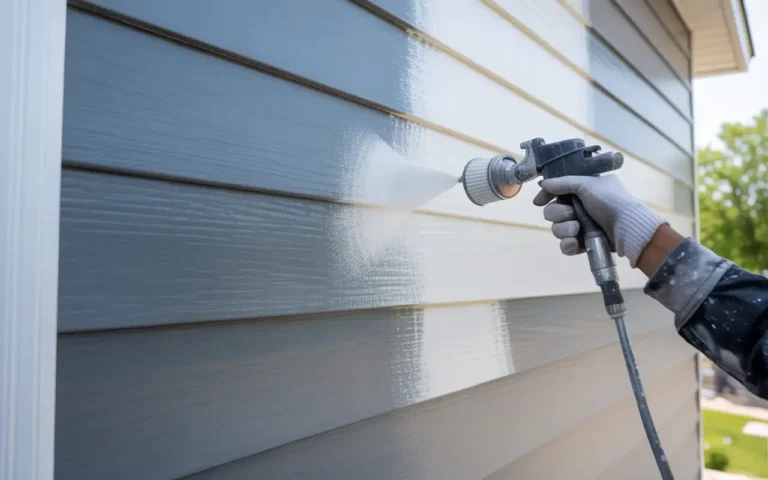
Painting aluminum siding is a cost-effective way to revitalize your home’s exterior and boost its...
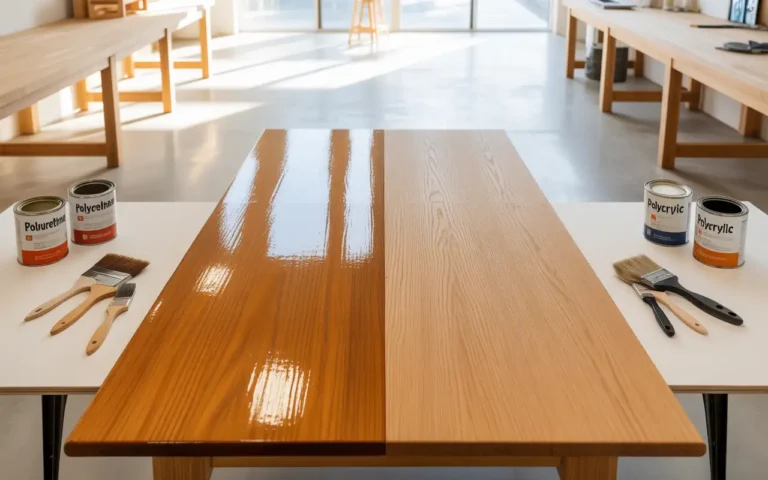
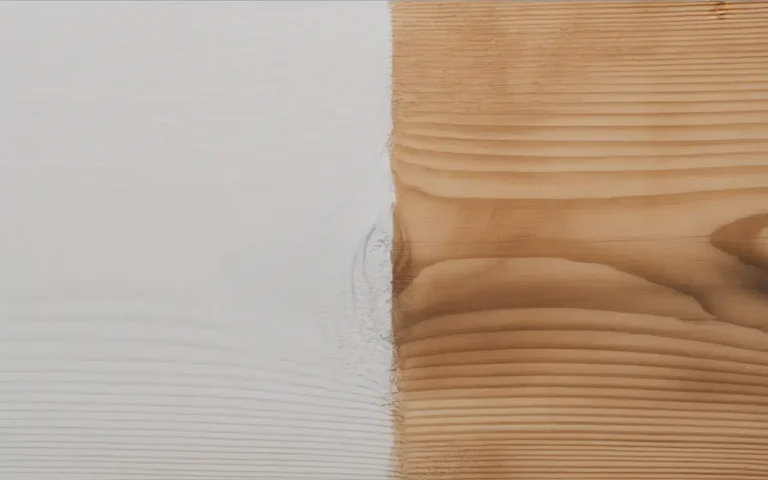
Choosing the right clear coat for your wood project can feel overwhelming when you’re standing...
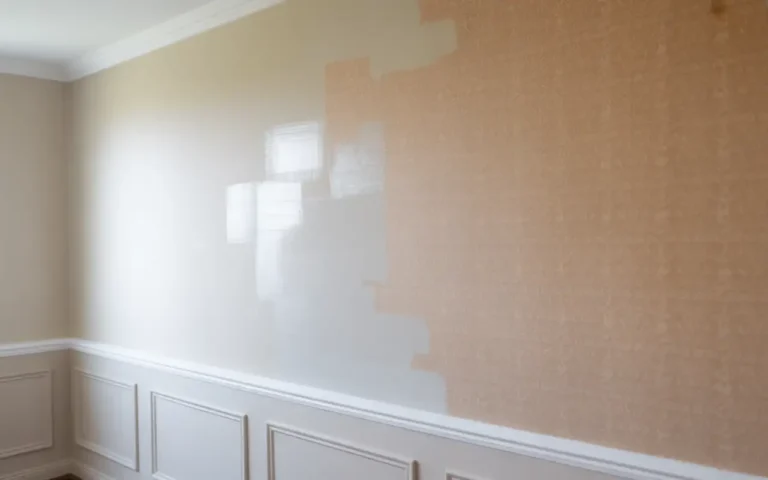
Changing the look of a room doesn’t always require removing old wallpaper. Many homeowners wonder,...
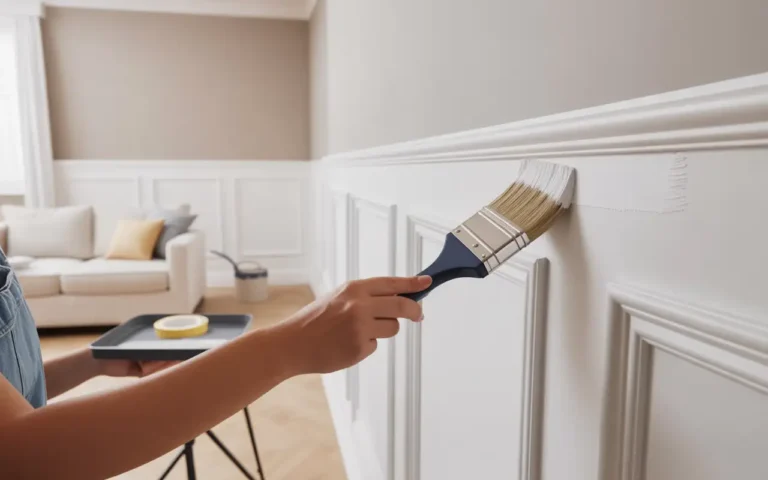
Painting wainscoting is one of the most effective ways to refresh a room, adding clean lines and a custom-built...
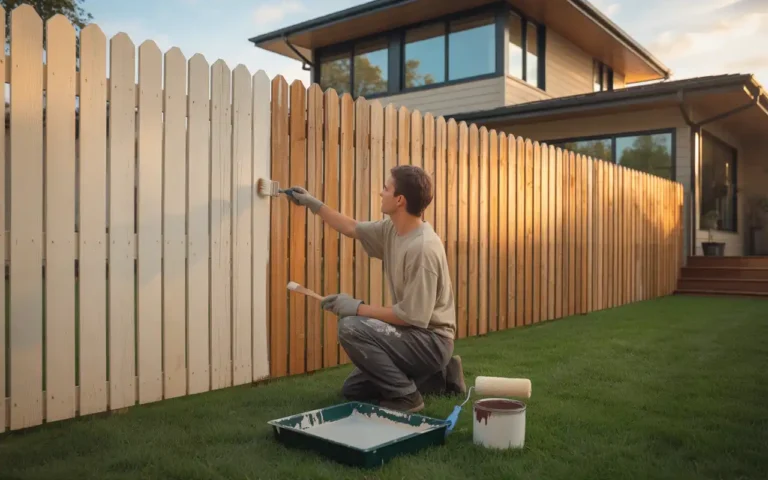
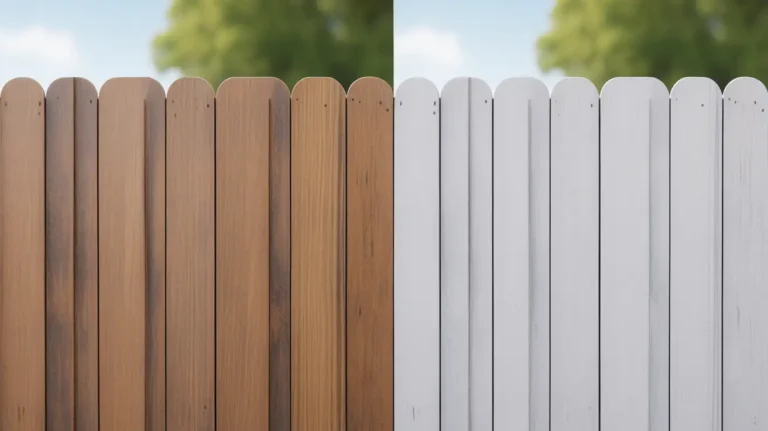
A fresh coat of paint transforms a dull, weathered fence into a beautiful feature that boosts your home’s...
Moving into a new apartment often means living with bland, off-white walls that don’t match your...
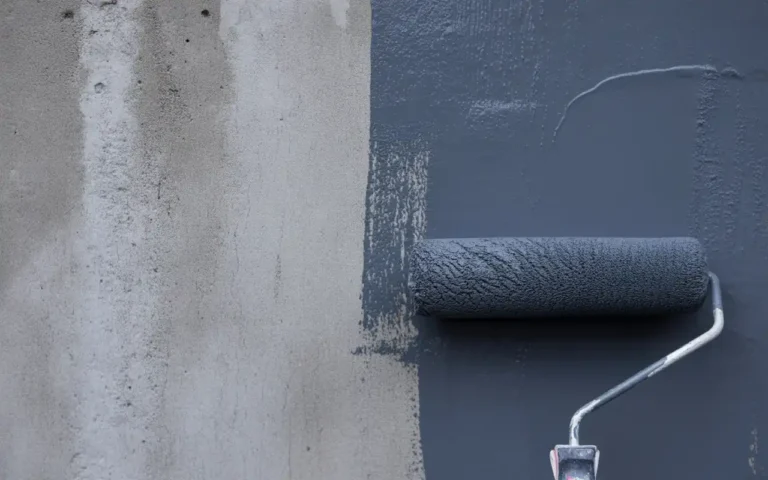
Painting your concrete foundation is one of the fastest ways to boost your home’s curb appeal and add...
Stucco homes have a timeless appeal, but over time, the color fades and the surface can look worn. You’re...
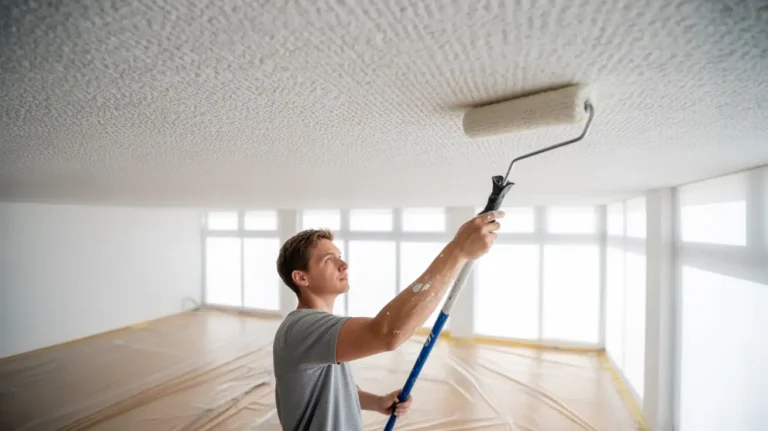
Painting a textured ceiling is a smart way to update your room without the mess and expense of full removal....
Standing in the paint aisle trying to figure out if you need a quart or gallon? You’re not alone....
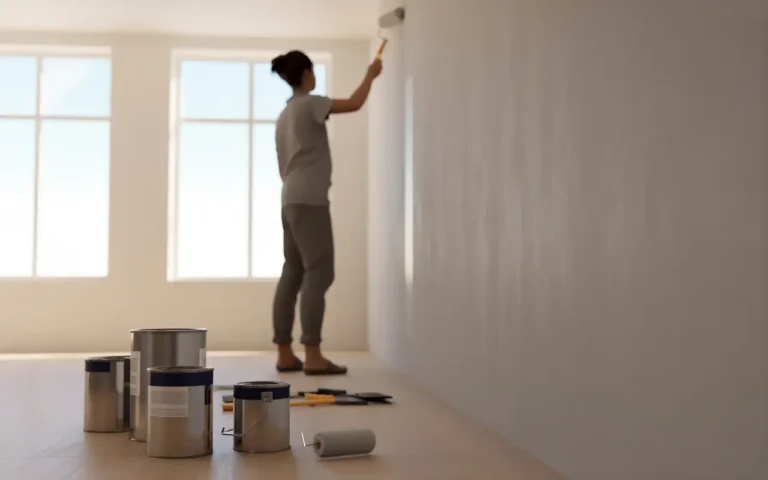
You’ve picked the perfect color. Now you’re standing in the store wondering how many gallons...
Most homeowners spend hours picking the perfect wall color. Then they look up and panic. What do you...
Project Overview
Working Time: 4 to 6 hours
Total Time:...
Wall repairs feel easy until you paint too soon. The spackle bubbles, cracks, and you’re back to...
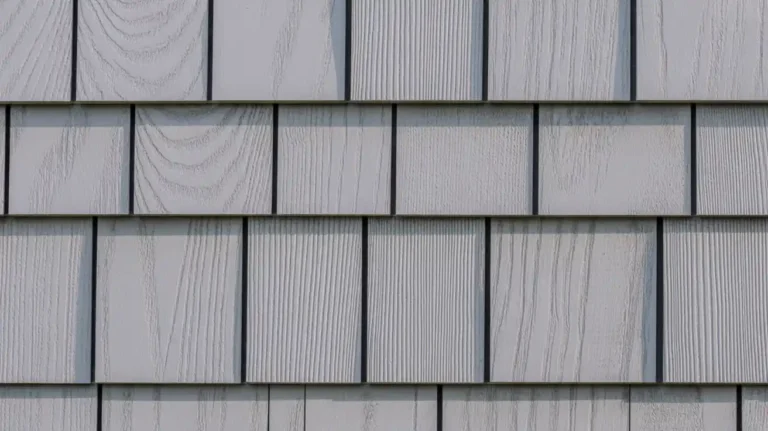
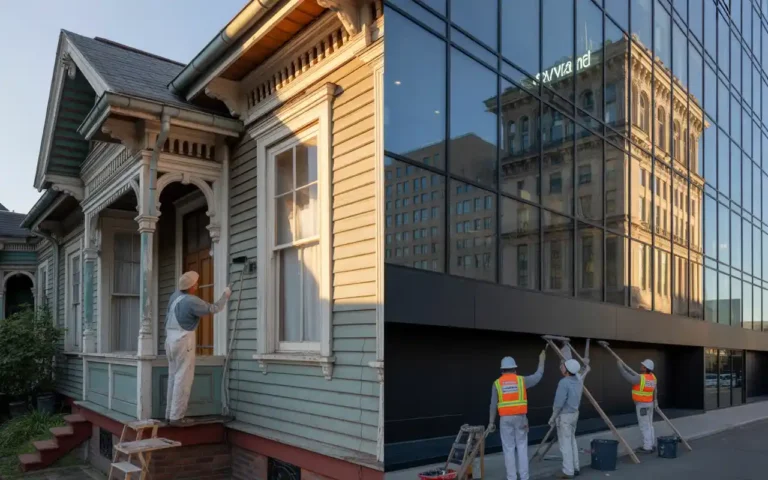
Thinking about giving your home’s exterior a fresh look? Clapboard siding has been a trusted choice...

Choosing the right paint color for your home’s exterior is a big decision, especially when working...
You just finished painting a room. The walls look great. Then you look at your roller and wonder is this...
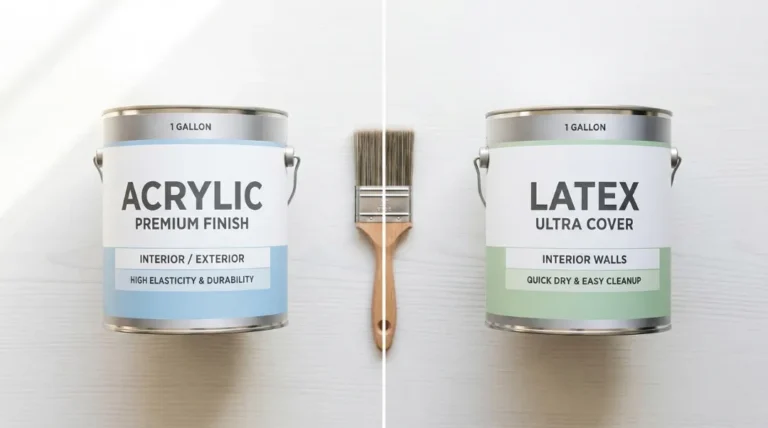
Planning a home improvement project means choosing the right finish for your surfaces. The choice between...
Cement board siding is one of the toughest exterior materials out there, but even tough materials need...
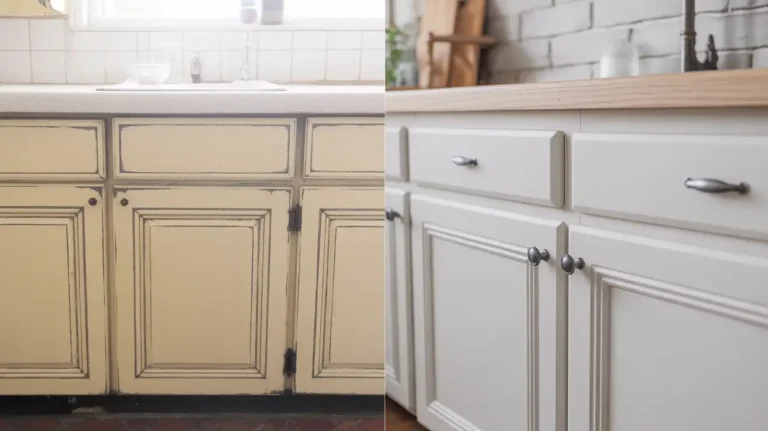
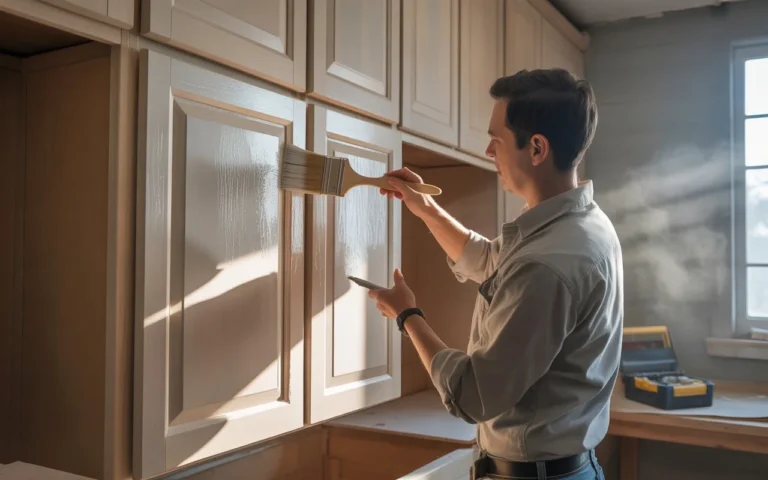
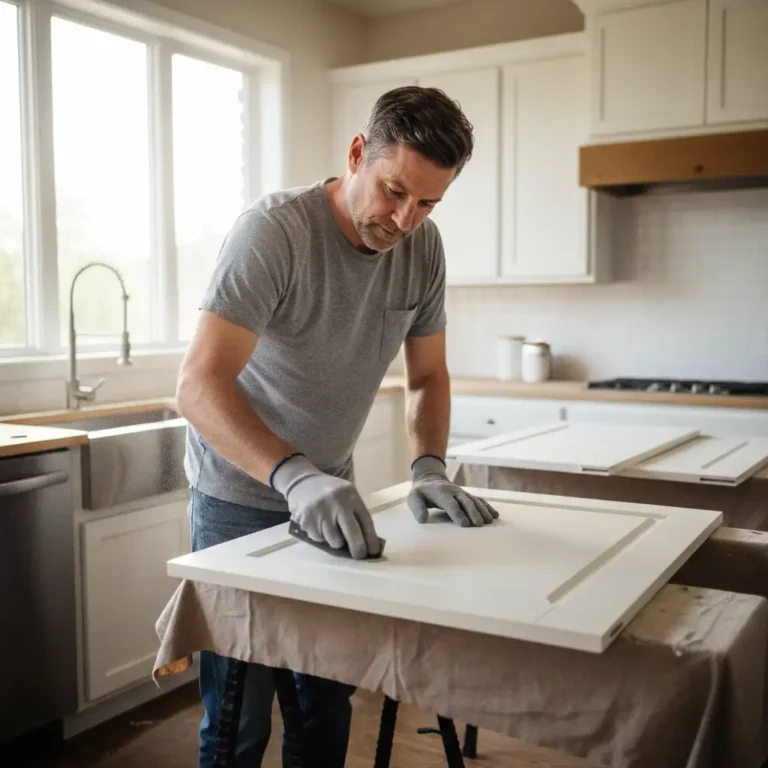
Tired of looking at outdated kitchen cabinets but don’t want to spend thousands on a full replacement?...
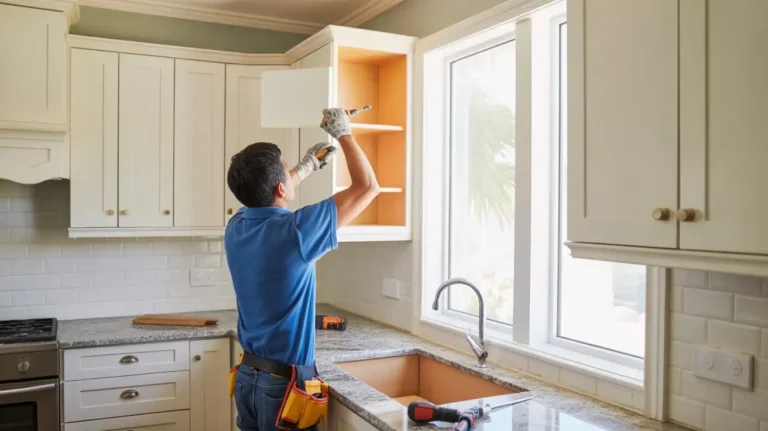
Removing old kitchen cabinets is often the first step of a major kitchen remodeling. While this task...
You just painted your wall and stood back to see those unsightly lines that are still there. Even if...
Most people who own a home agree that painting trim is the most annoying part of any room makeover. You...
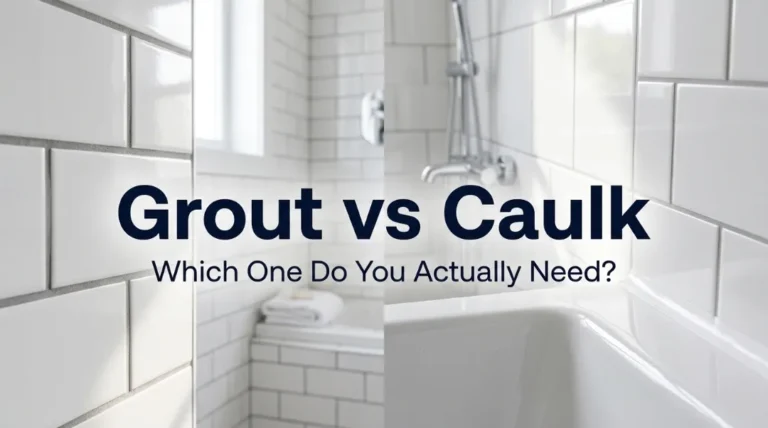
It may seem like a small thing to pick the correct sealant for your kitchen or bathroom. But choosing...
Do you have beautiful wooden cabinets, trim, or furniture that is hidden by a dark, shiny, and clearly...
Many people think painting is the same whether it’s a home or a business. They believe a wall is...
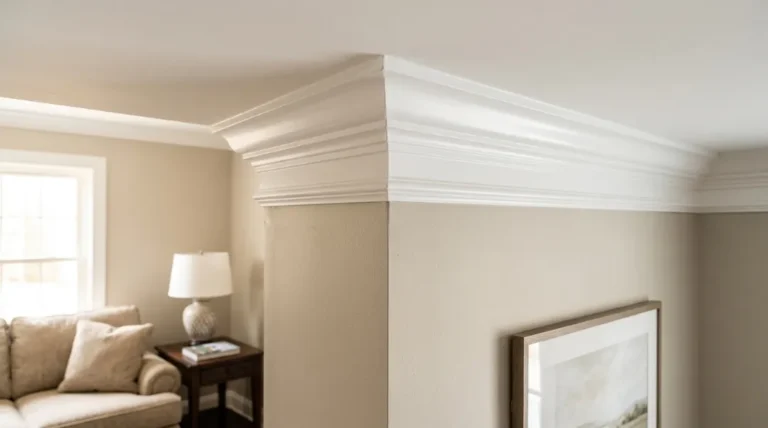
Most people notice crown molding as soon as they walk into a space that has been well designed. It sits...
Home /
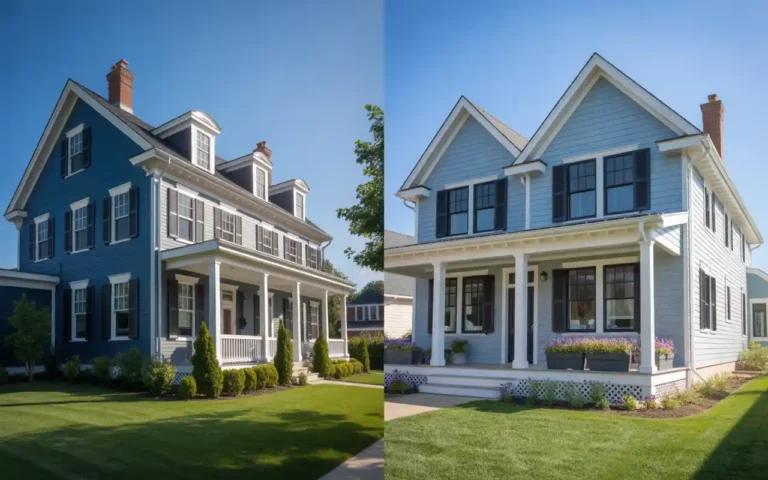
Picking the right shade of blue paint for the outside of your house can quickly improve its...
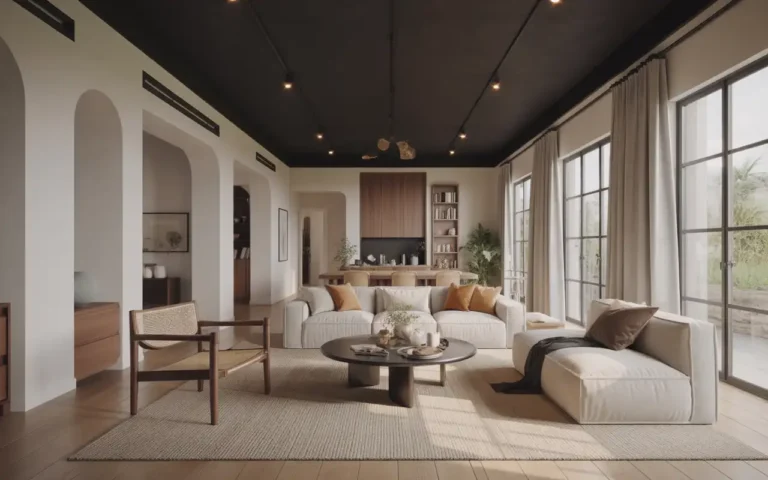
Most people never look up when designing a room. But your ceiling holds massive potential to transform...
You just painted your bedroom. The brushes are clean, the walls look beautiful, and all you want to do...
Home /
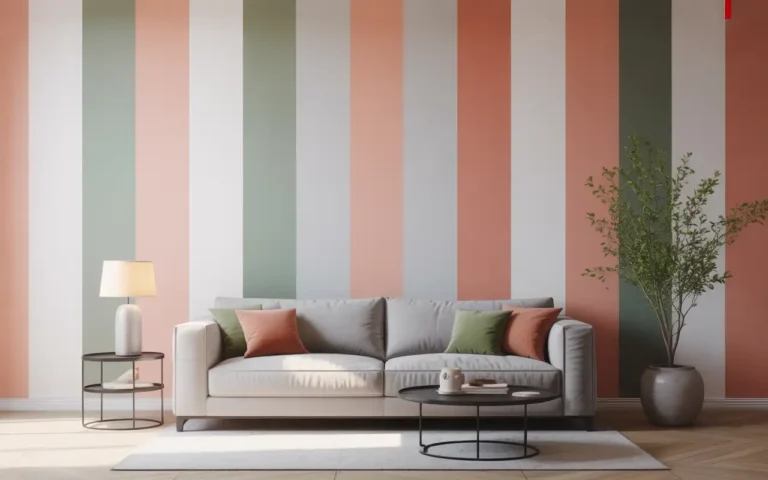
Painting stripes transforms any room from plain to stunning in just one weekend. Vertical stripes...
Painting an accent wall is an easy and cost-effective way to transform any room. Whether you want to...
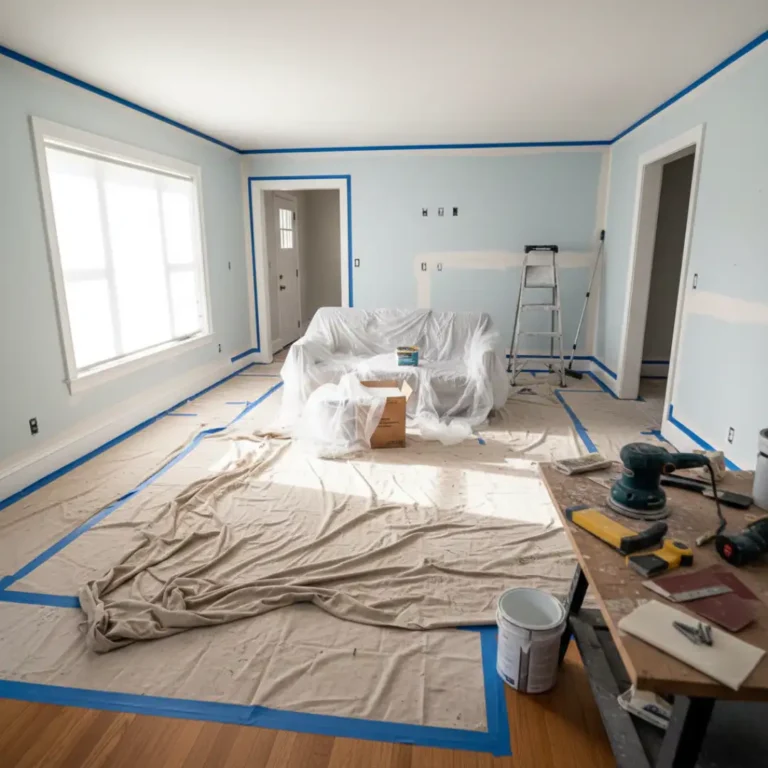
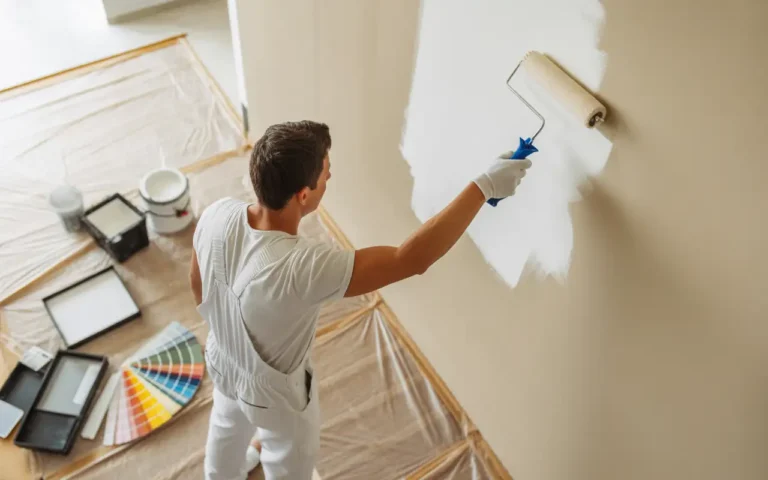
Proper room preparation makes all the difference between a paint job that lasts years and one that peels...
Home /
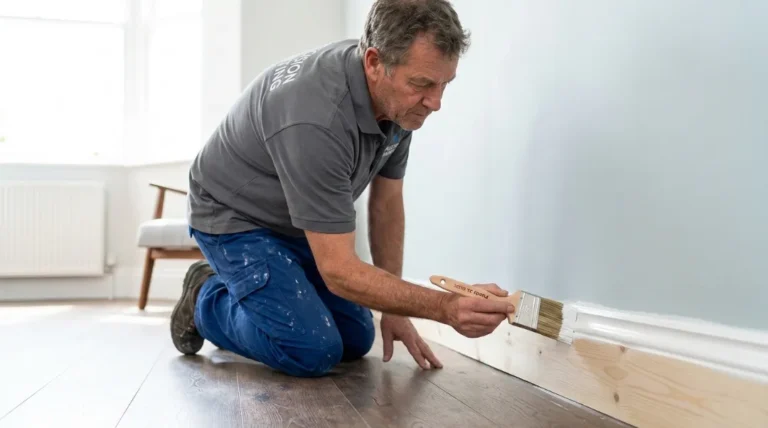
Painting trim transforms any room from ordinary to stunning. Fresh paint on baseboards, door...
Home /
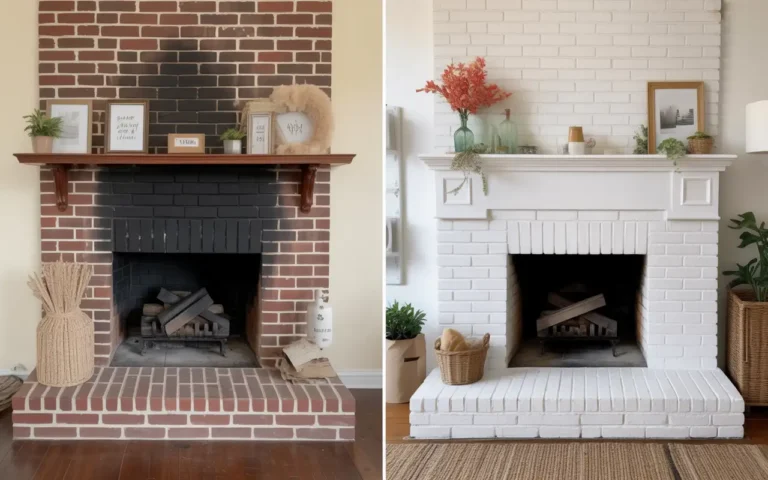
A brick fireplace can transform your living space from outdated to stunning with the right...

Painting a ceiling can feel overwhelming. Most people avoid it because they worry about drips, roller...
Choosing between stain and paint for your next wood project can feel confusing. You want your deck, fence,...

Most paint jobs fail not because of bad paint, but because of bad prep. You might have seen it before:...

Home /
How Long Does Interior Paint Last? The average lifespan of most interior paints lies somewhere...
Your kitchen cabinets look tired and outdated, but the quote from a contractor to replace them just made...

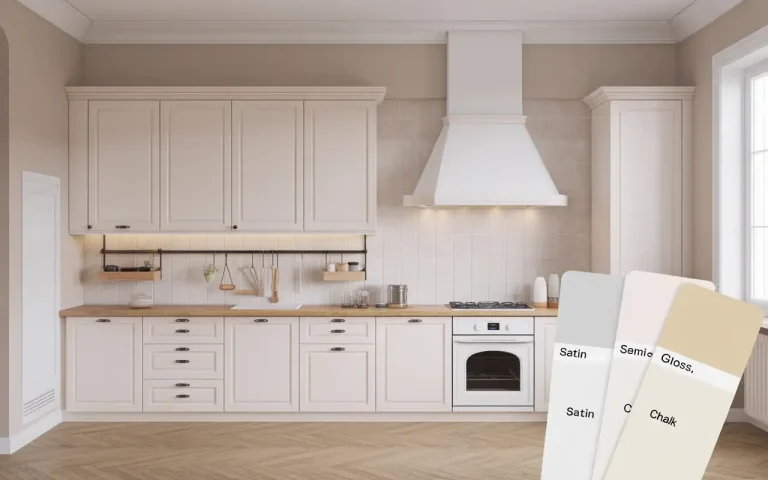
With over 2,700 paint colors available from major manufacturers and 6 different sheen levels, choosing...

Today, we are seeing choices in natural wall surfaces besides painted drywall and wood. While there is...
It seems easy to hire a painter until you receive three wildly different quotes. You start to question...

You’re staring at your freshly painted kitchen cabinets, wondering when it’s safe to close...

Home
Over 24 million homes in the US contain lead-based paint hazards that pose serious health risks....
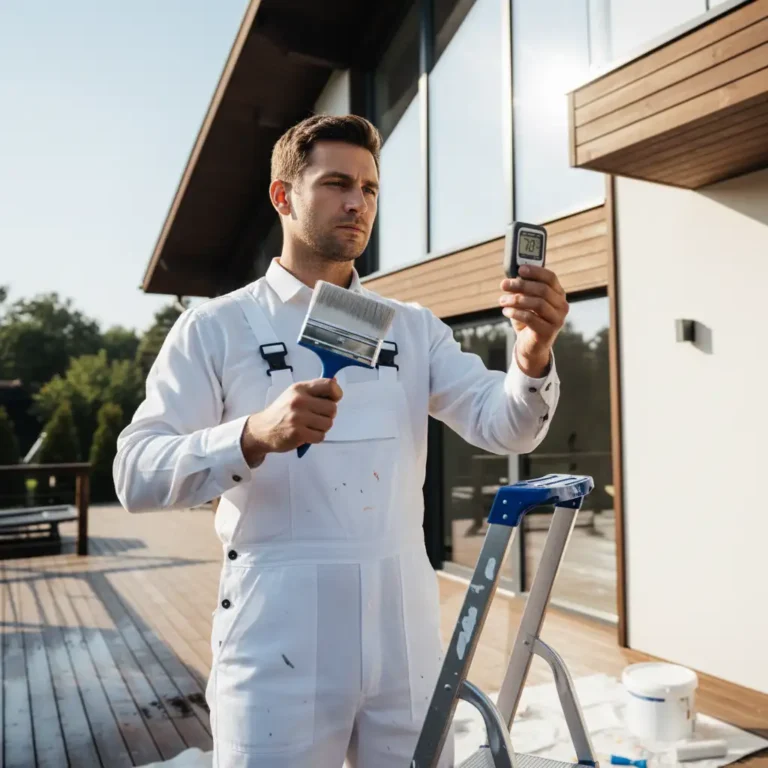
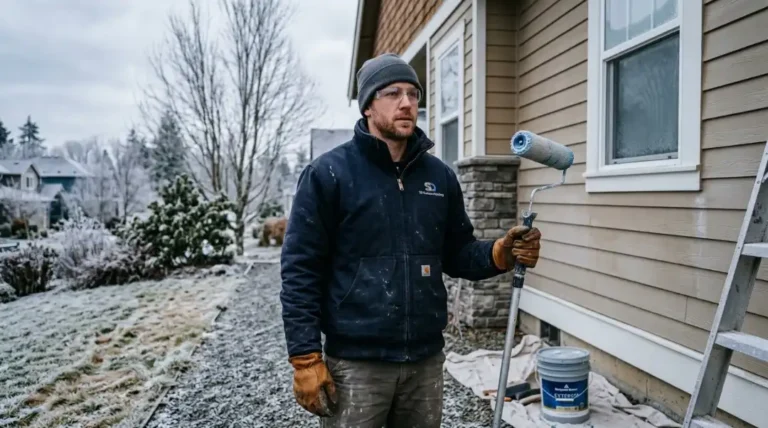
Planning an exterior paint job means more than picking colors and buying supplies. The weather plays...
Your vinyl siding looked great when it was new. But after years of sun, rain, and weather, the color...

You have a wood surface with an old polyurethane finish, and you want to paint it. The first question...

Kitchen renovations can run $20,000 to $50,000, but painting melamine cabinets provides the same aesthetic...
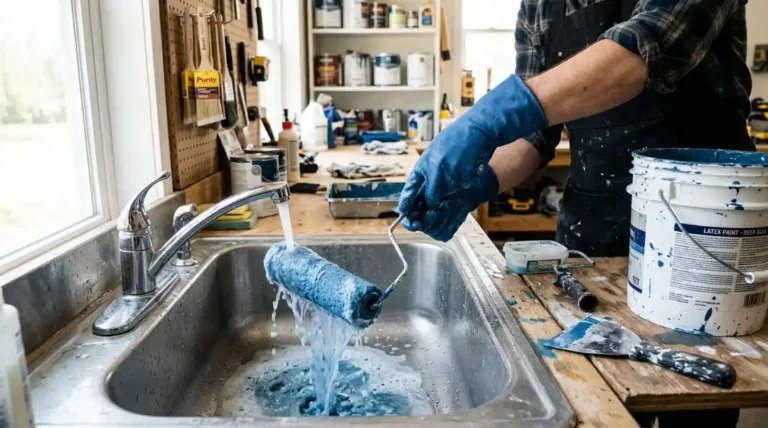
Paint is not cheap, and no one wants to throw away half a can that might still work. Many people ask...

Home /
How to Remove Mold from Painted Walls (Easy DIY Guide)
Planning a fresh look for your home?...
The Best Type of Paint for Kitchen That Lasts 10+ Years
Choosing the right type of paint for kitchen...
Home /
How to Remove Mold from Painted Walls (Easy DIY Guide)
Wondering how to paint over oil based...

Can Interior Paint Be Used Outside? Expert Guide 2025
You just finished painting a room and have leftover...
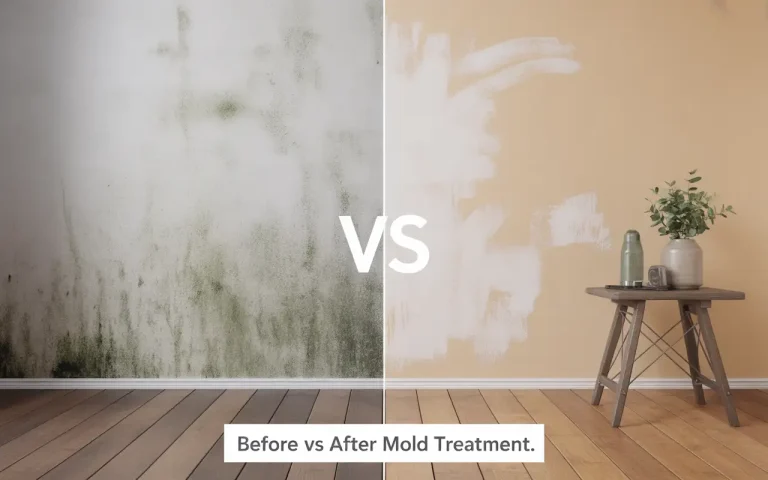
Can You Paint Over Mold? Why Experts Say Never
Can you paint over mold? The answer is a definitive no...
Home /
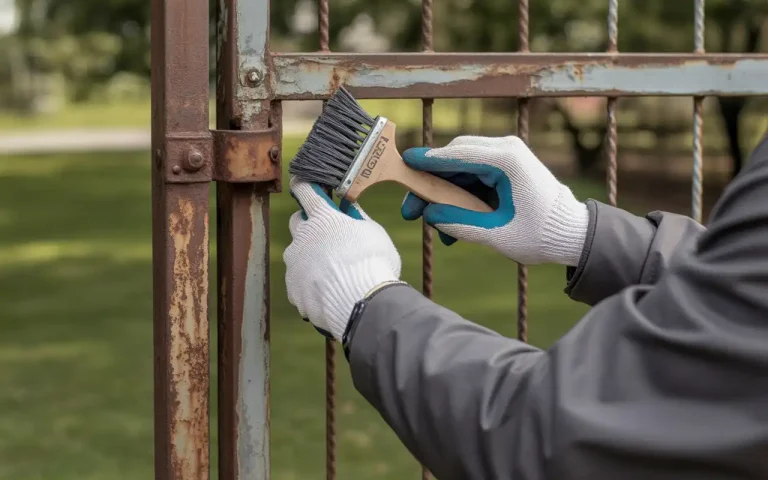
How to Remove Paint from Metal: 6 Pro Methods (2025)
Removing old or failing paint is necessary...
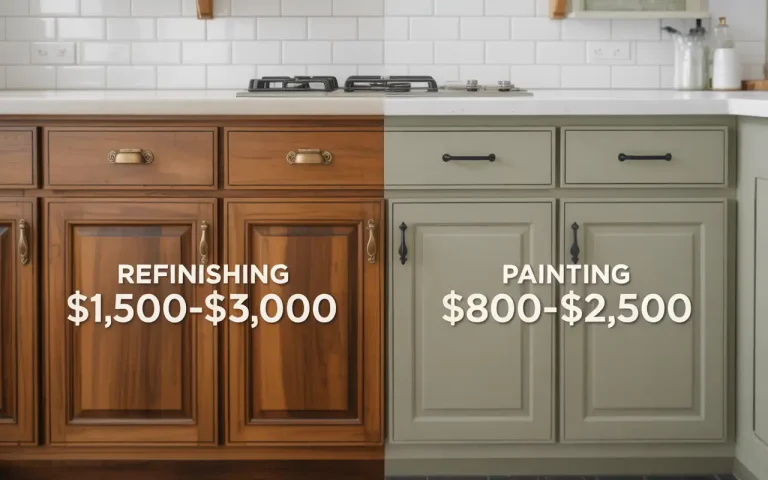
Cabinet Refinishing vs Painting: ROI Comparison 2025
Staring at outdated kitchen cabinets wondering if...
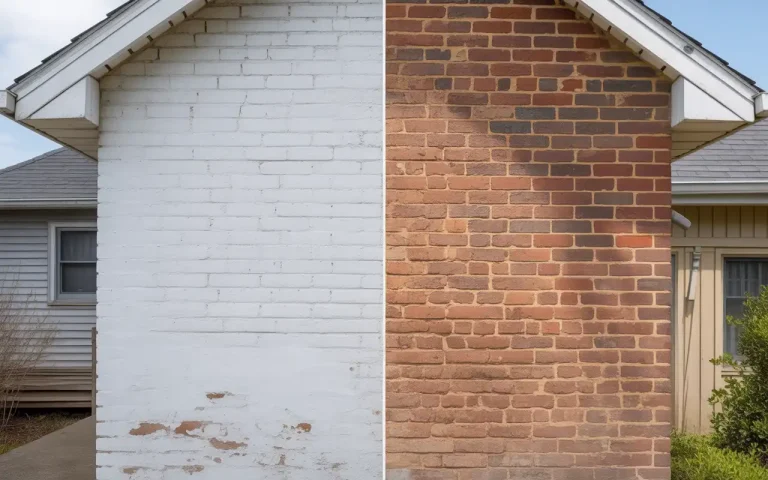
How to Remove Paint from Brick: 5 Proven Methods
Home /
To remove paint from brick, use...

How to Clean Painted Walls (Without Damage) – 2025 Guide
Studies show that dirty walls can reduce...
Home /
What Is the Best Exterior Paint? Top Picks for 2026
When you walk down any paint aisle, you’ll...
Home /
How to Remove Mold from Painted Walls (Easy DIY Guide)
You want your home to look its best....
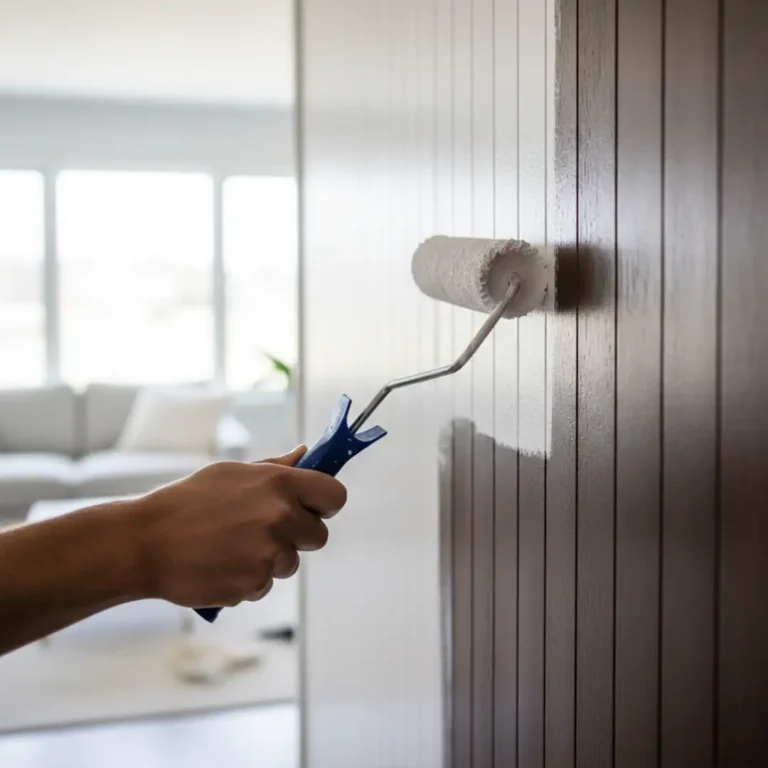
How to Paint Wood Paneling: A Complete DIY Guide (2026)
Home /
That dark, grooved wood...

Transform Your Home With Kitchen Remodeling Services in San Diego, CA—Why It’s Worth the Investment
A...

How Can Commercial Exterior Painting Services Boost Your San Diego Property’s Value?
A fresh coat...

Can Custom and Modern Bathroom Cabinetry Be the Perfect Upgrade for Your Bathroom?
The bathroom...

Thinking about Painting Your Home? Here’s Why We’re the Best Home Painters in San Diego.
A...
