How to Determine the Exterior House Painting Cost Factors in 2026?
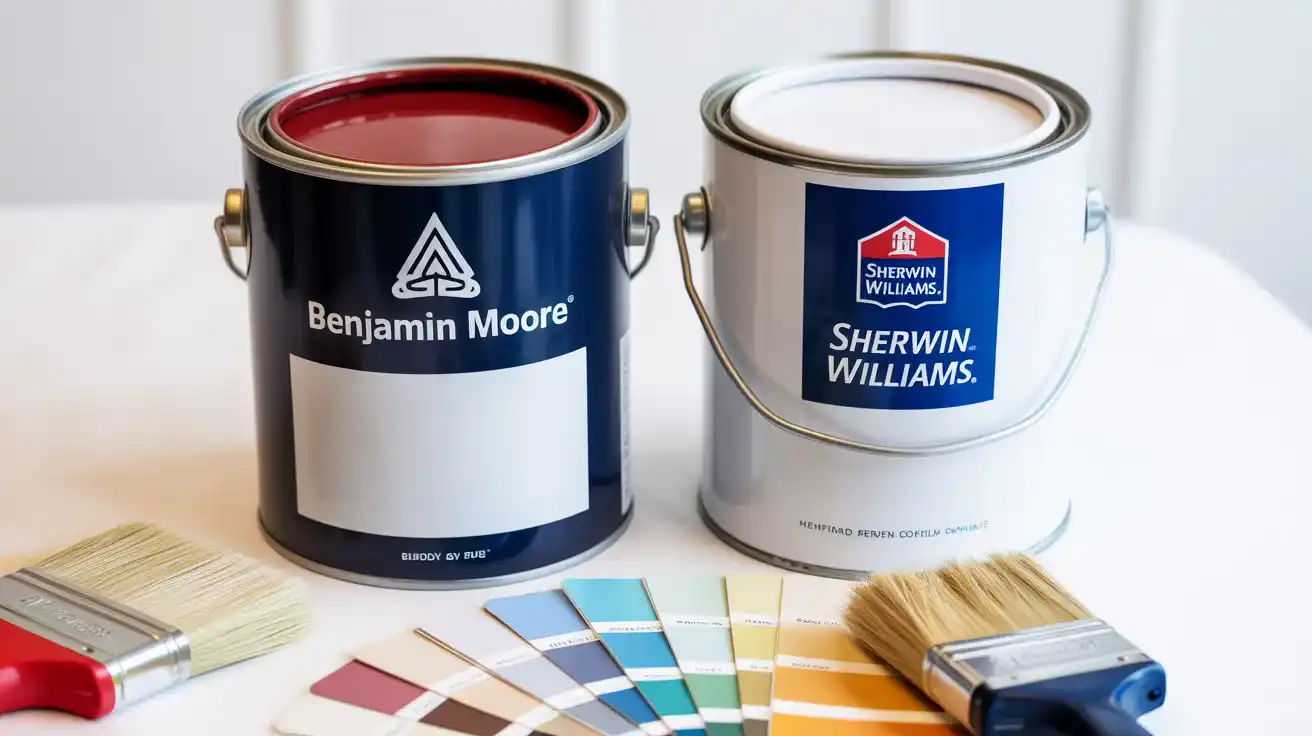
Planning to paint your home’s exterior can feel overwhelming, especially when you’re unsure about the budget. You want a beautiful finish that lasts for years, but you also don’t want to overpay for services or materials. The good news is that understanding exterior house painting cost factors makes budgeting straightforward and helps you make smart decisions. Most homeowners spend between $1.50 and $4 per square foot for professional exterior painting, but this range varies based on several key elements. Your home’s size, siding material, paint quality, and labor requirements all play a role in the final price. By knowing these factors upfront, you can plan your budget accurately, choose the right contractor, and avoid unexpected expenses that derail your project. 8 Exterior House Painting Cost Factors You Should Keep in Mind 1. Home Size and Square Footage The size of your home directly impacts project cost. Painters measure the paintable surface area in square feet, not just the floor plan. A 1,500 square foot single-story home typically needs 8 to 12 gallons of paint, while a 2,500 square foot two-story house may require 15 to 20 gallons. Each additional story adds 9 to 10 feet of height, which increases both material and labor expenses. The average cost to paint a single-story home ranges from $1,800 to $3,500, while two-story homes typically cost $3,000 to $6,500. Three-story homes can exceed $8,000 due to scaffolding needs and safety equipment. Measure your home’s exterior walls, excluding windows and doors, to calculate the actual paintable area. This gives you a realistic estimate when comparing contractor bids. 2. Siding Type and Material Different siding materials require special preparation and paint products, which affect your total expense. Vinyl siding is the most cost-effective option to paint, typically adding $0.50 to $1 per square foot for prep work. Stucco requires caulking of cracks and may need texture matching, adding $1 to $2 per square foot. Wood siding often needs extensive prep work including scraping, sanding, and priming. This can increase costs by $2 to $3 per square foot compared to vinyl. Fiber cement siding holds paint well but requires specific primers, adding about $1.50 per square foot. Brick and masonry present unique challenges. Standard exterior paint traps moisture in porous brick, leading to peeling and damage. These surfaces require mineral-based or silicate paint that allows brick to breathe while changing color. This specialty paint costs $60 to $100 per gallon compared to $30 to $60 for standard exterior paint. Professional application is necessary, as these products aren’t DIY-friendly. 3. Labor Costs and Professional Painters Labor represents 70 to 85 percent of your total painting budget. Professional painters charge based on square footage, hourly rates, or daily rates depending on your location and project complexity. Current exterior painting rates across the United States range from $25 to $75 per hour for skilled painters. Per square foot pricing typically falls between $1.50 and $4, with some regions charging up to $6 for complex jobs. Day rates can reach $300 to $500 for experienced contractors. The quality of workmanship directly correlates with pricing. Contractors bidding significantly below market rates often cut corners on prep work, use fewer coats, or employ inexperienced workers. A rushed job may look acceptable initially but can fail within 2 to 3 years instead of lasting 7 to 10 years with proper application. When evaluating bids, ask about surface preparation methods, number of coats included, paint brand specifications, and warranty coverage. These details reveal whether you’re comparing equal services. 4. Paint Quality and Type of Paint High quality paint costs more upfront but provides better coverage, durability, and longevity. Budget exterior paint sells for $25 to $40 per gallon and may require three coats for adequate coverage. Mid-grade paint ranges from $40 to $60 per gallon and usually needs two coats. Premium paint costs $60 to $100 per gallon but often covers in one or two coats with superior adhesion. Your local climate determines which paint formulation works best. Homes in sunny regions benefit from UV-resistant paint that slows fading by up to 2 percent yearly. These specialty paints cost $10 to $20 more per gallon than standard formulas. Cold climates require “cold set” paints and primers that cure properly in temperatures below 50°F. These products allow painting during shoulder seasons and ensure proper adhesion. Coastal areas need moisture-resistant formulations to combat humidity and salt air. Paint sheen also affects durability and price. Flat and matte finishes hide imperfections but show dirt easily. Satin and eggshell sheens balance appearance with cleanability. Semi-gloss and gloss finishes cost slightly more but withstand weather exposure best, making them ideal for trim and doors. 5. Prep Work and Surface Preparation Thorough prep work determines how long your paint job lasts. Skipping these steps saves money initially but leads to premature failure and costly repainting. Power washing removes dirt, mildew, and loose paint. Professional pressure washing costs $0.15 to $0.75 per square foot. Scraping and sanding smooth rough surfaces and remove failing paint, adding $0.50 to $1.50 per square foot to labor costs. Repairing damaged siding, filling cracks, and replacing rotted wood boards are essential before painting. Minor repairs cost $100 to $500, while extensive damage can add $1,000 to $3,000 to your budget. Caulking gaps around windows, doors, and trim prevents moisture intrusion and costs $1 to $3 per linear foot. Priming bare wood, patched areas, and stained surfaces ensures paint adhesion and even color. Primer costs $20 to $40 per gallon and adds one application cycle to the timeline. Homes with extensive bare wood or color changes require full surface priming, which can add $500 to $1,500 to the project cost. 6. Number of Coats Required Most exterior paint jobs require two coats for optimal coverage and durability. The first coat seals the surface and provides a base, while the second coat delivers true color and weather protection. Dramatic color changes, especially from dark to light shades, often need three coats. This increases material costs by 50 percent


