
February 24, 2026/
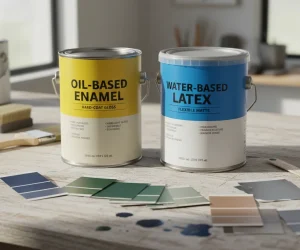
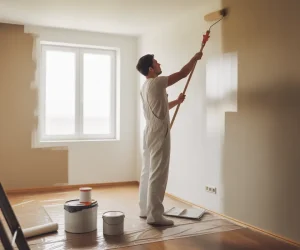
You stand in the paint aisle. Two options. Zero clarity. Picking the wrong paint can mean peeling, cracking, or a...

You stand in the paint aisle. Two options. Zero clarity. Picking the wrong paint can mean peeling, cracking, or a...
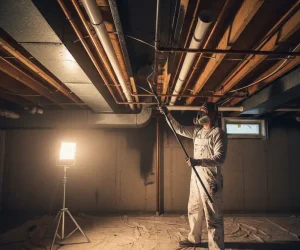
Painting a basement ceiling black sounds bold. But it works. If your basement has exposed pipes, HVAC ducts, and wiring...
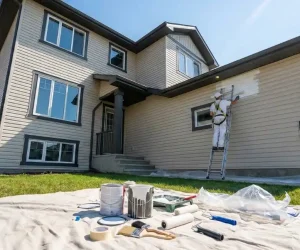
Planning to paint your home’s exterior can feel overwhelming, especially when you’re unsure about the budget. You want a beautiful...
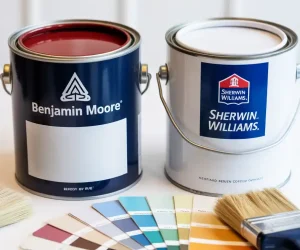
Choosing the right paint for your home often feels like a high-stakes decision. You want a finish that looks beautiful...
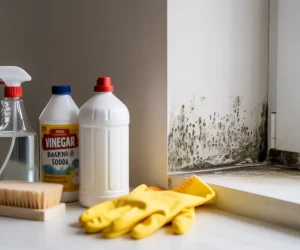
Discovering black or green spots creeping across your freshly painted walls can feel overwhelming. You’re not alone in this frustration....
Planning a fresh coat of paint for your bedroom or home office? You’re probably wondering about how much does it...
Fresh paint transforms a room, but the lingering smell can make your space unbearable for days. You open windows, turn...

Most homeowners think a faded or rusted roof means they need to spend thousands on a full replacement. It is...
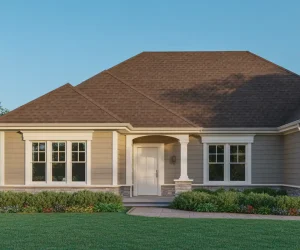
Your roof is already brown. Now you need a wall color that makes your whole house look pulled together, not...
