
July 7, 2026/
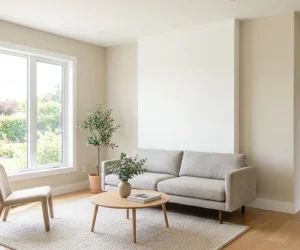
You’re standing in your kitchen trying to picture it two different ways, and every article you’ve read so far lists...

You’re standing in your kitchen trying to picture it two different ways, and every article you’ve read so far lists...

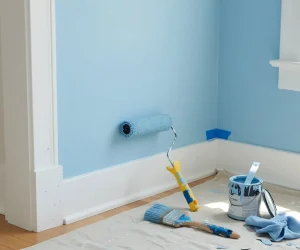
Applying a fresh layer of color is the fastest way to transform a room, a piece of furniture, or dated...

It’s a question we hear from homeowners from time to time, especially in communities like Coronado, La Jolla, Rancho Santa...
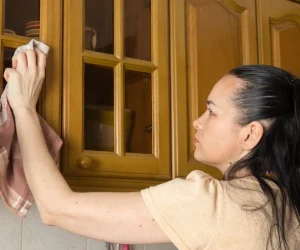
Getting ready to paint a room is a great feeling, but staring at a blank wall with a brush in...
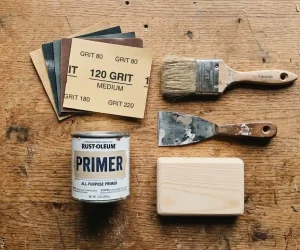
Getting a smooth, professional paint finish on your wooden furniture or trim can feel tough. Many people struggle with peeling...
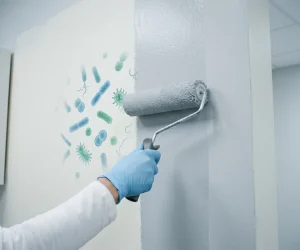
Your walls look clean. But are they really? Standard paints don’t stop germs, mold, or viruses from growing on any...
The walls of your house say a lot about it. The whole room feels off if they’re dull, scratched, or...

You finally set aside the weekend, bought the paint, and got the surface ready. After that, you check the weather...
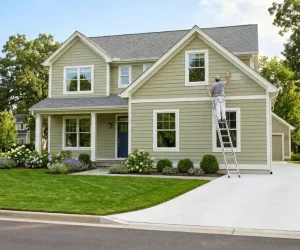
The best exterior paint is a 100% acrylic latex formula from brands like Sherwin-Williams, Benjamin Moore, or PPG. It resists...
