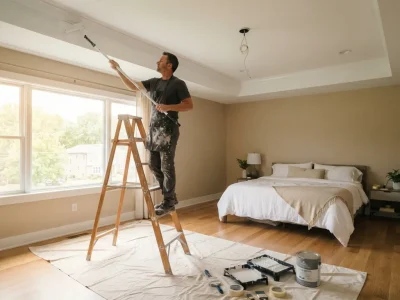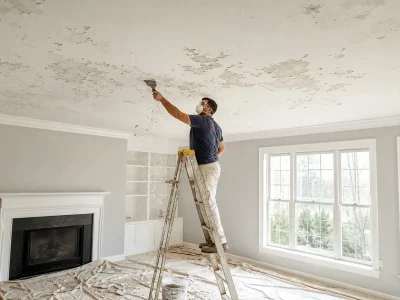

Flaking ceiling paint can be more than a cosmetic issue. When paint flakes, it is a sure sign of water or humidity issues below, inadequate surface preparation before applying paint, or an incompatible paint system beneath. Painting over the flaking paint may help mask the problem for a while, but the new paint will often peel.
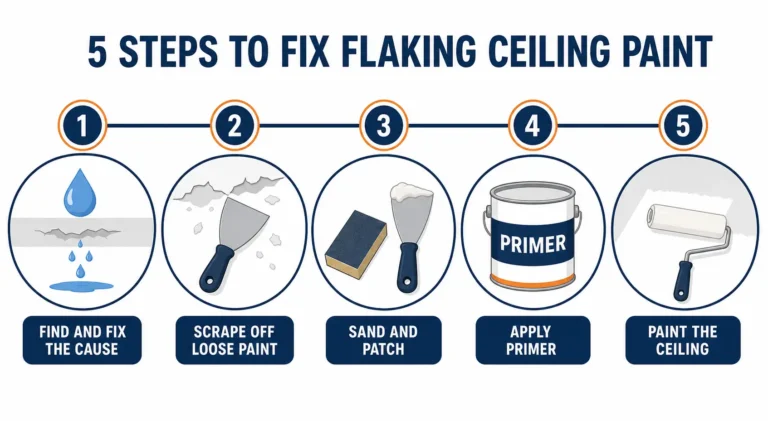
If you know why your ceiling paint is flaking, you will know how to repair flaking ceiling paint. After all, you fix the cause, take the loose paint off, clean, prep the ceiling, and then use a primer and paint that will adhere to the ceiling surface. Read this step-by-step guide to see how to fix it, the causes, common mistakes to avoid, and answers to frequently asked questions.
Table of Contents
Toggle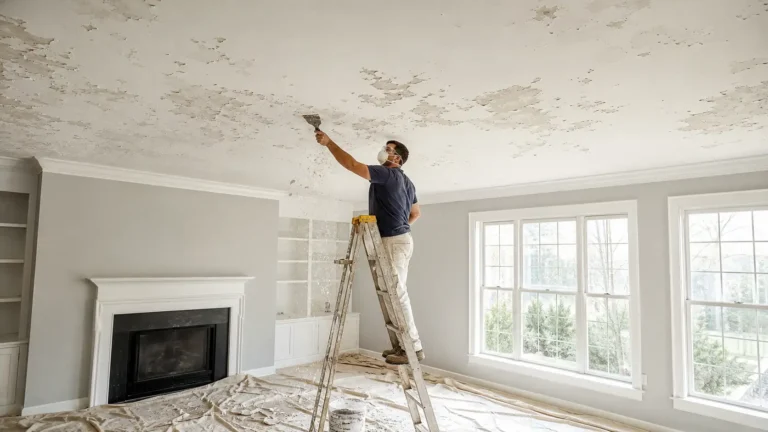
Why Is Ceiling Paint Flaking?
Cracked, Flaking & Peeling Paint: The paint layer can start to come away from the surface if the bond fails. The number one cause of this is moisture. Bathrooms, kitchens, laundry rooms, and rooms below plumbing fixtures are especially susceptible, but even the smallest roof or plumbing leak can cause moisture to penetrate the ceiling. The U.S. Environmental Protection Agency (EPA) also notes that controlling moisture is the key to preventing damage inside the home.
Poor surface preparation can be yet another reason. If the surface had not been cleaned properly before painting, it may have been dusty, greasy, chalky, or covered in paint flakes, which will prevent the new coat from adhering. Painting over an unstable, dirty surface can lead to peeling in the long run.
Humidity and temperature swings can also lead to the issue. Constant moisture exposure can cause the layer of paint and ceiling material to expand and contract. This constant movement can weaken the bond and cause peeling. Using a different paint type or putting a new coat of paint on an incompatible surface can also cause similar issues.
How to Fix Flaking Ceiling Paint Step by Step
You can’t just hide bad ceiling repairs under another coat of paint. Removing and stabilizing the damaged coating takes some time so that you can proceed with a quality finish. If you don’t take your time preparing, that’s one of the chief reasons why ceiling repairs don’t last.
Protect the floor and surrounding furniture with drop cloths. Use eye and lung protection. If you have large holes or water damage, you may want to fix the problem first, for instance, by fixing the source of a leak, before painting.
1. Identify and Fix the Underlying Problem
Take a look at the ceiling. Look for discoloration and rings, areas that are soft or soaked, paint that is bubbling, and spots that appear damp. If your problem is below a bathroom, an attic, a plumbing line, or a roof line, see if moisture might be coming through from those places.
Do not begin painting until all leaks and sources of humidity have been corrected. Even a good quality paint will not adhere properly if the ceiling is still moist. Seal the repaired areas and wait for them to dry thoroughly.
2. Remove All Loose and Flaking Paint
Scrape with a Paint Scraper or Putty Knife: Use a paint scraper or putty knife to get rid of any blistered, flaking, loose, or peeling paint. Continue scraping until you reach a hard surface. Never leave a rough edge; this will cause a weak area beneath the next coat of paint.
This step is especially crucial when painting a flaking ceiling because you need a sound surface for the new paint to adhere to. Do not try using a second coat to stick down loose paint. This will not reattach the paint to the ceiling.
Use safety glasses while scraping, particularly overhead. Test old ceiling paint for lead before you begin, and keep the dust to a minimum. The EPA’s lead guidance explains how to work safely around older paint.
3. Smooth the Damaged Areas
Once you’ve gotten rid of the loose paint, look for ridges, cracks, shallow holes, or ragged edges. Lightly sand the edge of the damaged area to feather it out so the patch blends seamlessly into the rest of the ceiling.
For more serious imperfections, use a patching compound or joint compound as directed by the manufacturer, and let it dry before sanding. Multiple thin coats are often better than one thick coat if you’re filling a deep imperfection.
Clear off dust created from sanding. This can be done using a vacuum equipped with a filter system or a slightly damp cloth. Make sure the surface is free of any dust and dry before proceeding to the next step.
4. Prime the Ceiling Before Repainting
Primer is also essential if you are repairing a damaged ceiling. Once the surface has been scraped, sanded, and patched, it might show areas with varying degrees of porosity. Primer gives you a more uniform surface to work on.
Primer can also be effective at sealing any areas you have repaired, or at creating a better surface for the new paint to stick to. If your ceiling has water stains, select a primer that will treat the stain if possible. Follow the manufacturer’s instructions for preparation, ventilation, and coats.
Not applying primer may leave the surface with globs of paint in places, irregular sheen, patches, or a failure to properly adhere. It’s a step well worth the time if you are removing substantial amounts of the original coating.
5. Apply the New Ceiling Paint
When the primer dries fully, apply a good quality ceiling paint with the use of the appropriate roller, brush, or sprayer. Begin with a small section and keep using a uniform application method to diminish the slight variation in texture.
In some cases, it may be best to paint the entire ceiling if the finished patch looks too different from the rest. This helps make sure the entire ceiling is the same color and shade of paint.
Let each coat dry as per the manufacturer’s instructions before assessing if a further coat is needed. Do not apply super thick coats, as thick applications also cause drying and adhesion issues.
Common Mistakes to Avoid During Ceiling Paint Repair
One of the major common mistakes made by homeowners is just painting over loose paint. When the loose paint on the ceiling areas is not cleared initially before applying the new coating, it forms a fragile layer to which the new coat bonds. The damaged layer keeps falling off along with the loose paint.
The other mistake you make is not taking moisture into account. A fresh coating might look great for the moment, but when the leaks persist, or there is enough moisture in the air, the damage will repeat itself. Always fix the root issue.
The Wrong Products: One of the most common but easily overlooked problems is using the wrong products. Interior wall paint, primer, and ceiling coatings are not always compatible in all applications. Take into account the room’s humidity, the coating currently on the ceiling, and the surface state when selecting the best products.
You may also want to read these:
Conclusion
Fixing flaking ceiling paint is more than just tidying up and covering up the problem; the job involves determining the cause, removing loose paint, preparing the surface, filling surface irregularities, priming where necessary, and topcoating to the highest standards.
Whatever the reason, whether moisture, a leak, or peeling paint, proper ceiling preparation is key. If you follow the correct steps, you can achieve a more even and long-lasting finish. If you, as the homeowner, need help stripping the peeling paint off your ceiling, SD Custom Painting can do the cleanup and painting for you to give you a great, even ceiling.
Frequently Asked Questions
Will paint adhere to peeling ceiling paint?
No. The old paint needs to be removed before new paint is applied. If paint is applied over an unstable, loose coat of paint, it will begin to peel off along with the new paint.
How long should a repaired ceiling last?
It is also affected by product quality, environmental circumstances, and whether the cause has been rectified. Properly prepared surfaces will far outperform a surface painted over damage.
When should ceiling peeling be a warning?
Repeating instances of peeling, water spots, soft drywall, sagging, or extensive bubbling may be evidence of moisture penetration or other issues. These issues should be identified before repainting.