
How to Paint Wood Paneling Like A Pro
The heavy, old, dark, and cool-looking wood panels in a room make it look smaller than it should be. You don’t need to strip away all of the paneling to create a modern, updated look. Discover the benefits and the tips, secrets, and tricks to learning how to paint wood paneling, one of the most inexpensive and dramatic ways to update your home for an attractive interior without the mess of the demo, from your interior designer.
Whatever your situation- from real wood, veneer, and faux wood paneling- the technique for finishing has everything you need to complete an updated paneling project and achieve a lasting, smooth finish.
Table of Contents
ToggleTo become a pro, we will show you the details before and during each of your steps, covering all supplies required for you to paint wood paneling in easy-to-follow steps that prevent you from making common DIY goofs.
Is Painting Your Paneling the Right Choice?
The first step of this project is to decide if painting is the right choice for your walls. When removing the old paneling can seem like the optimal choice, this can turn into a big project, can be more expensive, and can call for repairs to the drywall beneath. Painting the wood paneling works well for many homeowners as it is an affordable and pleasing option.
In lieu of thousands of dollars for demolishing walls and repairing drywall, you can refinish your room in a weekend and have it appear professionally redecorated.
The second aspect that painting the wood paneling does for you is maintain the structure of the walls while changing the look of the room. Today’s paints and primers are made to adhere very well to the older wood paneling, making the walls look like they have been redone with drywall in the first place.
Compare Your Options
Option | Cost | Time Required | Best For |
Remove Paneling | High | Several days | Severely damaged walls |
Refinish or Stain | Moderate | 2–3 days | High-quality natural wood |
Paint the Paneling | Low | Weekend project | Most interior rooms |
If your panel is in good condition and hasn’t been exposed to any moisture, your paneling can be very cost-effective to repaint.
What You’ll Need
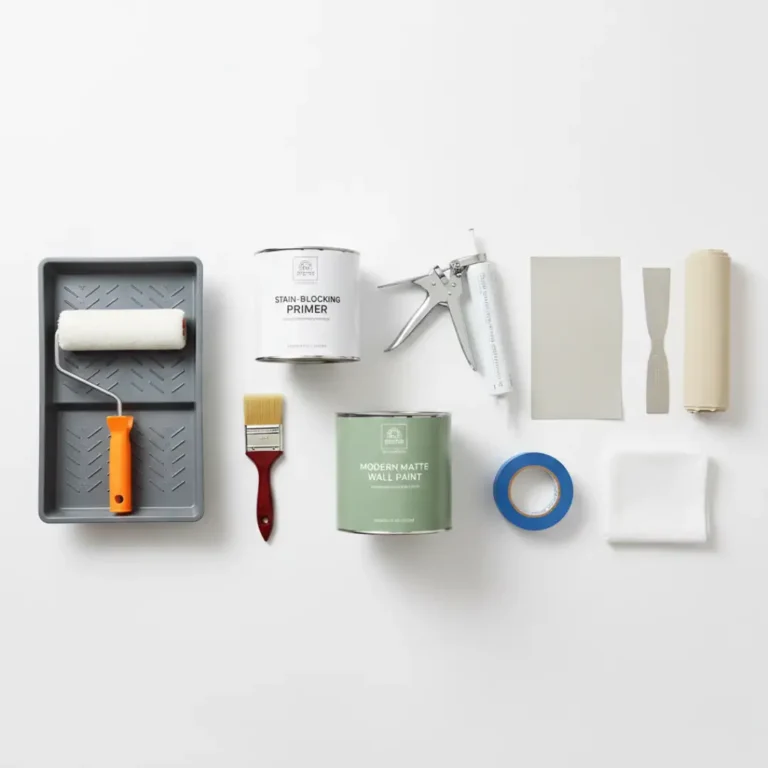
Working with the appropriate materials to start with is crucial to help your project run as smoothly as possible and, in the long term, yield a project that stands the tests of time. Using superior materials can save you from having to apply so many coats.
Surface Preparation Supplies
Stock up with all your essential wall cleaning and repair supplies before opening a paint can:
- TSP or replacement-a mild degreasing cleaner
- microfiber cloths
- SP220 grit sandpaper or sanding block
- Wood filler or spackling compound
- paintable caulk
- Putty knife
Painting Supplies
You’ll also need professional-quality painting tools, including:
- Angled paint brush
- Roller frame with microfiber roller cover
- Paint tray
- Extension pole
- Interior wall paint
- Primer for wood paneling
Selecting quality tools often results in smoother coverage with fewer brush marks.
Preparing Paneling For Paint
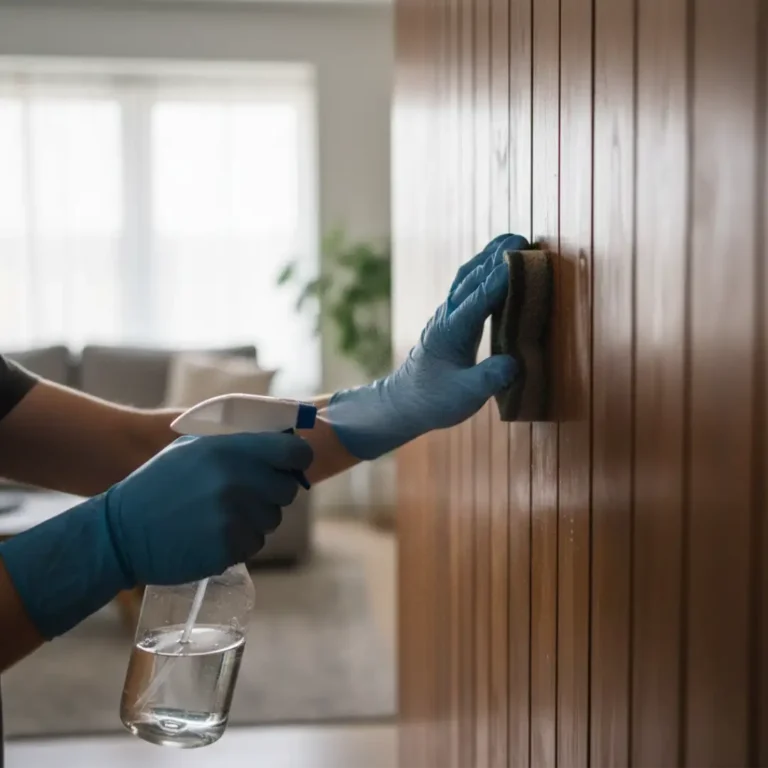
Everything in painting comes down to a proper prep. Things get missed, and you end up with bubbled paint and uneven colors, or you see old bleed-through stains.
Step 1: Clean Every Surface Thoroughly
The paint may never adhere properly to the wood once you get layers of grease, gunk, smoke residue, and furniture polish transferred to them. Degrease with a cleaner, such as TSP substitute, and clean all of the panel sections of the panel. This applies to spaces around light switches, entrances, fireplaces, and kitchen ranges where fingerprints naturally collect oils.
Step 2: Repair Imperfections
Inspect the paneling closely for:
- Nail holes
- Small dents
- Cracks
- Loose trim
- Open seams
I find this looks more streamlined, and the wood can expand and contract without causing the trim to split further apart.
Step 3: Lightly Sand the Surface
A glossy surface finish on old panels can repel paint. “Scuff the surface,” advises painter David Smith. “Just take the gloss off using 220-grit sandpaper parallel to the woodgrain.”
Avoid harsh sanding on panels covered with a thin wood- veneer-you may sand right through the delicate Decorative wood.
Step 4: Protect the Room
Preparation doesn’t stop with the walls.
Before painting:
- Remove outlet covers
- Cover furniture
- Tape baseboards
- Mask window and door trim
Taking a few extra minutes here saves hours of cleanup later.
The Secret to Success: Choosing the Right Primer
For example, many homeowners err by failing to use a primer altogether or using the wrong type of product.
Hardwood, in particular, has an abundance of tannins and oils that cause yellow and brown stains to appear on paint months after you’ve finished painting.
Selecting the Right Primer
Good primer: For the majority of projects, a premium-quality wood paneling primer will do a great job creating good adhesion and a consistent finished paint color. For cedar, redwood, or richly stained wood panels, oil-based wood paneling primers offer the best stain blocking. They also block tannins in the wood from bleeding through the paint color.
How to Paint Wood Paneling Like A Pro
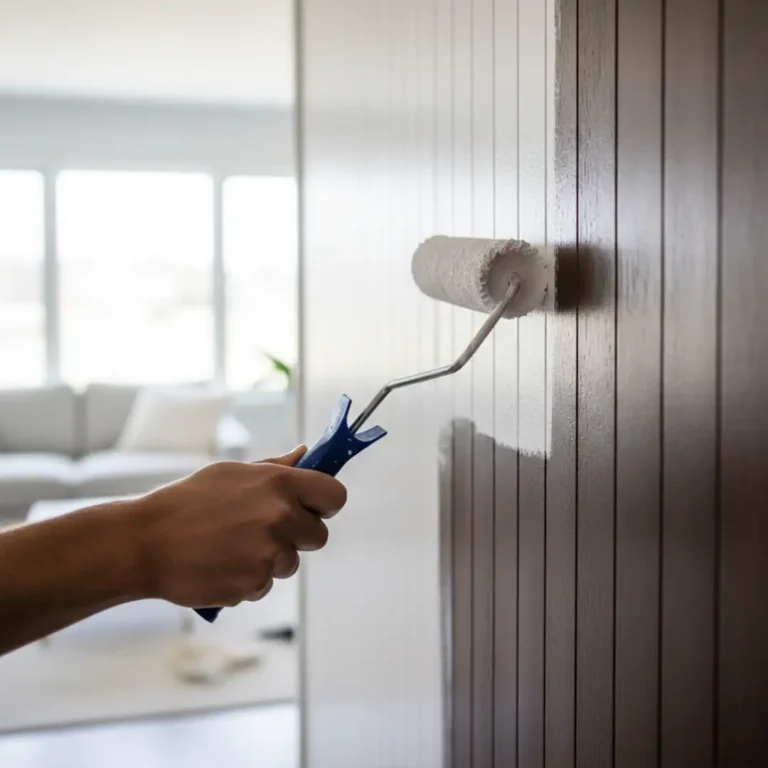
When your primer’s have adequate drying time, you can get to the most fun part of this project.
Step 1: Start With the Grooves
In order to achieve a fully painted surface, it is critical to paint the grooves with an angled brush first.
This makes it easy to brush into the thin grooves, which are not often painted and over rolled areas. Maintain a wet edge when painting by only working to manageable areas, so lap marks don’t appear. Then, roll the areas to cover. Use very little pressure when painting the flat parts.
Step 2: Apply the First Coat Evenly
Instead of painting thick coats, paint on thin layers. Keep the same rolling pattern and don’t go over parts that have started to dry.
The first coat will look a little bumpy, especially on dark panels. That’s normal.
Step 3: Add a Second Coat
Allow the first coat to dry to the touch according to the manufacturer’s instructions before applying the second.
The extra coat will give you a better all-around color, a more durable finish, and better washability by hiding the wood grain entirely.
If you’re going to paint light over dark (such as on wood paneling), be sure to look carefully for thinner spots before you decide the job is finished.
What Color Should You Choose?
Consider Color: How can a new coat of panel paint affect what is seen in your room, and can this create the ultimate panel job? Use light to brighten and expand the space and use dark shades to be more glamorous than the room looks! The dimension the panel coat contributes will impact your room with a lighter hue.
Think of it on your scale of how big/small your new panel looks.
Do you like what is happening?
Popular Paint Colors for Wood Paneling
- Warm White – brightens a space without having to overthink it; will work with just about everything.
- Soft gray – can provide a touch of modern without appearing cold or austere.
- Greige – best of both worlds; it has the beige tones but adds gray elements.
- Light Sage Green – adds subtle color without jumping to a bolder shade.
- Dusty Blue – perfect for the bedroom and great for living room applications that need that certain something.
- Charcoal or Navy – makes a fantastic accent wall and looks amazing in spaces with high amounts of natural lighting.
Choosing the Best Finish
The finish selected is almost as important as color. These come in a variety of strengths and degrees of reflection and shine.
Finish | Best For | Benefits |
Satin | Living rooms, bedrooms | Smooth appearance, easy to clean |
Semi-Gloss | Hallways, kitchens, trim | Durable and moisture-resistant |
Eggshell | Low-traffic rooms | Soft finish that hides imperfections |
Common Challenges and Solutions
Although even very thorough planning doesn’t mean that a few minor bumps won’t ever arise, getting ahead by knowing potential problems can help you get flawless-looking work:
Paint Isn’t Sticking Properly
The Paint is Easy to Peel or Scratch – The primer or surface may not have been cleaned up right in the first place. Whether it was wax, grease, or oil paint (which always has to be scuffed up to have a new finish adhere to it; a bit of light sanding and using bonding primer should be plenty), the base is still glossy, which would explain why the paint isn’t clinging in the first place. Let the paint and the primer set up before starting the next coat; also, there’s always a tendency not to.
Wood Grain Still Shows Through
The dark color of the wood grain is still visible after the first coat of paint, especially when painting over a light color or when it’s time to change a paint color to lighter. The other method: instead of creating a large brush thick of a few large primers you create the second a lot smaller, and the additional amount of paint in thin layers makes them longer and cover more than one larger coat of paint. This patience helps create a finish that’s a lot smoother.
Yellow or Brown Stains Appear
These bleeds are tannin bleeders, and they almost always come from cedar, redwood, or pine paneling. If this problem shows up after painting it all the better, as it simply requires letting the painted surface dry, then priming the areas where bleed shows using a stain-blocking primer, and repainting the surface. Choosing the right primer first helps eliminate the problem.
Conclusion
Giving new life to old paneling does not need to break your bank accounts or go through a massive remodeling job. By simply properly preparing your surfaces, getting good-quality primer, and durable paint, you’ll have old, worn-out-looking paneling transformed, and a fresh contemporary look for a fraction of the price! Always, in painting paneling, take the time for your prep.
A well cleaned & fixed, primed surface with layers of thin coating of the ideal paint will truly get you lasting results.
The best methods above have been confirmed in any of your rooms- living area, basement room, private room, your home workplace; you will love working with these strategies.
Looking for professional results without the DIY effort? San Diego Custom Painting offers expert interior & exterior painting services in San Diego. Our team handles everything from surface prep to final cleanup, ensuring your painted paneling looks flawless.
You may also want to read these posts:
FAQ's
1. Is it advisable to fill the grooves in the paneling?
It is not advisable to fill the grooves in the paneling. However, if you wish to do so, you are at liberty to do that. Not filling the grooves gives your walls dimension, but filling them makes your walls look like a drywall surface.
2. How long does the painted paneling last?
Depending on how well you maintain it, painted paneling lasts eight to ten years or more before repainting. However, there is no guaranteed period for how long the painted paneling can last.