Thinking about giving your home’s exterior a fresh look? Clapboard siding has been a trusted choice for hundreds of years, and for good reason. This classic siding style combines timeless beauty with practical protection. Whether you’re renovating an old home or building a new one, understanding what is clapboard siding will help you make the right choice for your project. The horizontal boards create an elegant look that boosts curb appeal while protecting your walls from harsh weather.
This guide will teach you everything you need to know about clapboard siding. You’ll find out what makes it different from other types of clapboard, which materials perform best, what costs you can anticipate paying and how to keep longevity on track. We will compare wood clapboard to other house siding options, such as fiber cement and vinyl. By the end, you’ll know whether this well-liked option is suitable for your home and budget.
Table of Contents
ToggleQuick Answer: What is Clapboard Siding?
Clapboard siding is the exterior wooden siding of a building consisting of long, wide boards (painted or unpainted). They appear to be overlapping each other to form a vertical wall covering. Every board is “wedgy,” which means that the thick edge is at the bottom. The boards fit one on top of the other and create a pleasingly productive profile with no shadow lines to reject water back onto your home. This two-in-one design is very effective at protecting you from the elements and looks very cool as well.
It was named after the Dutch word “klappen,” which means “to split.” These boards were made by early builders, splitting logs into thin strips. Today’s clapboard comes in the same classic look and traditional wood variety, as well as styles made with modern materials such as fiber cement siding, vinyl and engineered wood. The different materials offer their own benefits when it comes to maintenance, lifespan, and price.
Understanding Clapboard Siding
Clapboard belongs to the lap siding family with unique wedge-shaped boards. The tight overlap creates a smooth, flat appearance. Gentle shadow lines where boards meet add depth.
Traditional clapboard came from splitting cedar or pine logs into thin strips. Workers nailed these strips horizontally, each row overlapping the one below. This board overlapping design helped water run down without seeping behind.
Modern clapboard uses better siding materials while keeping the classic profile. Today’s options resist rot, pests, and weather damage much better.
How Clapboard Differs from Other Lap Siding
While all clapboard is lap siding, not all lap siding is clapboard. Dutch lap has a decorative groove. Bevel siding uses different angles. Clapboard’s wedge shape creates flatter appearance with subtle shadow lines.
Types of Clapboard Siding Materials
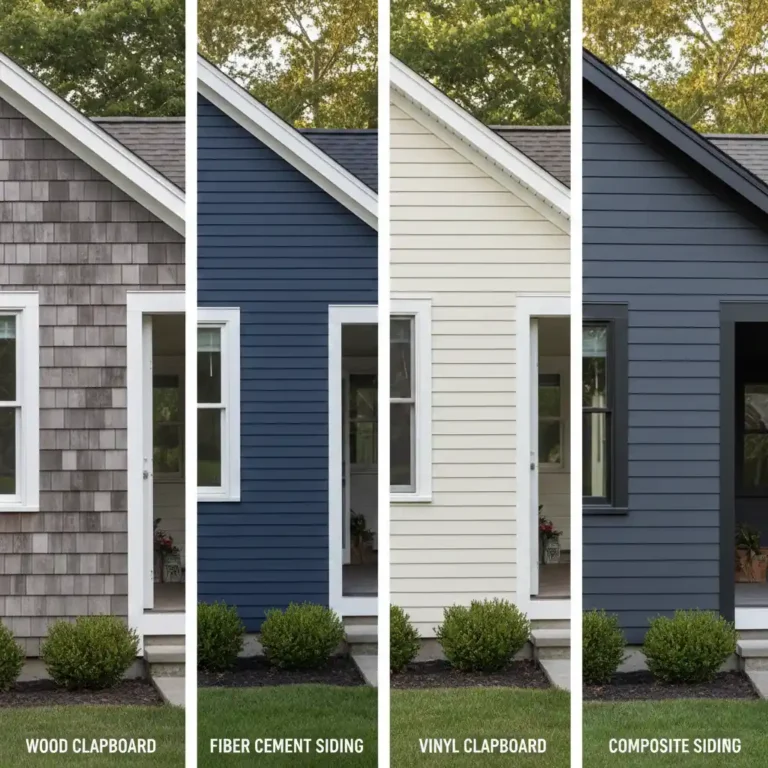
Choosing the right material for your clapboard house affects appearance and long-term costs.
Wood Clapboard Siding
Wood clapboard is the original. Cedar and pine were common choices because they resist decay naturally. Cedar siding remains popular for its wood grain and weather resistance. Pine clapboard costs less but needs more protection.
Wood offers authentic charm and lasts 30-40 years with care. The natural grain creates warmth synthetic materials can’t match. However, it needs painting every 5-7 years and watching for rot. Wood clapboard costs $6-12 per square foot installed.
Fiber Cement Siding
Fiber cement has become the top choice for modern clapboard. Made from sand, cement, and cellulose fibers, this durable material looks like wood but performs better. It won’t rot, burn, or attract pests.
Fiber cement lasts 50+ years with minimal upkeep. The factory finish holds color for decades. This makes it cost effective over time. Costs run $8-14 per square foot installed.
Vinyl Clapboard Siding
Vinyl offers the most cost effective option at $3-7 per square foot installed. Modern vinyl mimics wood grain and comes in many colors. It never needs painting and resists moisture well.
The downside? Vinyl fades in sunlight and cracks in extreme cold. Quality varies, so choose thick vinyl with warranties.
Composite Siding
These combine wood fibers with resins. They resist weather better than solid wood while looking natural. Prices range from $5-10 per square foot installed.
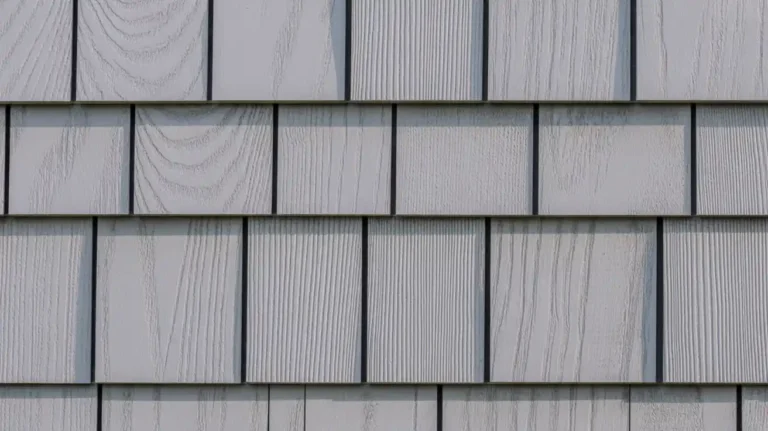
What Does Clapboard Look Like?
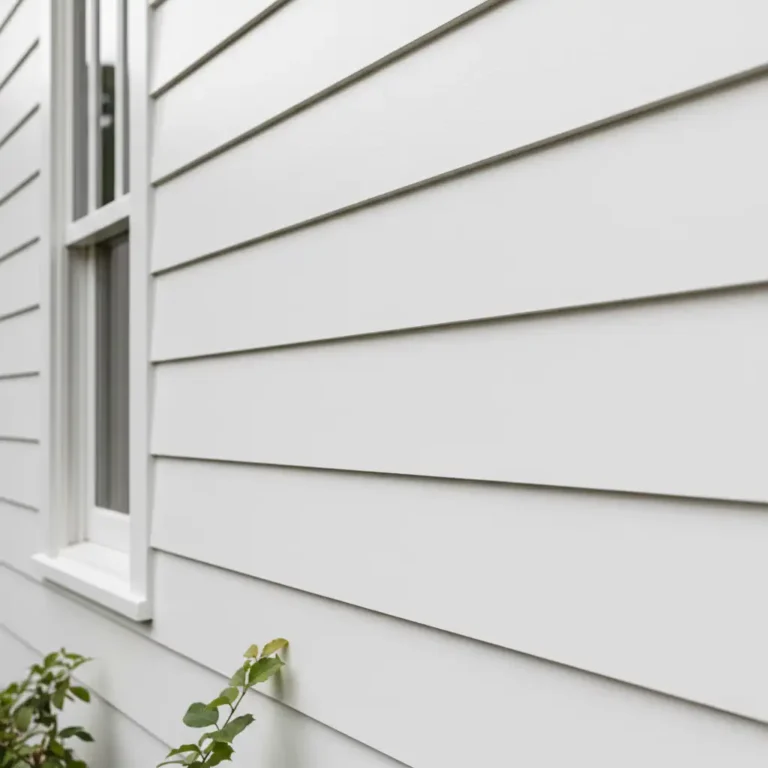
Clapboard creates a horizontal pattern across your home’s exterior. The boards are typically 4-8 inches wide. The overlap is usually 1-1.5 inches.
The shadow lines are one of clapboard’s defining features. These subtle grooves form where each board overlaps the next. They add depth without looking busy.
You can get clapboard with a smooth finish or one that mimics wood grain texture. Smooth finishes look more formal. Wood grain patterns give a rustic feel. Colors range from white and cream to blues, greens, and grays.
Where is Clapboard Siding Used?
Clapboard began in New England in the 1700s. European settlers brought the practice and found it suited to severe winters. These days, you can discover clapboard on homes across the country.
This style of siding is suitable for homes, barns, garages and sheds. It can be used on colonial houses, Cape Cods, craftsman bungalows or modern homes.
You can also choose cladding for entire buildings or to emphasize an accented look by using clapboard. A lot of people will put that on dormers or gables and use a different material on lower walls.
Cost of Clapboard Siding
Material costs vary based on type and quality. Here’s what to expect per square foot installed:
- Wood Clapboard: $6-12
- Fiber Cement: $8-14
- Vinyl: $3-7
- Composite: $5-10
For a typical 2,000 square foot home, total costs range from $6,000-28,000 depending on material choice.
Long-term costs matter too. Wood needs repainting every 5-7 years. Fiber cement might need repainting once in 20 years. Vinyl needs only cleaning.
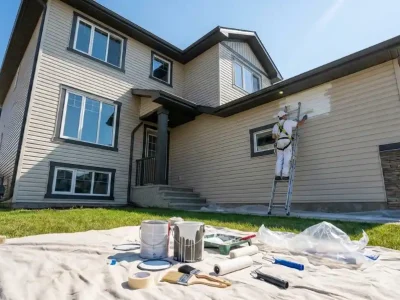
Installation Process
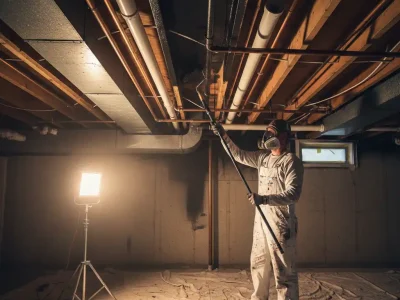
Installing clapboard requires precision. Professional installation ensures proper weather protection.
The process starts with removing old siding and inspecting walls. Installers add weather barrier and starter strips. The first row goes on perfectly level. Each board overlaps the next.
Professional installation takes 1-2 weeks. DIY is possible but challenging.
Maintenance and Care
- Wood Clapboard: Inspect twice yearly. Clean annually. Repaint every 5-7 years. Replace damaged boards promptly.
- Fiber Cement: Clean yearly with a hose. Check caulking. Touch up paint chips. Repaint every 15-20 years if desired.
- Vinyl: Wash annually with soap and water. Avoid high-pressure washing. Replace cracked sections.
- Composite: Clean yearly. Check for moisture damage. Touch up finish every 3-5 years.
Keep plants away from siding. Maintain good drainage around your foundation.
Is Clapboard Siding Still in Use Today?
Yes, clapboard remains a popular choice for new construction and renovations. Its timeless appeal never goes out of style.
Modern manufacturing makes today’s clapboard better than ever. Fiber cement options offer wood’s beauty with superior durability. Even vinyl versions now feature realistic wood grain textures.
Architects and builders choose clapboard for its versatility. It complements both traditional and contemporary designs. Homeowners love it for curb appeal and character. Well-maintained clapboard siding can increase property values.
Pros and Cons of Clapboard Siding
Advantages
- Classic Beauty: Clapboard’s clean lines and subtle shadow create timeless appeal.
- Weather Protection: The board overlapping design sheds water effectively.
- Versatile: Available in multiple materials and colors.
- Proven Performance: Hundreds of years of use prove its effectiveness.
- Boosts Value: Traditional look attracts buyers and increases resale value.
Disadvantages
- Maintenance: Wood versions require regular painting.
- Higher Cost: Quality options cost more upfront.
- Installation Skill: Proper installation requires experience.
- Material Issues: Each material has specific drawbacks.
Final Thoughts
Clapboard siding combines traditional charm with modern performance. Whether you choose wood for authentic beauty, fiber cement for durability, or vinyl for budget-friendly options, this classic siding style enhances any home’s exterior.
The right material depends on your budget, climate, and maintenance preferences. Wood clapboard siding offers unmatched natural beauty but needs regular care. Fiber cement provides excellent weather resistance with minimal upkeep. Vinyl delivers cost effective protection.
Consider long-term costs, not just installation prices. A material that costs more initially but needs less maintenance often saves money over time. Some materials perform better in humid areas, while others handle extreme cold better. Fiber cement works well in most climates.
If you’re planning a home renovation in Southern California, San Diego Custom Painting offers professional exterior painting services and home remodeling services in San Diego. Our team helps homeowners choose the right siding materials and colors, ensuring beautiful results.
Take time to research options, get multiple quotes, and check contractor references. Quality installation matters as much as material choice. Done right, your new clapboard siding will protect and beautify your home for decades.
FAQs About Clapboard Siding
How long does clapboard siding last?
Lifespan depends on material. Vinyl lasts 20-40 years, wood 30-40 years with good care, and fiber cement 50+ years.
Can I install clapboard siding myself?
DIY installation is possible if you have carpentry experience. However, professional installation ensures better weather protection. Mistakes can cause water damage that costs more to fix than hiring pros.
What’s the difference between clapboard and lap siding?
Clapboard is a type of lap siding with a specific wedge shape where the bottom is thicker than the top. Other lap siding styles include Dutch lap and bevel siding.
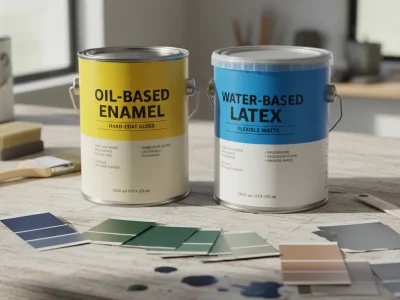
Does clapboard siding need to be painted?
Wood clapboard requires painting or staining. Fiber cement comes pre-finished but can be repainted. Vinyl doesn’t need painting.
Which clapboard material is most durable?
Fiber cement offers the best combination of durability and low maintenance. It resists rot, pests, fire, and moisture better than wood or vinyl.