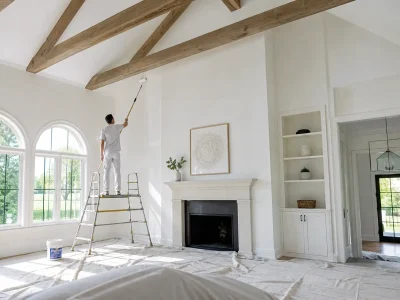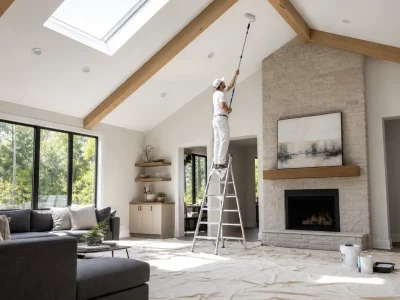

You’ve walked into a room and said, “Wow, check out those vaulted ceilings.” They tend to give a room a larger, lighter, more dramatic feeling. But as with many things, they’re gorgeous, but think of the pain of painting them; their elevations and angles are not your conventional, flat ceiling.
So how do you get into those high spots, make sure your walls and floor are covered, and get a thorough coat everywhere? And is there a knack for staying away from those flat roller smears that make you cringe? You betcha!
Table of Contents
ToggleEquipment and prep: If it’s time to repaint a worn-out ceiling or change the color to match your newly refurbished dwelling, then your tools are required. With a sensible application of the right equipment, you are able to take on quite a number of vaulted ceiling jobs quickly and safely.
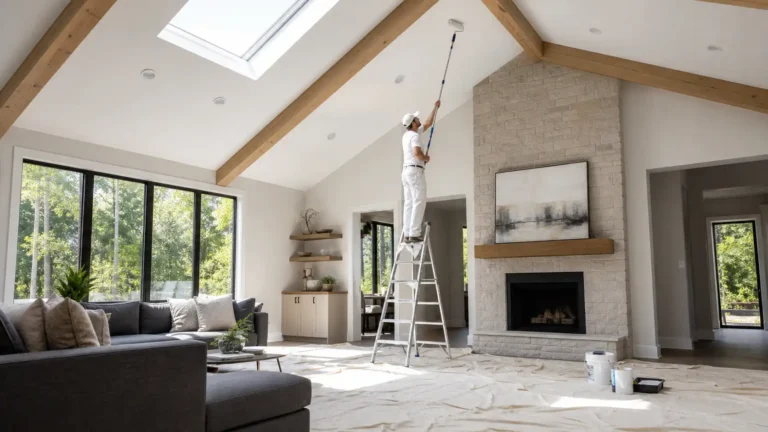
Why Painting a Vaulted Ceiling Requires Extra Planning
Have you ever believed that a vaulted ceiling is just the same as a normal ceiling, but with more distance? Think again! Looking up at the slopes, peaks, and beams makes it so clear that you’ve entered a new universe.
Maybe a normal roller extension can handle sections of it, but it’s not ideal for those very high places.
Have you ever climbed up a fragile, unstable, and possibly wobbly chair or platform to get a closer look?
Here’s the deal: roller marks, window brightness, uneven paint levels, and missed spots are the nemesis of consistent coverage. In other words, the minute the sun shines in your window or through your skylight, any and all roller lines and excess or thin spots of paint are painfully obvious.
Choose the Right Paint and Equipment
Have you ever considered the impact of paint? For your home’s ceilings, you’ll usually find that you’ll want to go with a quality interior ceiling paint that has a flat or matte finish. And here is why—these types of finishes are perfect for camouflaging imperfections on the ceiling’s surface and look very fresh.
Here’s the trick: You need to put together the perfect set of tools to go high. You can extend your reach with a long pole, which is necessary for angled areas. Those super tall areas will require the right height ladder or a skilled professional’s platform—much better than climbing up on your furniture or boxes. Gather your supplies in one place first; you don’t want to keep running up and down the stairs while you work. Let’s get started!
- Quality ceiling paint
- Roller frame and suitable roller covers
- Extension pole
- Angled brush for edges and corners
- Painter’s tape
- Drop cloths and plastic sheeting
- Sanding sponge or fine-grit sandpaper
- Patching compound
- Caulk for suitable gaps
- Paint tray or bucket
- Ladder or approved work platform
Having everything ready beforehand keeps the process organized and reduces interruptions.
Work From the Edges Toward the Main Ceiling Area
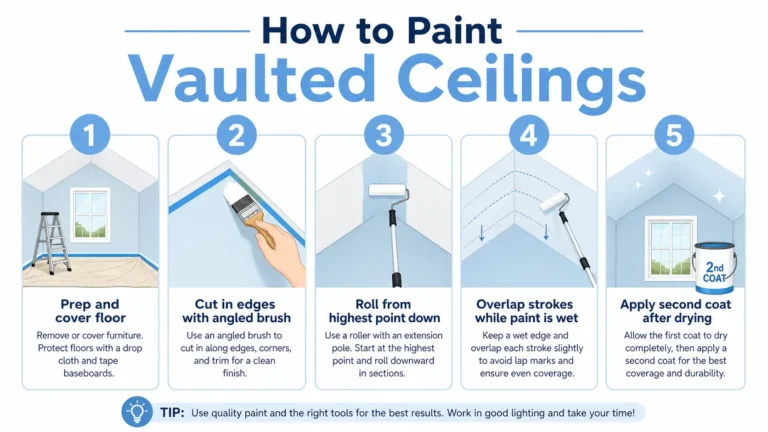
Before tackling the bigger parts of your room, it’s recommended to start by painting those areas that are difficult to access around the edges of the ceiling. For this step, use a high-quality angled brush to cut in all the corners, walls, beams, trim, and fixtures. Just one note of warning: don’t let that brush bog down with paint, or you will see drips around the edges. Once you’ve cut in the edges, paint the rest of the ceiling.
How hard should you push when rolling? If you push too hard, you’ll remove too much paint, creating thin areas of paint or patchwork. If you push too lightly, you won’t even get coverage. To get a good load of paint on your roller, fill your roller to the top with paint, then let the excess drip off so it’s not glopping with paint.
Use the Correct Rolling Technique for Sloped Areas
Ever look up at a vaulted ceiling and think, “Great, now how am I ever going to paint this thing without streaks?” You’re not the only one. This is a cinch if you’ve got the roller mastered and you stay consistent with your pattern.
Begin with the most challenging or highest points—if you can reach them safely. If you require a ladder or platform, move it constantly.
Here’s the thing: When you get to painting, do overlapping strokes. Just a little overlap of the prior section while the paint is still wet can help to minimize visible lines. And, whatever you do, avoid rolling over areas that are beginning to dry, as it can cause a patchy, uneven finish.
But for the larger areas, try to keep to a logical direction and a more consistent pattern. Going in different directions and randomly swirling around is NOT going to create that nice even look you are after, especially when the light hits it right.
Apply a Second Coat When Necessary
Want to paint a room? Have you asked yourself, “Is one coat of paint enough?” Sometimes one coat works—especially if you are applying a similar color to a clean, bare surface.
But sometimes that second coat really makes a difference.
Maybe you’re applying a lighter color over a darker one. Or maybe you want to eliminate an annoying stain.
Allow the first coat to dry fully, per the manufacturer’s directions. You won’t be able to assess coverage until the color is dry—it will absolutely look different and change in appearance once dry.
Here’s the deal: Before you roll on that second coat, spend a few minutes studying the ceiling from several positions. Did you notice any thin areas or roller marks, or missing spots? Cover them with the second coat instead of doing touch-up work down the road.
Avoid Common Vaulted Ceiling Painting Mistakes
Tips to save yourself from a ceiling project that becomes a nightmare. Don’t miss essential prep work. If you don’t prepare the surface and end up painting over dust, stains, cracks, and poorly filled areas, those blemishes will appear through the top coat of paint. If your home was built before 1978, check the EPA’s lead-safe renovation guidelines before sanding.
Incorrect gear can actually be a time sink. To reach a high peak, you could get away with a short roller extension, but risking unsafe stretching or awkward movements is just not worth it. The same logic applies to using the wrong roller cover to get a certain texture or coverage.
When Should You Hire a Professional Painter?
Considering trying this on your own to repair that vaulted ceiling? Wait just a minute. You may not be able to do this on your own if your vaulted ceiling isn’t a good DIY fit.
If you don’t have a steep slope or high peaks that are hard to reach from the ground, you’re probably fine.
But there are some pitfalls you have to watch out for.
The thing is, professional painters excel when there’s a lot of staining, peeling paint, cracks, or other surface problems on your ceiling. They don’t merely slap on some paint; they prepare the surface first.
Final Tips for a Smooth, Professional Finish
Contemplating a vaulted ceiling paint task? The caveat: Even before you get out the roller, you should consider what it will take to complete it. First off: Select the right materials and prepare the room. Inspect the ceiling for defects, and secure safe access to all the areas you’ll paint.
Has your ceiling got a real height advantage, or is it at a difficult access point? This could also be a situation where leaving it to the experts is a good idea; they’ll have the gear and know-how so that you won’t be risking any breakages or mishaps.
Conclusion
Visualize your room with a beautiful vaulted ceiling. Pretty spectacular! However, there’s a catch: Those perfectly finished ceilings and walls are not going to happen with just a paint roller and a brush. You will need a little prep, the proper gear, and a safe way to work to ensure you’re not left with roller marks, drips, and missed spots.
For simple ceilings, you can probably get away with a little DIY. But what about these high peaks and complicated angles? SD Custom Painting can bring the experience and tools for those big projects.
Frequently Asked Questions
Can you paint a vaulted ceiling with a roller and no ladder?
Visualize this: a roller extended with a handle, rolling across an expansive ceiling. For most people, that’s all they need—when the highest reaches are comfortably within arm’s length from the ground.
Can painting a ceiling with a high peak be dangerous?
Yes, especially without the right tools and equipment. The dangers could even mean a serious accident if you balance awkwardly on top of furniture or lean too far off a ladder to reach high spots. A lot of the time, these are the types of jobs you want to hire a local company with experience to handle, as they already have the right equipment.