How to Paint Over Oil Based Paint (Step-by-Step Guide)
Wondering how to paint over oil based paint without it peeling? You are not alone. Millions of older homes still have oil-based coatings on trim, doors, and cabinets. The good news is you can refresh these surfaces using modern latex or acrylic paint. You just need the right prep steps and a good bonding primer.
In this guide, you will get a clear, step-by-step process that actually works. We cover how to identify oil-based paint, how to clean and sand the surface, which primer to use, and what paints work best. By the end, you will know exactly what to do and what to avoid.
Table of Contents
ToggleCan You Paint Over Oil Based Paint?
Yes, you can paint over oil based paint. But you cannot just roll on new latex and walk away. Oil paint cures into a hard, glossy surface. Water-based paints do not stick well to that shine without proper prep.
If you skip prep, your new paint will peel within days or weeks. With the right steps, the result lasts for years. The process takes a bit more time than regular painting, but it is completely doable as a weekend project.
One thing to confirm first: make sure you are actually dealing with oil-based paint. Dip a cotton ball in denatured alcohol and rub a small spot. If the paint wipes off, it is latex. If nothing comes off, it is oil-based. This simple test saves you from using the wrong process.
How to Paint Over Oil Based Paint: Step-by-Step Process
This process works for trim, doors, cabinets, and walls. Follow each step in order. Skipping any one of them leads to failure.
Step 1: Clean the Surface Thoroughly
Start by washing the surface with a solution of trisodium phosphate (TSP) and warm water. Mix one-quarter cup of TSP into one gallon of water. Scrub with a sponge, then rinse with clean water. Let it dry fully before moving on.
TSP removes grease, grime, and dirt that block primer adhesion. A box of TSP costs around $10 to $15 and covers 500 to 600 square feet. If you prefer a gentler option, a 50/50 mix of white vinegar and water works too, though it requires more scrubbing.
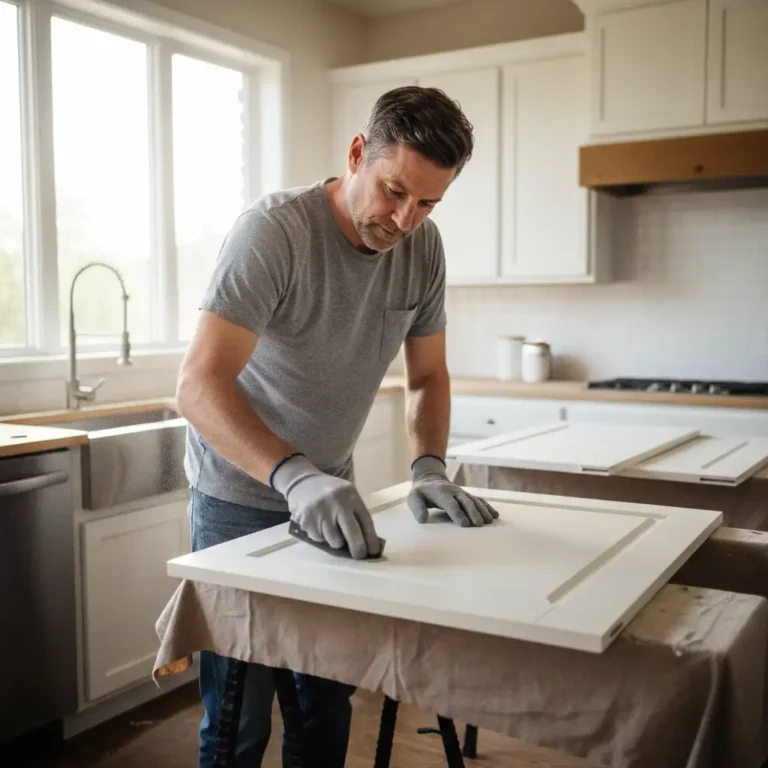
Step 2: Sand the Glossy Surface
Use 180 to 220 grit sandpaper to dull the sheen. You are not stripping the paint. You are just knocking down the gloss so the primer has something to grip. Work in circular motions and pay extra attention to edges and high-traffic areas like cabinet handles and door frames.
After sanding, wipe away all dust with a tack cloth or damp rag. Any leftover dust will ruin adhesion. A pack of 220-grit sandpaper costs $8 to $12 and covers about 300 square feet.
Step 3: Apply a Bonding Primer
This is the most important step. A regular primer will not grip oil-based paint reliably. You need a bonding primer. These products are formulated to grab onto glossy surfaces and create a solid base for your new topcoat.
Apply one thin, even coat. Let it dry for 1 to 2 hours. If the old color bleeds through or you see any glossy spots, apply a second coat. Here are the most reliable bonding primers and their average costs:
- Zinsser B-I-N Shellac-Based Primer: $38 to $45 per gallon. Dries in 45 minutes. Best for stain blocking.
- KILZ Adhesion High-Bonding Primer: $28 to $35 per gallon. Water-based and easy to clean up.
- Sherwin-Williams Extreme Bond Primer: $35 to $42 per gallon. Great for exterior surfaces.
Step 4: Apply Two Coats of Your Chosen Topcoat Paint
Once the primer dries, apply your first coat of paint in smooth, even strokes. Do not overload the brush or roller. Thin coats always outperform thick ones. Wait at least 2 hours before applying the second coat.
Two coats give you full color coverage and better durability. For cabinets and trim, use a semi-gloss or satin finish. These sheens resist moisture and clean up easily. Flat paint wears poorly on surfaces that get touched often.
You may also read this: How to paint kitchen cabinets?
What Types of Paint Can You Use on Oil-Based Paint?
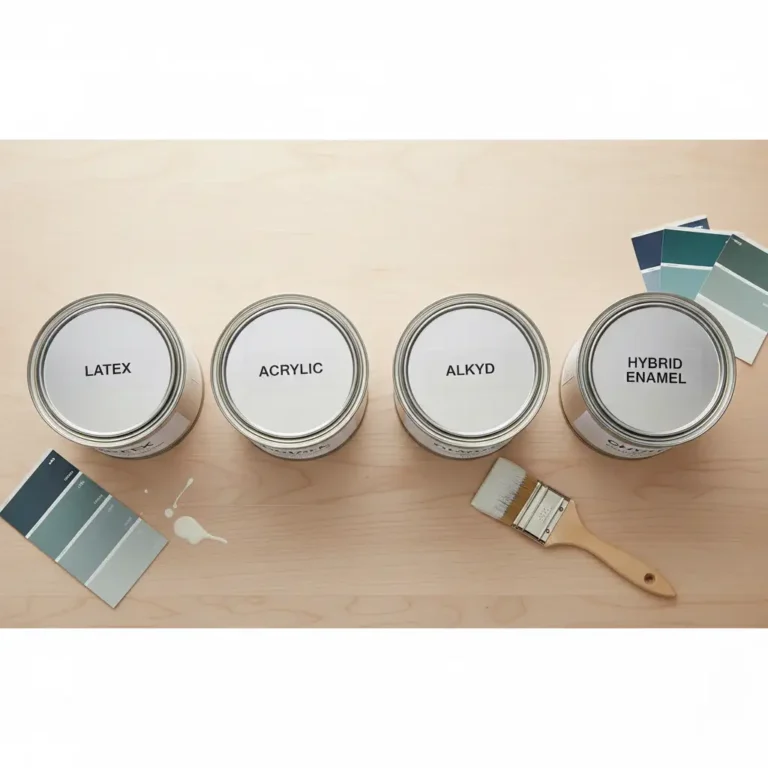
After proper prep, you have four solid options for your topcoat:
- Water-based latex paint: The most popular choice. Low VOC, fast drying (1 to 2 hours), easy cleanup with soap and water. Does not yellow over time. Great for interior rooms and exterior surfaces.
- Acrylic paint: A premium version of latex. Better adhesion and durability. Ideal for kitchen cabinets and high-traffic doors. Holds color longer than basic latex.
- Oil-based alkyd paint: Modern synthetic oil. More durable but harder to work with. It takes 24+ hours to dry between coats. Strong fumes. Some states limit sales due to VOC levels.
- Hybrid enamel paint: Combines the durability of oil with water-based convenience. Costs 20 to 30 percent more than standard latex. Excellent results on trim and cabinets.
Can You Paint Latex Over Oil Based Paint?
Yes, painting with latex over oil based paint works well when you follow the prep steps above. The bonding primer acts as a bridge between the two formulas. It grips the oil-based surface below and gives the latex something to hold onto above.
This conversion is now standard practice in home renovation. Expect to spend an extra 4 to 6 hours on prep compared to painting over existing latex. That investment is worth it. Properly done, the finish lasts years without peeling.
Latex vs. Oil: What Is the Difference?
Understanding both paint types helps you make smarter choices for each project.
Oil-Based Paint: Pros and Cons
Oil-based paint uses natural oil as its carrier. It cures into a very hard, smooth surface that resists moisture. For decades it was the standard for trim and doors because of its durability. The downside is it takes 8 to 24 hours to dry between coats, releases strong fumes, yellows over time in low-light areas, and requires paint thinner for cleanup. It is also restricted in several U.S. states due to high VOC content.
Water-Based Paint: Pros and Cons
Water-based paint uses water as its carrier. Modern latex and acrylic formulas have closed most of the performance gap with oil. They dry in 1 to 2 hours, clean up with soap and water, resist yellowing, and come in low or zero VOC versions. The only real downsides are they can raise wood grain on raw surfaces and may need an extra coat for full coverage on dark colors.
When Should You Use Oil Paint?
Oil-based alkyd paint still makes sense in specific situations. Use it on bare metal surfaces, high-wear floors, or when you need an extremely hard finish that resists chips and dents. If you are painting over oil based paint with oil based paint on a surface in good condition, light sanding is enough. No primer is needed if the old coat is fully cured (7 to 30 days old). Press your fingernail into a hidden spot to test. If it leaves a mark, the old paint has not fully healed yet.
When Can You Use Latex Paint?
Latex is the right choice for most interior and exterior painting projects. It works on walls, ceilings, trim, doors, and cabinets. Use it whenever you want faster drying, lower fumes, and easier cleanup. Just make sure you complete all four prep steps when you are repainting over oil based paint. Skipping the bonding primer is the single biggest mistake DIYers make.
Project Time and Real Cost Estimates
Kitchen Cabinet Refresh
- Prep time: 6 to 8 hours
- Priming time: 3 to 4 hours (plus drying)
- Painting time: 6 to 8 hours for two coats
- Total project time: 2 to 3 days
- Material costs: $200 to $350
- Professional cost: $2,000 to $4,500
Door Repainting
- Prep time: 1 to 2 hours
- Priming time: 30 minutes (plus drying)
- Painting time: 2 to 3 hours for two coats
- Material costs: $40 to $75 per door
- Professional cost: $150 to $300 per door
Trim Work (One Room)
- Prep time: 2 to 4 hours
- Priming time: 1 to 2 hours (plus drying)
- Painting time: 3 to 4 hours for two coats
- Material costs: $75 to $125
- Professional cost: $300 to $600
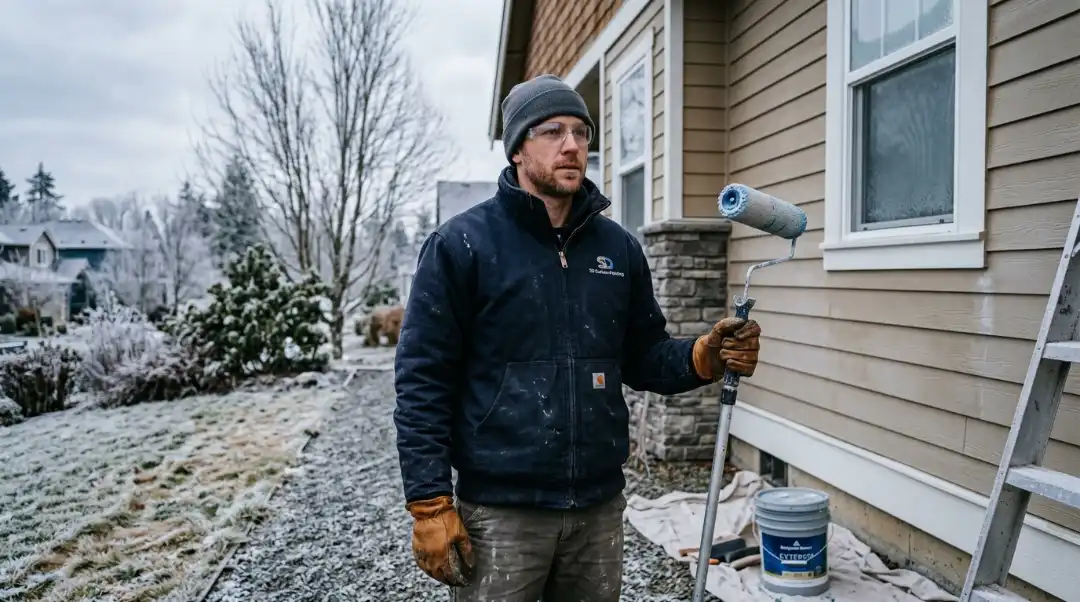
Temperature and Humidity Matter
Paint chemistry depends on conditions. Work when temperatures are between 50 and 85 degrees Fahrenheit and humidity is between 40 and 70 percent. Below 50 degrees, latex paint may not cure correctly. In high humidity, add 50 percent more drying time between coats. Use fans indoors to improve air circulation.
Common Mistakes to Avoid
- Skipping the alcohol test: Do not assume you know the paint type. Always test with denatured alcohol first.
- Using regular primers: Standard primers do not grip glossy surfaces well enough. Always use a bonding primer.
- Not sanding enough: Dulling a few spots will not work. Sand the entire glossy surface.
- Rushing dry time: Cold and humid conditions slow drying. Be patient between coats.
- Applying thick coats: Thick paint sags and takes much longer to dry. Two thin coats are always better.
Troubleshooting: What to Do When Things Go Wrong
- Paint peeling after one week: The surface was not clean enough or you skipped the bonding primer. Strip the peeling areas, re-clean with TSP, prime correctly, and repaint.
- Brush marks showing: Paint was applied too thick or you used a low-quality brush. Sand lightly with 220-grit paper and apply a thinner final coat.
- Old color bleeding through: The previous paint was too dark or contains stains. Apply a second coat of shellac-based primer before your topcoat.
- Sticky finish after several days: The oil paint below has not fully cured, or you painted in high humidity. Increase ventilation and wait. If it’s still sticky after two weeks, you may need to start over.
Safety and Lead Paint Warning
Homes built before 1978 may have lead-based paint. Before sanding, use a lead test kit from any hardware store. If the test is positive, avoid dry sanding. Contact a certified lead remediation professional instead. Lead dust is a serious health risk, especially for children.
Always wear gloves, safety glasses, and an N95 mask when sanding old paint. Open windows and use fans for ventilation. Never pour oil paint down a drain. Take it to a local hazardous waste facility.
Guaranteed: The Perfect Paint Job Every Time!
DIY painting saves money, but some jobs genuinely benefit from professional hands. San Diego Custom Painting brings 27 years of experience to interior, exterior, and cabinet painting services in San Diego. We have converted thousands of oil-based surfaces to modern, low-VOC finishes with zero peeling failures.
Our team handles all the prep work, uses commercial-grade materials, and stands behind every result. Most projects are done in 1 to 2 days with no cleanup hassle for you. Contact San Diego Custom Painting today for a free estimate and a finish that lasts.
Final Words
Learning how to paint over oil based paint opens up renovation options that many homeowners think are out of reach. The process takes more time than painting over latex, but the four steps are straightforward: clean the surface, sand away the gloss, apply a bonding primer, and finish with two coats of quality paint. Use denatured alcohol to confirm the paint type before you start. Invest in a real bonding primer. Give every coat the time it needs to dry. Do those things and your painted surfaces will look great for years.
FAQs About Painting Over Oil Based Paint
How long does oil-based paint need to cure before you paint over it?
Oil paint needs 7 to 30 days to fully cure depending on temperature and humidity. Press your fingernail into a hidden spot. If it leaves a mark, wait longer. Fully cured paint feels rock-hard and does not dent.
Can I use a regular primer instead of a bonding primer?
No. Regular primers do not adhere well to glossy, cured oil-based surfaces. Bonding primers contain special adhesion promoters that make the conversion reliable. The extra $10 to $15 you spend prevents complete project failure.
Can you skip the sanding step?
No. The glossy finish on cured oil paint repels water-based coatings. Sanding creates a rough texture that primers can grip. Skipping it leads to peeling within days.
What is the best paint sheen for cabinets painted over oil-based paint?
Semi-gloss or satin. These finishes resist moisture and wipe clean easily. Flat paint wears quickly in kitchens where surfaces are touched and wiped often.
Is painting oil over oil easier than switching to latex?
Yes, it requires less prep if the existing oil coat is fully cured. But latex paint offers better long-term performance with lower fumes, making the extra prep steps worth it for most projects.
How do I dispose of leftover oil-based paint safely?
Never pour oil paint down a drain or into the trash while still liquid. Take it to a local hazardous waste facility. Latex paint can be left to dry solid and then placed in regular trash.

Mark Sullivan
Mark Sullivan is a seasoned expert in the residential and commercial painting industry, with over 27 years of experience transforming homes across San Diego. His deep understanding of color, finishes, and surface preparation allows him to deliver exceptional results on every project. Mark is passionate about sharing practical painting advice, maintenance tips, and design insights that help homeowners make confident decisions. His expertise and dedication to quality are reflected in every article he contributes to the San Diego Custom Painting blog.
Related Article
- All Posts
- Cabinet Painting
- Home Painting
- Home Remodeling