

If you’re planning to paint a cathedral ceiling, you probably know that the effect can add space, light, and style to a room. But because cathedral ceilings are higher than standard ceilings and often have angles, they’re not always easy to paint, especially if you want to paint a smooth finish.
Here’s how to paint a cathedral ceiling to minimize common pitfalls and get the best result.
Table of Contents
ToggleWhy Are Cathedral Ceilings More Difficult to Paint?
A cathedral ceiling is believed to enlarge a room and add some color and style. Most likely, painting a cathedral ceiling is more difficult because of its construction and the peaks and angles that make it beautiful.
The truth is, common tasks associated with painting cathedral ceilings, such as cleaning high spots and protecting walls and floors from splatters and drips, are more specialized than other painting tasks. If you have a little painting skill, you’re ahead of the game.
Whether you’re simply painting over the current color, covering an imperfection, or just freshening up a space in a new color, having the proper knowledge, supplies, and gear can make all the difference.
Here’s an examination of how to prepare yourself for the task, what gear and technique to use, how to be safe, how much it costs, and when it might make sense to leave it to the pros.
How to Prepare a Cathedral Ceiling for Painting
The first step towards any ceiling project is proper preparation. Before you crack open the can of paint, take a look to see if you have any cracks, peeling paint, water stains, holes, or other damage.
You will also want to get rid of cobwebs and dust, which will probably help to make the new coating cling to the ceiling. If your home was built before 1978, check the EPA’s guidance on lead-safe renovation and painting before you sand or scrape old paint.
If you can move the furniture out of the room, you should do so; if not, cover the furniture.
The ground can be draped with painter’s drop fabric—don’t use plastic. Taping off the ceiling, trim, windows, and fixtures with painter’s tape will ensure sharp lines. If your ceiling has a water stain, locate and repair the leak, or you will just see the stain bleed through your new coat of paint; after the repair, prime it with a stain blocker to keep the stain from coming back.
What Tools Do You Need for Cathedral Ceiling Painting?
The proper equipment will help you do the job more safely and better. A good roller that fits onto an extension pole will make the job safer for reaching high ceilings from the ground.
The nap length should suit the ceiling surface; rough ceilings generally need a thicker nap than smooth ceilings. Angled brushes and rollers are a real advantage for reaching those tight, hard-to-get-to spots, like corners, edges, and around fixtures.
Other useful supplies include:
- High-quality ceiling paint
- Primer when needed
- Paint trays
- Extension poles
- Roller covers
- Angled brushes
- Painter’s tape
- Drop cloths
- Sandpaper or sanding sponges
- Spackle or patching compound
- Caulk for appropriate gaps
- Safety glasses and protective clothing
If you’ve got an extremely high ceiling, investing in professional tools is well worth it. Never try to use unsupported furniture or boxes to increase your height, and follow OSHA’s ladder safety guidelines whenever you work at height.
How to Paint Cathedral Ceilings Step by Step
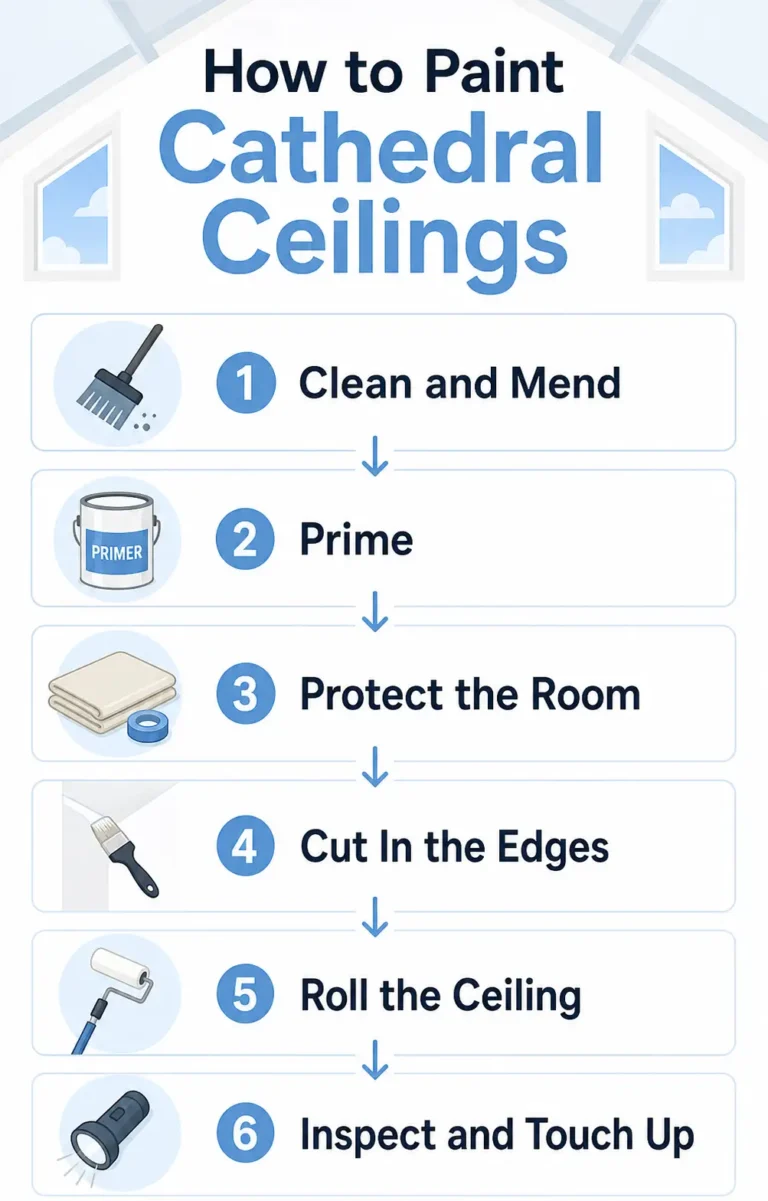
There’s also a technique to rolling a cathedral ceiling; the way you go about the process and what areas you paint first are crucial to getting even coverage and avoiding painting overkill.
1. Clean and mend the surface
Begin by sweeping away spider webs, dust, and any other loose debris. Watch for any holes or cracks in the surface of the paintwork and any places where the ceiling is not flat. Fill any holes and cracks with the filler and leave to dry, then give a light sand to make it flush with the rest of the ceiling.
If your coating is flaking badly, you’ll need to scrape it away and prepare it for repainting. You can paint on old paint, but if you are painting over old flaky or failing paint, then the new coat will flake as easily as the old.
2. Prime As Required
Primer is advisable, particularly where there are stains, the plaster is revealed, there is an important change in color, or the surface of the ceiling is non-porous. Opt for a stain-blocking primer in order to prevent the stain from bleeding through the new paint. Wait to paint the ceiling until the primer is dry according to the manufacturer’s instructions.
3. Protect the Room
Protect all floors and any furniture you have. For a sharp edge, get out your painter’s tape and tape where the ceiling and wall meet. Take down or cover light fixtures if you can, and make sure there is plenty of light.
A single drip can spoil a painted ceiling, so you should be cautious to avoid that with your cathedral ceilings. Sure, it may take you more time to cover your whole room for now, but you will thank yourself when it is time to clean up.
4. Start With the Edges
Use a good angled brush for painting corners, the corners of walls, beams, skylights, and fixtures. Don’t overload the brush, as you’ll have a hard time wiping drips off the high ceiling.
Paint in sections, as opposed to outlining the entire perimeter. Keep the edge wet so that if there are any brush strokes, they will bleed into the rolled parts of the paint.
5. Roll the Main Ceiling Area
For wider areas, use a roller on an extension pole. Roll on light, overlapping coats. Don’t press the roller down forcefully or you’ll make the paint squeeze out of it.
Keep a “wet edge” overlap as you go. Some finishes and paints are best rolled twice for a smoother finish rather than one heavy coat.
6. Inspect the Finish After Drying
After the first coat is dry, shine your light across the ceiling at an angle and spot check from various positions in the room. Look for any thin areas, missed areas, roller marks, or patches.
Fix the defects before applying the final coat. As soon as the final coat is dry, peel away the painter’s tape. Believe us: it’s worth taking a couple of minutes with a craft knife or detail screwdriver to clean up some of the imperfections around the corners. It’s a fast and easy way to get a home DIY project to near-professional quality.
Mistakes to Avoid When Painting Cathedral Ceilings
Overapplication of the paint can create textured areas and drip marks, and it can also make the paint take longer to dry. When painting, ensure that you are applying thin coats of paint and that the paint has dried out before applying more coats.
Don’t skip the preparation. Don’t hide dust, blotches, uneven paint spots, or loose and flaking areas under a new coat over the original finish, because that will involve much more work later. It will take longer for you to prepare a good surface, but you will stand a much better chance of being satisfied with the outcome.
How Much Does It Cost to Paint a Cathedral Ceiling?
So how much will it cost to paint a cathedral ceiling? Depends. Sure, it does, because when we consider the measurements, the paint type, and the number of coats, it’s not just about square footage.
The labor on the job could possibly be bigger, for example, if specialized ladders, scaffolding, lifts, prep, or safeguards are needed. This could also include repair, stain blocking, or advanced architectural details.
How Professional Painting Can Improve the Final Result
Since your eye is naturally drawn to a high ceiling, flaws will be visible from a distance. Professional painters can get even coverage and a wet edge over large areas.
Not only can they advise you on the right color, but they can also suggest other options suitable for the ceiling according to its coating, lighting, and appearance. They will look after your preparation problems and not just the color of the paint.
For the DIYer who feels like freshening up a room but doesn’t want the risk, the workout, and the heavy breathing of a high-ceiling project, what better option than a true professional?
Conclusion
A cathedral ceiling requires a few more steps and some planning compared to a flat ceiling. But a cathedral ceiling, when painted correctly, can definitely be a wow factor. The biggest problems come with safe access, surface preparation, even application, and appropriate drying time between coats.
A professional painting contractor will surely make your very high or hard-to-get-to cathedral ceilings much easier and safer for any type of cathedral ceiling painting projects you might have. SD Custom Painting will work with the homeowners to be sure hard-to-reach cathedral ceiling areas are completed with proper preparation, professional paint application, and finish work. A properly finished cathedral ceiling painting project is the perfect touch for a very awesome room.
FAQs
Can I paint my cathedral ceiling myself?
Yes, but this project is more suited to the homeowner if they have appropriate access equipment and plenty of experience working overhead. Check height and access before starting. Never substitute access equipment for unstable pieces of furniture.
Should you spray or paint a cathedral ceiling with a roller?
A roller with an extension pole can be great for careful application in occupied homes. Spraying can also be effective for high-quality coverage but can require a lot of masking, protection, and covering to keep overspray from getting on walls, floors, furniture, fixtures, etc.