SD Custom Painting

October 24, 2025 Sdcustom No Comments

What is the Difference Between Stain and Paint?

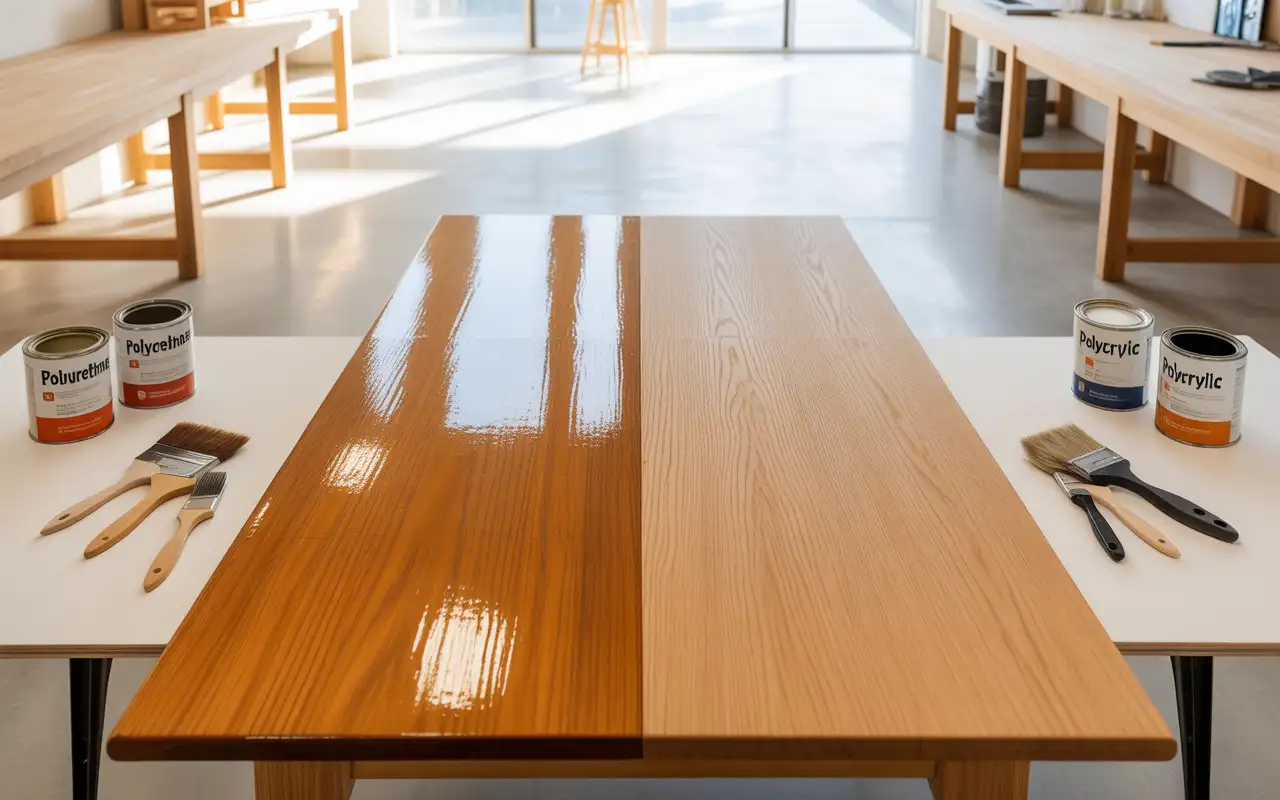
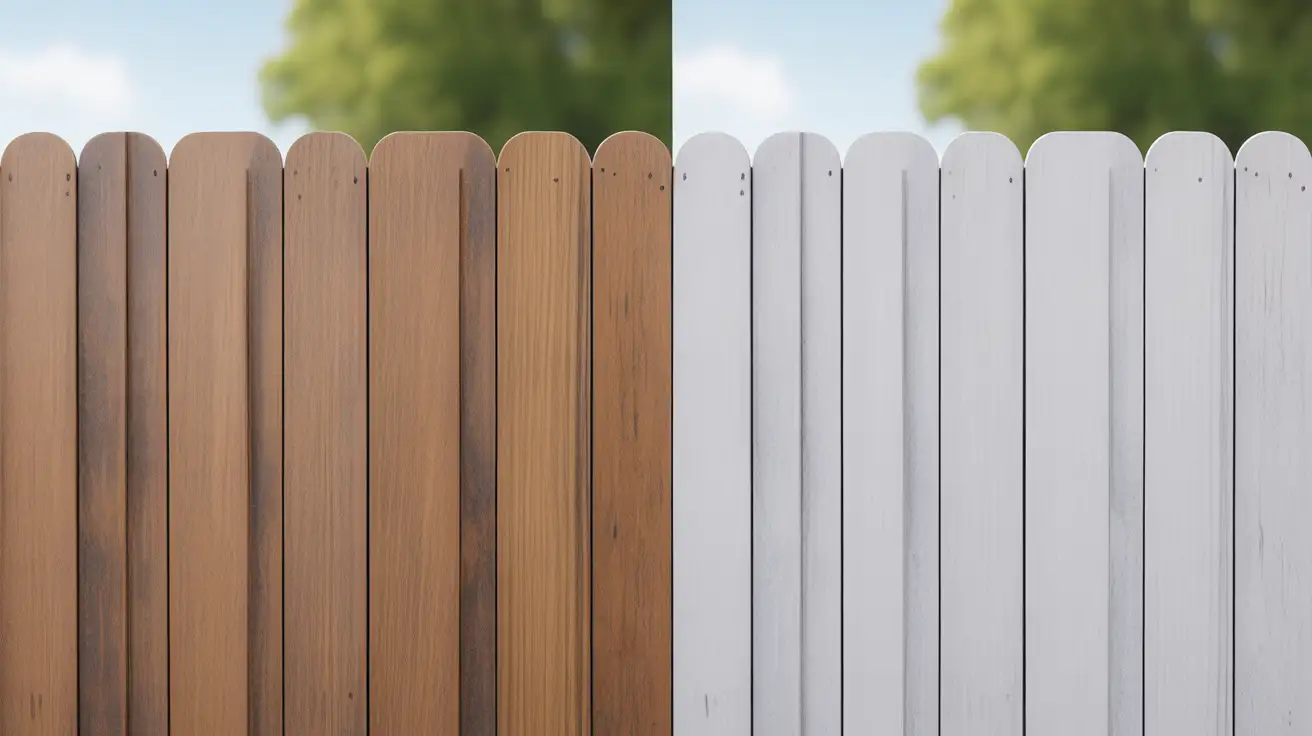
Planning a home improvement project means choosing the right finish for your surfaces. The choice between paint and stain is one of the biggest decisions you will make, impacting both the look and the longevity of your wood. Understanding the difference between stain and paint is essential to getting a professional result that lasts. Both are protective coatings, but they achieve their goals in totally different ways. We will break down exactly how they work, where to use them, and the real cost of each finish over time. This guide is based on professional experience and offers clear advice to help you pick the best option for your home. How Paint and Stain Actually Work Both products share three basic ingredients: pigment for color, solvent as the carrier, and binder to hold everything together. But the ratios matter. Paint contains much more binder, which creates a thick coating that sticks to the surface. Think of it like a protective blanket covering your wood or concrete. You can’t see the material underneath anymore. Stain has mostly solvent with less binder and pigment. This thin mixture penetrates porous surfaces like wood, enhancing the natural grain rather than hiding it. The material absorbs the color deep into its fibers. Advantages and Disadvantages of Paint vs Stain Making an informed choice requires looking at the practical pros and cons of each finish across the entire life of the product. Paint (The Coverage King) Advantage Disadvantage Durability & Lifespan Preparation is intensive. Requires scraping, sanding, and often a primer coat. Superior Protection Traps moisture within wood if the seal is broken, leading to peeling and rot. Color & Sheen Variety Higher upfront material cost, especially for premium latex paint. Hides Imperfections Completely covers the natural grain of wood. Flexibility Can be applied to many surfaces (wood, metal, drywall, stucco). Stain (The Natural Look) Advantage Disadvantage Ease of Application Shorter lifespan; typically needs a re-coat every 2–5 years. Natural Aesthetics Limited color options, mainly earth tones and wood shades. Maintenance Easier to apply stain later. Can often apply stain over old stained surfaces without stripping. Resistant to Failure Will not peel or crack, but it does fade gradually. Breathability Allows wood to release moisture, which is better for exterior decks. Which finish is right for your surface? Wood Applications Wood is where the paint vs stain decision matters most. For decks, fences, and outdoor furniture, stain usually wins. It enhances wood surfaces while allowing them to breathe and release moisture naturally. Use semi-transparent stains for newer wood when you want grain visibility. Solid stains work better on older wood with weathering or damage. These based stains (both oil based and water based formulations) penetrate differently depending on wood type. Paint works better on wood trim, doors, and cabinets. The smooth, uniform finish looks cleaner on architectural elements. Oil based paint provides extra durability for high-traffic areas, while water based options offer easier cleanup. Concrete and Masonry Concrete stains create stunning patios, driveways, and walkways. Acid-based stains react with concrete’s chemistry, producing unique mottled patterns. Water-based concrete stains offer more color control and easier application. Acid stains cost $3-$8 per square foot installed, while water-based versions run $2-$4 per square foot. Both penetrate the concrete and won’t peel like paint. Latex paint on concrete and brick eventually fails. Moisture trapped behind the painted surface causes peeling within 2-3 years. If you must paint masonry, use specialized masonry paint and accept a shorter lifespan. Drywall and Interior Walls Paint is the only real choice for drywall. Stain soaks through the paper facing, creating blotchy, uneven results. Interior latex paint costs $20-$45 per gallon and provides excellent coverage. You can choose from thousands of colors and various sheens and finishes. Use flat paint for ceilings, eggshell for living areas, and semi-gloss for kitchens and bathrooms. Vinyl Siding Vinyl doesn’t absorb stains because it’s non-porous. Paint is your only option, but use vinyl-safe paint that won’t warp the siding in heat. This specialized formula costs $35-$60 per gallon. Clean vinyl thoroughly with soap and water before painting. Skip the primer since modern vinyl-safe paints adhere directly. The Real Cost and Effort Comparison Many people think stains are cheaper, but when you consider the lifespan and labor, the long-term cost difference may surprise you. Lifespan and Maintenance Surface Paint (Premium Acrylic) Stain (Semi-Transparent/Solid) Wood Siding 8–12 years 3–5 years Decking 2–4 years (High risk of peeling) 2–5 years (Wears naturally) Maintenance Major labor is required to strip the surface when it fails. Minimal prep for re-coat; often just cleaning. The Long-Term Value: Paint has a higher initial material cost (often $55–$80 per gallon) but lasts much longer on vertical surfaces like siding, making it the cheaper choice over a 20-year period. Stain (often $40–$70 per gallon) is cheaper to purchase and is easier to apply than paint, but the need for frequent re-coat cycles adds to the long-term labor cost. Application Rules: An Important to Note Section Primer: Paint often requires a primer coat to ensure proper adhesion. Wood stains rarely need primer. Recoating: You can almost never successfully apply stain over a previously painted surface because the stain cannot penetrate the film-forming paint. The paint must be completely stripped down to the bare wood. It is easier to paint over stains, though a primer may still be necessary. Composition: Water based paints and water based stains are common now. They dry quickly and have lower Volatile Organic Compounds (VOCs), making them safer than traditional oil based versions with strong fumes. Common Mistakes to Avoid Don’t apply too many coats of stain. More isn’t better. Excess stain sits on the surface and creates sticky, uneven spots. One good coat beats three mediocre ones. Never skip surface prep. Painting over dirt, grease, or failing coatings guarantees quick failure. Those hours of prep work pay off in years of durability. Don’t use interior products outside. Exterior formulations contain UV blockers and moisture resistance that interior paints and stains lack. Which Should You

October 22, 2025 Sdcustom No Comments

How to Paint Laminate Cabinets: 5 Easy Steps (2025)

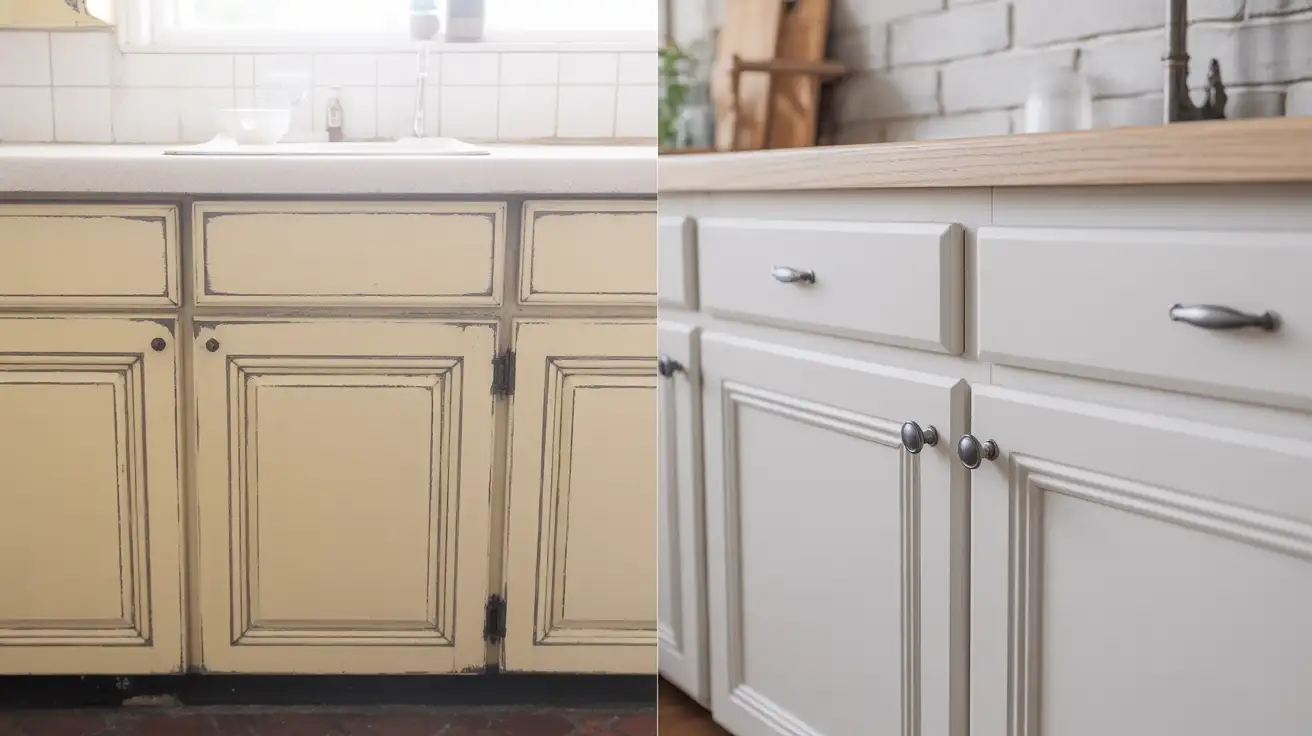
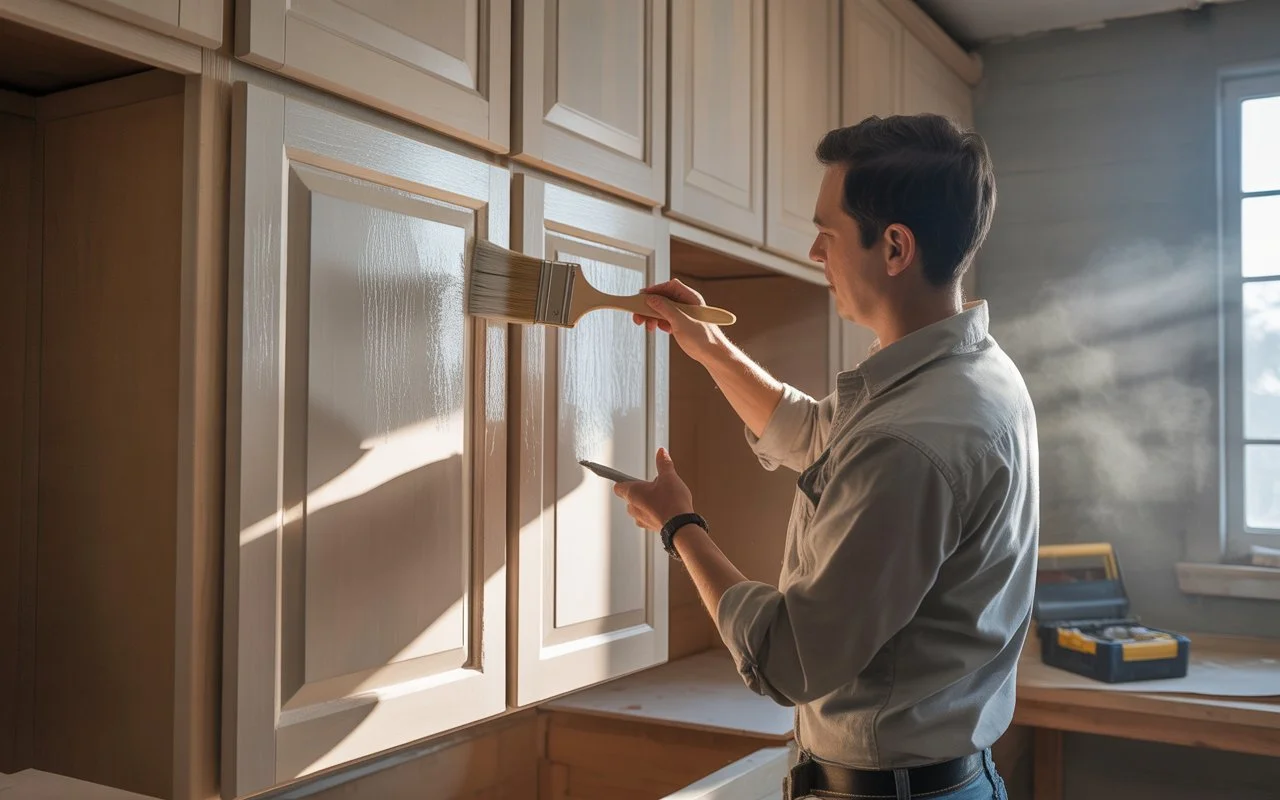
If you want to rejuvenate an old kitchen without the high cost of a full remodel, painting the cabinets is a great choice. Outdated or worn laminate cabinets can make your whole kitchen look tired, but a new coat of paint is a budget-friendly solution. You can transform the entire look of your space in a single weekend with the right approach. Many people ask, “How to Paint Laminate Cabinets?” The secret to success lies not in the final paint color, but in the meticulous preparation and choosing the correct materials. This comprehensive guide will walk you through every step, ensuring you achieve a durable, professional finish that will last for years. Can You Paint Laminate Cabinets? Yes, you can paint laminate cabinets successfully. Laminate is a synthetic material with a smooth, non-porous surface that resists paint adhesion. However, with proper surface preparation and the right products, paint bonds firmly to laminate and creates a durable finish. The key is understanding that laminate differs from real wood. Wood has natural texture and pores that grip paint. Laminate is slick and smooth, similar to plastic. You must roughen the surface and use specialized primers designed for laminate materials. Most laminate cabinet painting projects fail because people skip critical prep steps. They clean quickly, skip sanding, or use standard wood primers. The paint looks good initially but chips and peels within months. Following the correct process ensures your paint job lasts 5 to 7 years or longer. Professional painters charge $2,500 to $7,000 to paint kitchen cabinets, depending on kitchen size. DIY painting costs significantly less but requires 2 to 3 full days of work. What You’ll Need Tools Required Cordless drill or screwdriver Fine-grit sandpaper (120 to 150 grit) Orbital sander (optional, for large kitchens) High-quality foam roller (4-inch size works best) Angled paintbrush (2-inch for detail work) Tack cloth Painter’s tape (2-inch wide) Drop cloths Dust mask or respirator Safety goggles Chemical-resistant gloves Small containers for screws and hardware Painter’s pyramids or cardboard boxes (for drying doors) Materials Needed TSP cleaner or degreaser (like Krud Kutter) Laminate-bonding primer (Zinsser B-I-N or KILZ Adhesion) Paint for laminate cabinets (Benjamin Moore Advance or Sherwin-Williams ProClassic) Wood filler or laminate seam filler Mineral spirits (for oil-based products) Clean rags Small paint trays Cost Breakdown For an average 10×10 kitchen with 20 cabinet doors: Primer: $45 to $65 (1 gallon) Paint: $50 to $70 (1 gallon, 2 coats) Sandpaper and tack cloths: $15 Cleaner/degreaser: $12 Brushes and rollers: $25 Tape and drop cloths: $20 Miscellaneous supplies: $15 Total material cost: $200 to $250 Add another $100 to $150 if you’re also painting laminate furniture or bathroom cabinets. How to Paint Laminate Cabinets in 5 Easy Steps Step 1: Remove and Prepare Cabinet Doors Start by removing all cabinet doors, drawers, and hardware. Use your drill to unscrew hinges from the cabinet frames. Place all screws, hinges, and handles in labeled containers so you know where everything goes during reinstallation. Number each door and its corresponding cabinet opening using painter’s tape. Write matching numbers on both pieces. This simple trick saves hours of frustration when you reattach everything. Set up your workspace in a garage or covered area with good ventilation. Lay doors flat on painter’s pyramids or create a drying rack using cardboard boxes. Never lean wet doors against walls as this causes drips and uneven coverage. Clean every surface thoroughly with TSP cleaner or a strong degreaser. Kitchen cabinets accumulate cooking grease, food splatters, and oil from hands touching them daily. Mix your cleaner according to package directions and scrub all surfaces with a clean rag. Pay extra attention to areas near the stove where grease buildup is heaviest. Rinse with clean water and let everything dry completely. Any remaining grease prevents the primer from bonding properly. Step 2: Repair Damage and Sand the Surface Inspect your laminate cabinets for chips, dents, or areas where the laminate is peeling. Fill small chips and dents with laminate seam filler or wood filler. Let the filler dry according to manufacturer instructions, then sand smooth. If laminate edges are lifting, apply wood glue underneath and clamp or weigh them down until the glue dries. Painting over loose laminate leads to more peeling later. Now comes the most important step: sanding. Laminate surfaces are extremely smooth and paint cannot grip them without roughening the surface first. Use 120 to 150 grit sandpaper and sand the entire surface lightly. You’re not trying to remove the laminate or sand down to bare wood. You just want to scuff up the glossy finish. Sand in the direction of any wood grain pattern on the laminate. Use light, even pressure. An orbital sander speeds up this process for large kitchens but hand-sanding works fine for smaller projects. After sanding, wipe down all surfaces with a tack cloth to remove dust. Even tiny dust particles cause rough spots in your final finish. Step 3: Apply Bonding Primer Primer is critical when painting laminate kitchen cupboards. Standard wood primers won’t work. You need a bonding primer specifically designed for slick surfaces like laminate, melamine, and thermofoil. Top-rated primers for laminate include: Zinsser B-I-N Shellac-Based Primer (dries in 45 minutes) KILZ Adhesion High-Bonding Primer (water-based, low odor) Rust-Oleum Adhesion Primer (designed for plastics and laminates) Pour primer into a paint tray. Use your foam roller to apply a thin, even coat to all cabinet doors and drawer fronts. Roll in long, smooth strokes to avoid roller marks. Use your angled brush for edges, corners, and detailed areas your roller can’t reach. Apply primer to cabinet frames the same way. Take your time around hinges and inside corners where paint tends to pool. Let the first coat of primer dry completely. Most primers dry in 1 to 2 hours but check your product label. Apply a second coat of primer for better coverage and adhesion. Two thin coats work better than one thick coat. After the second primer coat dries, lightly sand with 220-grit

October 17, 2025 Sdcustom No Comments

How to Remove Kitchen Cabinets: Easy DIY Guide 2025

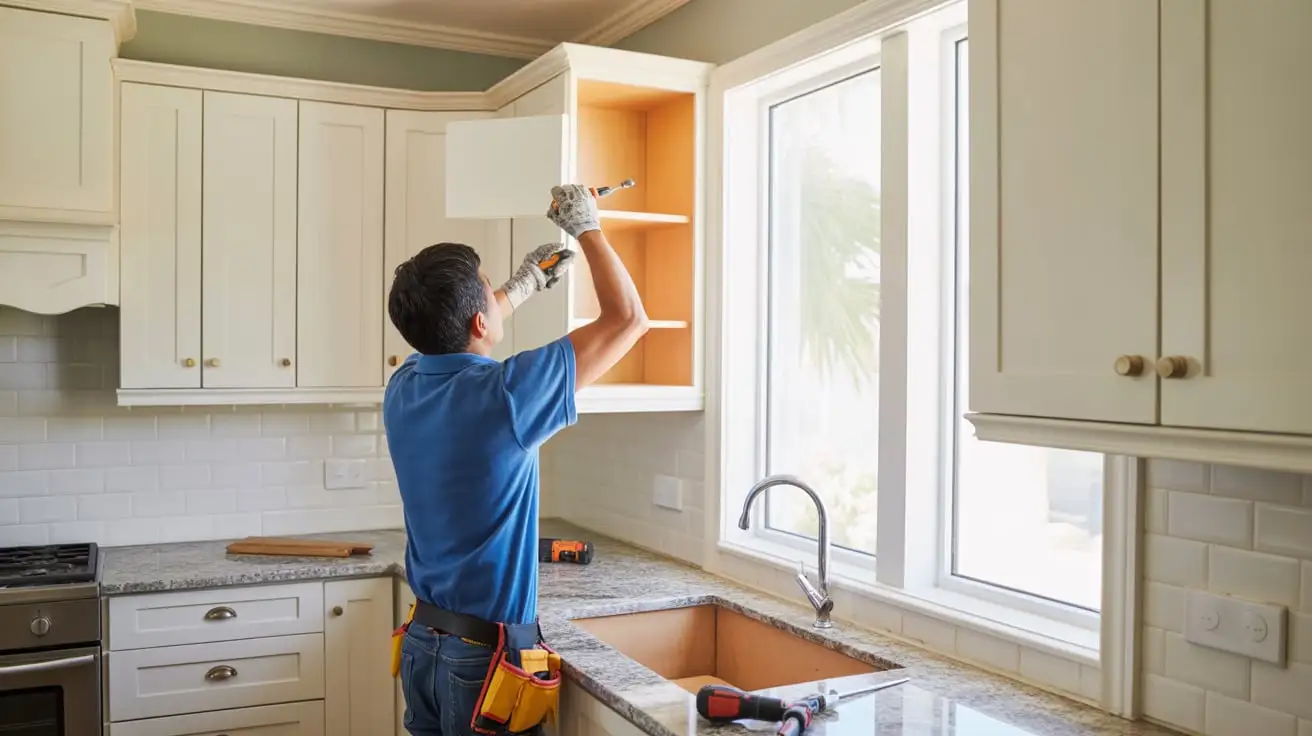
Removing old kitchen cabinets is often the first step of a major kitchen remodeling. While this task might appear challenging, with proper tools and a plan in place any homeowner can safely tackle this task. This comprehensive guide will show how to remove kitchen cabinets while protecting walls while still permitting reuse if desired. Follow our step-by-step instructions for both upper and lower units to successfully complete your demolition phase and get one step closer to achieving your dream kitchen! Safety Considerations: Your Most Important First Steps Turn Off Utilities: You must shut off the electricity and water to the kitchen area. Find your home’s main breaker box and flip the circuit breaker labeled for the kitchen to the “Off” position. Use a voltage tester to make sure the power is truly off at any exposed wires or outlets. Locate the water shut-off valves under the sink and turn them clockwise to stop the water supply. If you have a gas line, call a professional to disconnect it before beginning work on base cabinets near the stove. Protect the Area: Demolition creates dust and debris. Cover your countertops and floors with drop cloths or hardboard to prevent scratches and dents. Seal off the kitchen doorway with plastic sheeting to contain the dust in the work zone. Use Personal Protective Equipment (PPE): Wear safety glasses, work gloves, and a dust mask. Heavy lifting is involved, so consider wearing steel-toed boots. What You’ll Need for Cabinet Removal Gathering the right tools before you start saves time and frustration. Most items are basic home improvement supplies. Essential Tools: Electric drill with driver bits Pry bar for removing trim and loosening glued cabinets Utility knife for cutting through caulk and paint Screwdriver set (Phillips and flathead) Adjustable wrench for plumbing connections Hammer for removing nails and trim Step ladder for reaching upper cabinets Headlamp or work light for seeing inside dark spaces Safety Equipment: Safety glasses Work gloves Dust mask Steel-toed boots Supplies: Tarps or drop cloths to protect floors and countertops Plastic bags for storing screws and hardware Masking tape and marker for labeling parts 2×4 lumber pieces for temporary cabinet supports Towels for cushioning surfaces A cordless drill makes the job much easier than a corded model. You’ll be reaching into tight spaces where a cord gets in the way. Preparing Your Work Area Proper preparation prevents damage and keeps the project organized. Start by emptying all cabinets completely. Clear countertops of appliances, decorations, and daily items. You need a clean workspace with room to maneuver. Shut off power to the kitchen at the circuit breaker. Turn off the water supply valves under the sink. If you’re removing a cabinet with a gas line, close the gas shutoff valve. Cover countertops with thick towels or moving blankets. Lay tarps on the floor to catch falling debris. These simple steps save your surfaces from scratches and dents. Take photos of your cabinet layout before you start. Capture close-ups of how cabinets connect to each other and the wall. These pictures help if you need to reference the original setup later. Remove any trim or molding around cabinets. Slide your utility knife along the edges where caulk or paint seals the cabinet to the wall. Cut through these seals now rather than fighting them when the cabinet is half-removed. How to Remove Kitchen Wall Cabinets Upper cabinets come off first. This prevents damage to base cabinets and gives you a clear path to work. Step 1: Remove Doors and Shelves Unscrew cabinet doors at the hinges. Keep the hinges attached to the doors for easier reinstallation. Lift shelves off their support pins and set them aside. Leave the pins in place unless they’re blocking access to screws. Step 2: Disconnect Any Appliances Unplug under-cabinet lighting or built-in microwaves. Disconnect any electrical connections inside the cabinet boxes. If you’re unsure about electrical work, hire a licensed electrician for this step. Step 3: Create Temporary Supports Measure the distance from your countertop to the bottom of the wall cabinet. Cut 2×4 boards to this length. Place these supports under the corners of the cabinet you’re removing. They catch the cabinet if your grip slips during removal. Step 4: Locate and Remove Side Screws Look inside adjacent cabinets where they meet. You’ll find small screws holding cabinets together side by side. Remove these screws with your drill. Some may be hidden under decorative caps or wood plugs. Step 5: Find the Wall Mounting Screws Shine a light inside the cabinet and look at the top back corner. Most wall cabinets attach with four screws driven through a mounting rail into wall studs. Some older cabinets use more screws. Check the bottom back edge too, as some designs use screws there. The screws typically have large washers to distribute weight. They’re often painted over, so you may need to chip away paint to find them. Step 6: Remove Wall Screws Carefully Have your helper press firmly against the cabinet front, holding the cabinet against the wall. Start removing screws from the bottom and work up. Remove the top screws last. Loosen each screw gradually rather than removing one completely before moving to the next. This keeps weight distributed evenly. When you reach the final two screws, make sure both people have a firm grip. Remove the second-to-last screw completely, then carefully back out the final screw while supporting the full cabinet weight. Step 7: Lower the Cabinet Down Once all screws are out, shift your grip to the sides of the cabinet. One person takes each side. Lift slightly upward to clear any remaining connections, then lower the cabinet slowly to the countertop below. Rest it there briefly before lifting it completely away. If the cabinet won’t budge, stop pulling. You likely missed a screw or there’s hidden adhesive. Check again before forcing it. Move the removed cabinet out of your work area immediately. This keeps your workspace clear and prevents accidental damage. How to Remove Kitchen

September 30, 2025 Sdcustom No Comments

Can You Paint Over Varnished Wood? (2025 Guide)

Old varnished furniture doesn’t need to stay stuck in the past. That dark, glossy finish on your cabinets or dresser can get a fresh update without professional help. Can you paint over varnished wood, and the answer might surprise you. Yes, you can paint over varnished wood with the right approach. This guide walks you through everything you need to know about painting varnished surfaces. You’ll learn the right supplies, proven methods, and expert tips for results that last. What is Varnished Wood? Varnished wood has a clear, protective coating applied to its surface. This coating creates a hard, glossy layer that shields the wood from moisture and daily wear. Think of it as a transparent armor that keeps your furniture looking good for years. You can test if your wood is varnished with a simple method. Dip a cotton swab in acetone and rub it on a hidden spot. If the finish gets sticky or soft, you have varnish. If nothing happens, it might be polyurethane or another finish type. Varnish differs from paint because it’s transparent. It lets you see the wood grain while protecting the surface. This finish was popular in older homes and furniture, which is why many inherited pieces have this glossy look. Can You Paint Over Varnished Wood? Yes, painting over varnished wood works well when done correctly. The varnish creates a slick surface that paint struggles to grip. Without proper prep work, your new paint will peel and chip within weeks. The secret lies in three key steps: cleaning, sanding, and priming. These create a surface where paint can bond properly. Skip any of these, and you’ll waste time and money on a project that fails. Water-based and oil based paint both work on varnished surfaces. Your choice depends on the project and your comfort level. Oil-based options offer durability but need good ventilation. Water-based paints clean up easier and have less smell. Testing Your Varnished Surface Before starting any work, confirm what you’re dealing with. Pour a small amount of denatured alcohol on a rag. Rub it on your furniture in a hidden area. Varnish will soften under alcohol, while polyurethane stays hard. This test matters because different finishes need different approaches. Knowing exactly what coating you have saves time and prevents mistakes during your project. How to Paint Over Varnished Wood Painting on finished wood requires patience and the right sequence. Follow these steps for professional results that last for years. Step 1: Make Repairs and Clean the Surface Start by fixing any damage to your wood. Fill cracks and holes with wood filler. Let it dry completely according to the manufacturer’s instructions. Sand these spots smooth once dry. Clean the entire surface with TSP (trisodium phosphate) mixed with water. This powerful cleaner removes grease, dirt, and grime that blocks paint adhesion. Wear gloves when using TSP as it can irritate skin. Wipe down everything with a damp cloth after using TSP. Let the wood dry for at least two hours. Any moisture left behind will cause problems when you apply primer. Step 2: Sand the Varnished Surface Light sanding gives paint something to grip. Use 120-150 grit sandpaper for this job. Sand in the direction of the wood grain to avoid ugly scratches. You don’t need to remove all the varnish. Just rough up the surface enough so it’s no longer glossy. This takes about 10-15 minutes for a small furniture piece. Clean off all dust with a vacuum after sanding. Follow up with a slightly damp cloth to catch any remaining particles. Dust under your paint creates a bumpy, unprofessional finish. Step 3: Apply Caulk Where Needed Check for gaps where wood pieces join together. Caulk these spots with a paintable acrylic caulk. This step often gets skipped but makes a huge difference in the final look. Run a thin bead of caulk along any seams or joints. Smooth it with your finger or a damp cloth. Let it dry according to package directions before moving forward. Step 4: Prime the Surface Primer is your insurance policy for this project. It creates a bridge between the varnish and your new paint. Choose a high-quality bonding primer made for slick surfaces. If using oil based paint, pick an oil-based primer. For water-based or latex paint, use a latex primer instead. This matching prevents adhesion problems down the road. Apply primer in thin, even coats using a brush or roller. Don’t overload your brush or you’ll get drips. Let the primer dry for 24 hours minimum before painting. Some primers need even longer in humid weather. Step 5: Sand the Primer (Optional) Check your primed surface after it dries. If you see brush marks or rough spots, give it a light sanding with fine-grit sandpaper. This creates a glass-smooth base for paint. Wipe away sanding dust with a clean cloth. This quick step takes five minutes but dramatically improves your final results. Step 6: Apply Paint Coats Now comes the fun part. Stir your paint thoroughly before opening. Apply the first coat in thin, even layers. Watch for drips and brush them out immediately. Let the first coat dry completely. Check your paint can for exact drying times. Most need 4-8 hours between coats, but some require overnight drying. Apply a second coat the same way as the first. Two coats provide better coverage and durability than one thick coat. For painting sealed wood or painting over varnished woodwork, thin coats prevent runs and sags. Step 7: Add a Topcoat for Protection A clear topcoat adds extra protection to your work. Choose between glossy, semi gloss, or matte finishes based on your preference. Semi gloss works well for kitchen cabinets and high-traffic furniture. Apply two thin topcoat layers with proper drying time between them. This seals your paint and makes cleaning easier. The topcoat also protects against scratches and wear. For projects like painting varnished woodwork or trim, a topcoat extends the life of your work significantly. What Kind of

Translate »