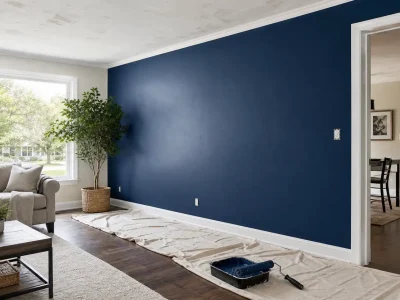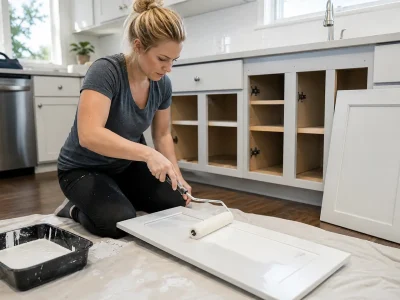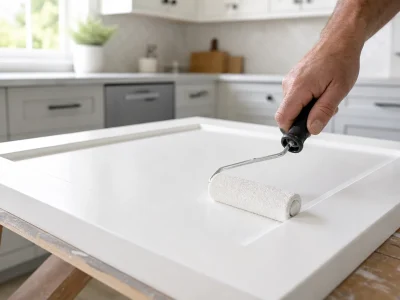

Yes, but not for every painting project. Light sanding helps remove dust, drips, rough spots, and other flaws before the next coat. You can often skip it on a smooth wall when the first coat looks clean and the paint label does not call for sanding.
The best rule is simple: sand when the surface needs correction, spot-sand small flaws, and skip it when the coat is already smooth. Your surface, paint type, sheen, and desired finish all matter.
Table of Contents
Toggle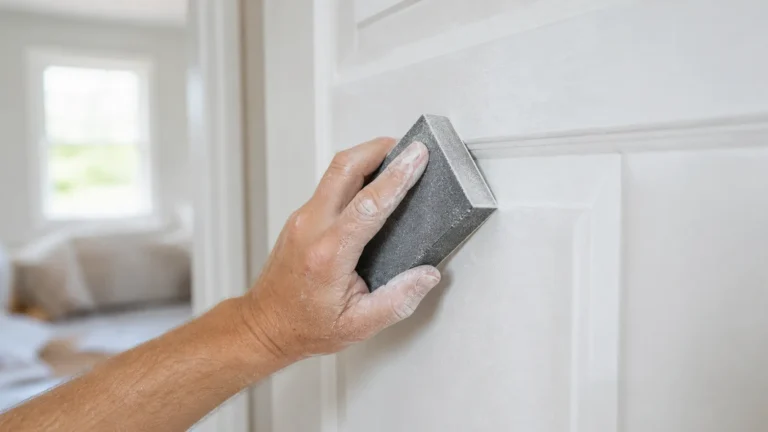
Do You Always Need to Sand Between Coats of Paint?
No. Sanding between coats of paint is a finishing step, not a rule for every project.
The goal is to make the next coat perform well and look smooth. If the first coat has dust nibs, brush marks, roller texture, or small runs, sanding can correct those problems.
If the first coat is already smooth and clean, sanding may add little value. It can even create extra dust or damage the coating when done too hard.
The paint manufacturer’s instructions should always come first. Paint products have different drying, recoat, and sanding needs.
Benjamin Moore, for example, says light sanding between primer and paint can help produce a very smooth finish. It also recommends choosing the abrasive based on the surface and type of work.
Think about sanding in three ways:
- Sand: The surface has flaws or needs a smoother finish.
- Spot-sand: Only a few areas have problems.
- Skip: The surface is smooth, clean, and ready for another coat.
This approach prevents unnecessary work while still giving you control over the final finish.
When Should You Sand Between Coats of Paint?
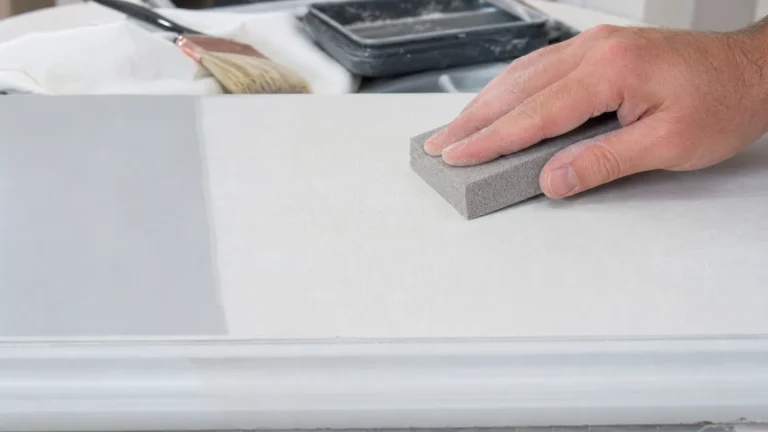
Sanding makes the most sense when the previous coat has a problem that the next coat will not hide.
Sand when the previous coat has imperfections
Look closely at the dried coat before you move on. Dust nibs, drips, runs, brush marks, and roller texture all show up more with each new layer. If you paint over these flaws without sanding, they get worse, not better. A light pass with fine sandpaper knocks them down before they ruin the next coat.
Sand when you need a very smooth finish
Cabinets, doors, trim, furniture, and shelves all show imperfections under close inspection or good lighting. People run their hands over these surfaces and look at them up close, so a smooth build matters more here than on a wall you view from six feet away.
Sand when the surface is glossy
This is called deglossing. Glossy paint is hard and slick, and new paint has trouble gripping it. A light scuff with a sanding block breaks that shine and gives the next coat something to hold onto. Skip this step on a gloss surface and you risk peeling months later.
Spot-sand minor imperfections
You don’t always need to sand the whole surface. If there’s one drip or a small rough patch, sand just that spot. Full-surface sanding is only needed when flaws are spread out or the whole coat has texture.
When Can You Skip Sanding Between Coats?
You can often skip sanding when the previous coat is smooth, clean, and free from visible defects.
- Smooth interior walls. If the wall looks even and free of texture, move straight to the next coat.
- Flat or low-sheen paint. Flat, matte, and most eggshell finishes hide flaws well and don’t need the extra step.
- A clean, defect-free previous coat. No drips, no dust, no brush marks means nothing to fix.
- When the paint manufacturer doesn’t require it. Some self-priming or self-leveling paints are built to skip this step entirely.
Skipping sanding doesn’t mean skipping inspection. Always run a hand over the dried coat and check it under a bright light before you commit to painting over it as-is.
Should You Sand Between Primer and Paint?
Sometimes, yes.
Primer sanding is useful when the primer dries with small bumps, rough texture, raised wood grain, or other defects. This matters even more on wood surfaces. Bare wood can develop raised grain after water-based products contact the fibers. Light sanding can smooth that texture before the finish coat.
A high-build primer may also leave a texture that needs smoothing. Use a fine abrasive and avoid sanding through the primer. If the primer already looks smooth and the product instructions do not call for sanding, you may not need to sand it.
The purpose is not to remove the primer. You are trying to create a smooth, even base for the topcoat.
Should You Sand Between the First and Second Coat of Paint?
Not automatically.
Use this simple check:
- Let the first coat reach the required recoat stage.
- Inspect it under good light.
- Feel for dust nibs and rough spots.
- Sand only areas that need correction.
- Remove the sanding dust.
- Apply the second coat.
If the first coat is smooth, you may be able to skip sanding. If it has several visible flaws, a light sanding pass can improve the final finish.
This is where paint sanding between coats should be treated as a correction step rather than a ritual. The goal is a better surface, not more sanding.
What Grit Should You Use Between Coats of Paint?
The right grit depends on what you are trying to fix.
Situation | Typical abrasive |
Light between-coat scuff | Fine grit |
Primer smoothing | Fine or medium-fine grit |
Minor imperfections | Fine grit |
Glossy surface preparation | Product and surface dependent |
Heavy defects | Coarser grit first, then finer grit |
For light between-coat work, 220 to 320 grit is a common fine range.
Hyde Tools recommends fine abrasives for between-coat sanding, while Benjamin Moore also recommends fine-grit sandpaper for achieving a smooth finish. Do not start with coarse paper just because a surface feels rough.
Coarse sandpaper removes material quickly. That can be useful for a heavy drip or damaged area, but it can also leave scratches that the next coat cannot hide. For a normal light scuff, a 220-grit sanding sponge or paper is a practical starting point.
Current Home Depot listings show 220-grit sanding sponges around $5.98 to $8.98, depending on the product and pack size.
That means a basic DIY sanding step can cost only a few dollars in materials. The larger cost on professional projects is usually labor and preparation time, not the sandpaper itself.
How to Sand Between Coats of Paint Without Damaging the Finish
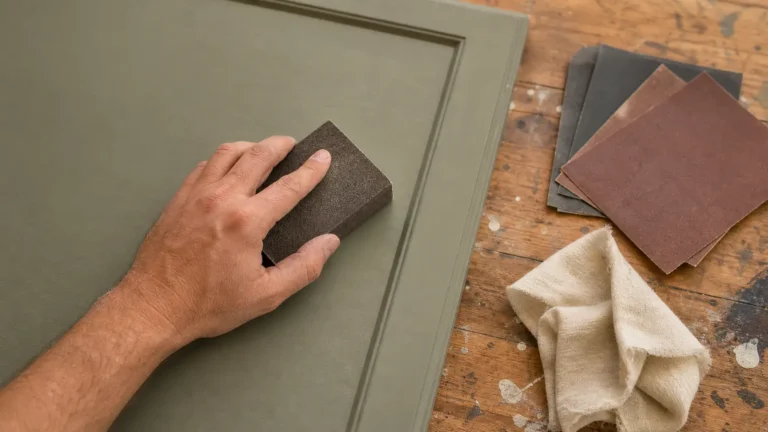
The most important part is using a light touch.
- Let the paint dry according to the label. Dry to the touch and fully cured aren’t the same thing. Sanding too early gums up the paper and drags soft paint.
- Inspect the surface under good lighting. Raking light from the side shows flaws that overhead light hides.
- Use a fine abrasive. Fine grit removes texture without stripping the coat underneath.
- Sand with light pressure. Let the sandpaper do the work. Pressing hard removes too much paint.
- Stop once the defect or gloss is addressed. You’re not trying to remove the coat, just knock down the high spots.
- Remove all sanding dust. A tack cloth or slightly damp rag picks up fine dust that a dry brush leaves behind.
- Inspect again before the next coat. Run your hand across the surface one more time to check for grit or missed spots.
Hand Sanding vs. Power Sanding Between Paint Coats
Keep this part simple.
Hand sanding gives you more control over pressure and depth, which matters most on a fresh, soft coat of paint. A sanding block or sanding sponge lets you feel exactly how much material you’re removing as you go.
A power sander earns its place on large flat areas, like a wide tabletop or a full stretch of trim, where speed matters more than fine control. Even then, use a light touch and a fine pad.
Aggressive power sanding generates heat, and heat can soften fresh paint and gum up your sandpaper. Between coats, control matters more than speed.
Does the Surface Change How You Should Sand?
Yes. The surface and the desired finish should guide your approach.
Walls and ceilings
Usually little to no sanding is needed here unless you spot actual imperfections. Flat and eggshell finishes on drywall hide texture well.
Trim and baseboards
Light sanding pays off because people notice smoothness on trim more than on a wall. A quick scuff between coats keeps edges crisp.
Doors
Sanding helps when you’re after a smooth, durable finish, especially on doors that get touched and opened daily.
Cabinets
This surface matters more than most. Cabinets take constant handling, and most cabinet finishes are semi-gloss or gloss, which need that extra grip between coats.
Furniture
Sand when finished is the priority. A piece you’ll see up close every day deserves the extra step.
If a project like this feels like more than you want to take on yourself, a licensed local painter can handle the prep and finish work for you. San Diego Custom Painting offers full interior & exterior painting services in San Diego, including proper surface prep and sanding between coats for cabinets, trim, doors, and furniture. Get a free quote from San Diego Custom Painting and skip the guesswork on your next paint project.
Common Mistakes When Sanding Between Coats of Paint
Watch for these before you pick up sandpaper.
- Sanding before the paint is ready. Soft paint gums up and drags instead of smoothing out.
- Using sandpaper that’s too coarse. Coarse grit leaves scratches that show through the next coat.
- Applying too much pressure. Heavy pressure strips paint down to bare material in spots.
- Sanding through the previous coat. This creates uneven color and texture underneath the topcoat.
- Leaving sanding dust behind. Dust trapped under new paint creates a gritty, uneven surface.
- Sanding everything when spot sanding would work. Full sanding wastes time when only a few spots need attention.
If you’re working on a home built before 1978, check the EPA’s lead-safe work practices before sanding any old paint, since disturbed lead paint dust is a real health risk. Wear a proper dust mask or respirator any time you stand indoors for an extended period, and follow OSHA’s guidance on respiratory protection if you’re doing this kind of work regularly.
Final Takeaway
The answer to whether you should sand between coats of paint depends on the condition of the surface and the finish you want.
Do not sand simply because another coat is going on.
Instead, inspect the previous coat. Sand defects, spot-sand small problems, and skip sanding when the surface is already smooth.
Use fine sandpaper for light work, keep pressure low, remove every trace of sanding dust, and follow the paint manufacturer’s recoat instructions.
That approach saves time, reduces unnecessary work, and gives you a better finish without turning every painting project into a sanding project.
FAQs
Do you sand between every coat of paint?
No. Sanding is not required between every coat. It is most useful when the previous coat has defects or when a very smooth finish is needed.
Do you need to sand after the final coat?
Usually no. Sanding after the final coat can dull or damage the finish. If the last coat has a defect, it is usually better to correct the problem and apply another finish coat.
Can you skip sanding with self-leveling paint?
Sometimes. A self-leveling coating may produce a smoother surface, but it does not automatically remove defects underneath. Follow the product instructions and inspect the previous coat.
How long should paint dry before sanding?
There is no single wait time for every paint. Follow the product’s recoat and sanding instructions. Dry time can change with paint type, temperature, humidity, and the surface.
Should you sand between two coats of latex paint?
Not always. If the first coat is smooth and clean, you can often recoat without sanding. If you find dust, runs, rough spots, or other defects, light sanding can improve the result.
Is sanding between coats necessary for cabinets?
It is often helpful for cabinets because they need a smooth, durable finish. Light sanding can remove small flaws and help the next coat look cleaner.
Should you sand in between coats of paint on walls?
Usually only when the wall has defects. Smooth walls can often receive another coat without sanding, especially with flat or low-sheen paint.
What should you do after sanding?
Remove all sanding dust, inspect the surface, and make sure the paint is ready for another coat. Never leave loose sanding dust under fresh paint.