How to Paint Over Oil-Based Paint (Without It Peeling in 6 Months)

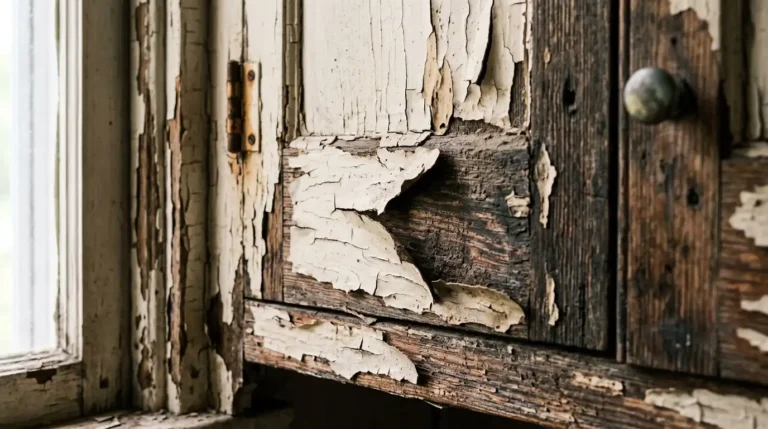
Oil-based paint doesn’t play nice with new paint. It’s glossy, it’s slick, and it laughs at anything that tries to bond to it without help. If you’ve ever watched a fresh coat bubble or peel off in sheets a few weeks after painting, this is almost always why.
Here’s the good news: how to paint over oil-based paint isn’t a mystery, and you don’t need to strip it all the way down to bare wood. You need the right prep, the right primer, and about an hour of patience before the roller ever touches the wall. That’s the whole system, and it’s what we’re walking through below.
Table of Contents
ToggleWhy Oil-Based Paint Fights New Paint
Oil-based paint cures into a hard, glossy shell. That shell is great for durability, trim, and doors painted with oil hold up for decades, but it’s terrible for bonding. New paint, especially water-based (latex) paint, needs something to grip onto. A slick oil finish gives it nothing.
This is the entire reason painting over oil-based paints goes wrong for so many DIYers. They see a clean, solid-looking surface and assume clean means ready. It doesn’t. The surface has to be rough or chemically prepped enough for the next coat to lock in. Skip that step, and you’re basically taping a sticker to glass, which holds for a while, then it doesn’t.
A few things make this worse over time:
- Temperature swings — oil and latex expand and contract at different rates, so poor bonds fail faster in climates with big daily temperature shifts.
- UV exposure — sunlight breaks down the bond even quicker on exterior surfaces.
- High-touch areas — doors, railings, and trim get handled constantly, which stresses a weak bond until it lifts.
Step 1: Confirm It's Actually Oil-Based
Before you do anything, figure out what you’re dealing with. Mixing this up is the single most common mistake we see on jobsites, even from people who’ve painted before.
The rubbing alcohol test:
- Dip a cotton ball in rubbing alcohol.
- Rub it firmly on the painted surface for about 20 seconds.
- If paint comes off on the cotton ball, it’s water-based (latex). If the surface stays clean and hard, it’s oil-based.
This two-minute test saves you from buying the wrong primer, which is the #1 return item at paint counters according to several regional hardware chains.
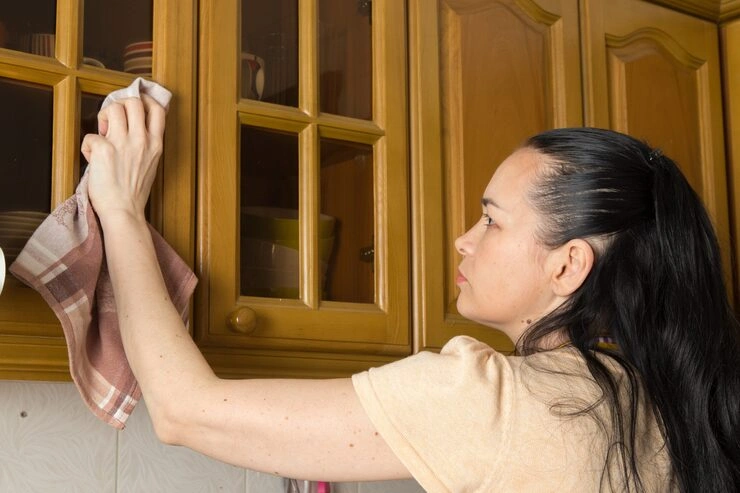
Step 2: Clean and De-Gloss the Surface
Oil-based finishes attract grease, dust, and hand oils, especially on trim, doors, and cabinets. All of that has to go before anything else happens.
- Wash with TSP (trisodium phosphate) or a TSP substitute. This cuts grease that soap and water leave behind.
- Rinse thoroughly and let the surface dry completely usually 24 hours in humid climates.
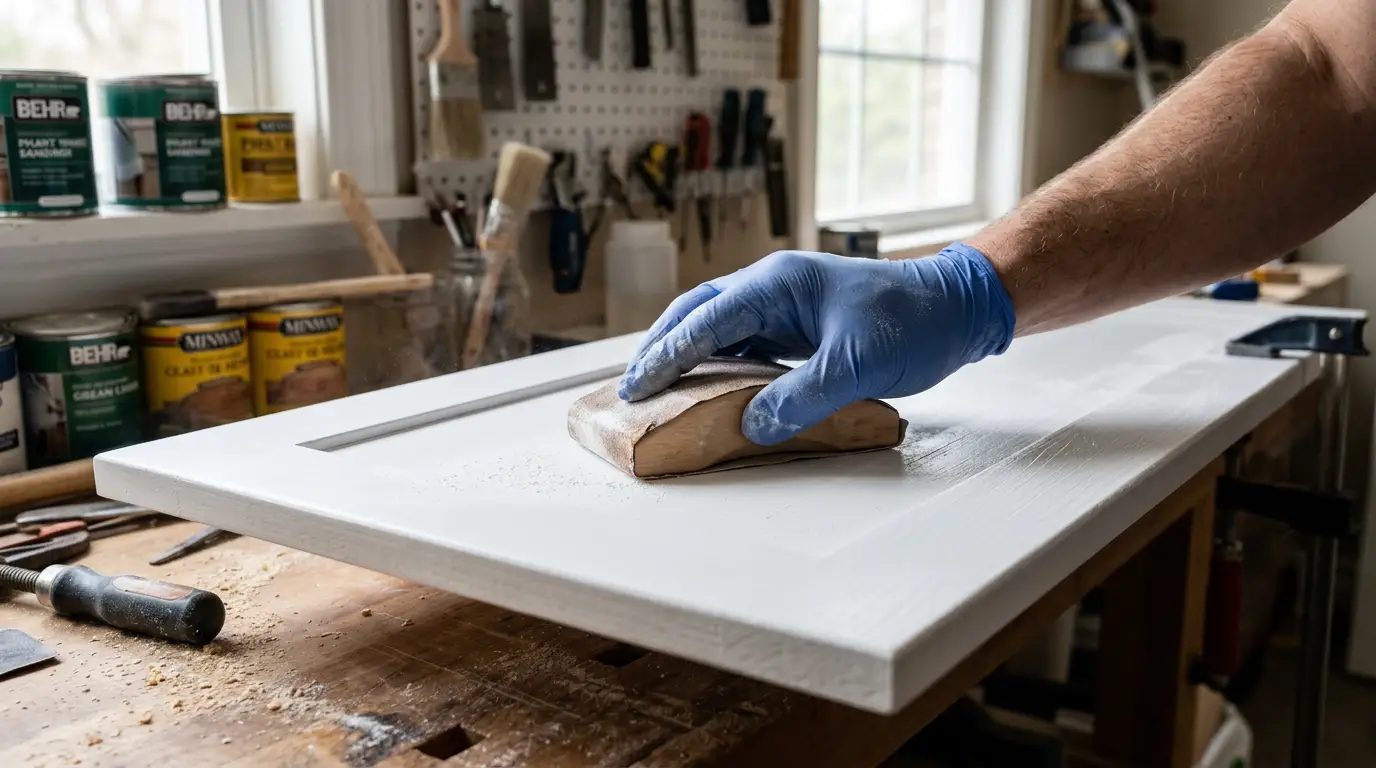
- Sand or use a liquid deglosser. Light sanding with 150–220 grit sandpaper scuffs the glossy shell so the primer has something to grab. If sanding isn’t practical (detailed trim, tight corners), a liquid deglosser does the same job chemically.
This step alone is why some water based paint on top of oil based paint jobs last ten years and others peel in one summer. The gloss has to come off, one way or another.
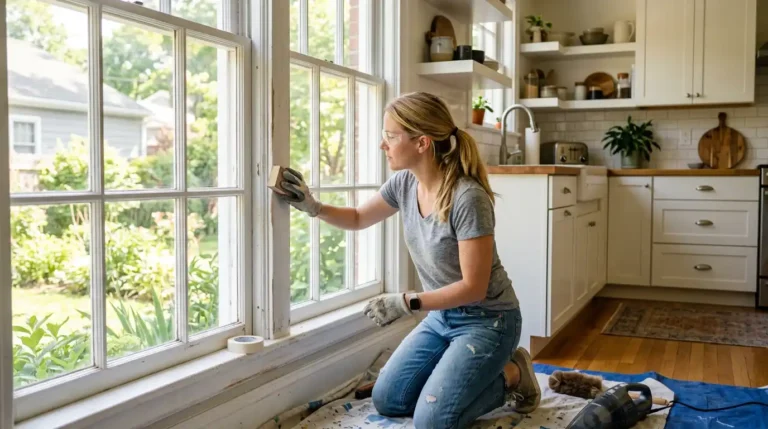
Step 3: Prime With the Right Product — This Is the Real Answer
This is the step almost every DIY blog buries or skips. Primer is not optional when you’re going from oil to water-based paint. It’s the bridge that lets the two chemistries bond.
You have three solid primer options, and picking the right one depends on the surface and the mess tolerance:
Primer Comparison Table
Primer Type | Best For | Odor / VOCs | Dry Time | Notes |
Bonding Primer (water-based) | Most interior walls, trim | Low odor | 1–2 hours | Easiest cleanup, good all-around choice |
Shellac-Based Primer | Stains, smoke damage, stubborn gloss | Strong odor | 45 min | Fastest dry time, seals almost anything, needs mineral spirits for cleanup |
Oil-Based Primer | Exterior wood, doors, high-wear trim | Strong odor | 6–8 hours | Most durable bond, slower dry, still needs ventilation |
Roll or brush one full coat, let it dry per the can’s instructions, and check for any shiny spots you missed. Those spots are where the next coat will fail first.
You may also want to read this post:
Can You Paint Water-Based Over Oil-Based Paint?
Yes, this is the question we get more than any other, and the answer is a firm yes, as long as you prime first. Skipping primer and going straight from oil to latex is where almost every failed repaint story starts. With a bonding or shellac-based primer in between, water-based paint on top of oil-based paint holds up just as well as a same-chemistry repaint.
One caution: don’t assume “paint and primer in one” products replace this step. On oil-based surfaces, that marketing claim doesn’t hold up. Use a dedicated primer, then your finish coat.
Can You Spray Paint Over Oil-Based Paint?
Yes, with the same prep rules. Spray paint over oil-based paint fails for the same reason rolled paint fails: there is no bond to grip onto. The difference with spray is that thin coats matter even more, since spray cans lay down less material per pass than a roller.
For furniture, cabinets, or metal fixtures:
- Clean and deglose the surface the same way you would for wall paint.
- Use a spray-can bonding primer or shellac-based spray primer.
- Apply 2–3 light coats of finish paint rather than one heavy coat, letting each dry 10–15 minutes between passes.
Can You Paint Over Oil-Based Paint With Oil-Based Paint?
This one’s simpler. If you’re staying oil-on-oil, you still need to scuff-sand or degloss the surface, but you can usually skip a separate primer coat if the existing paint is in good condition, not peeling, not chalking. Oil bonds to oil more readily than water-based paint does. Just confirm the old surface isn’t already failing before you add another coat on top of it.
Myth vs. Fact
Myth: “If the surface looks smooth and clean, it’s ready to paint.”
Fact: Smooth and clean is not the same as bonded. Gloss has to be broken chemically or mechanically, or the new coat sits on top instead of locking in.
Myth: “Primer is only for covering stains.”
Fact: On oil-based surfaces, primer’s main job is adhesion, not stain-blocking. Skipping it is the top cause of peeling repaints.
From the Field: What 26 Years of Repaints Have Taught Us
Having run repaint jobs across California homes for over two decades, the pattern is always the same: the calls we get about peeling paint almost never come from bad paint. They come from skipped prep. We’ve walked into homes where a homeowner used premium paint, expensive brushes, and still watched it fail in a season because nobody told them oil-based surfaces need a bonding step first.
The jobs that hold up 10+ years all share the same three things: a properly cleaned, deglossed, or sanded surface, and the correct primer for what’s underneath. No shortcut version of that sequence actually works long-term.
Wrapping Up: The Short Version
Getting this right comes down to three things: confirm the paint type, break the gloss, and prime before you finish-coat. Whether you’re dealing with water-based paint over oil-based trim, spray paint over an old oil-finished dresser, or a full oil-on-oil repaint, the same core prep sequence applies every time.
If the prep work feels like more than you want to take on, or the surface has years of buildup and damage behind it, that’s exactly the kind of job worth handing off. SD Custom Painting handles this exact prep-and-prime process daily on our interior & exterior painting services in San Diego, and we’re happy to take a look at your space and tell you straight whether it’s a DIY-friendly job or one worth booking a pro for.
Frequently Asked Questions
Do I have to sand before painting over oil-based paint?
Not always. Sanding or a liquid deglosser both work to pick sanding for large flat areas and a deglosser for detailed trim or tight corners where sanding is slow and awkward.
How long should the primer dry before painting?
It depends on the type: water-based bonding primer needs 1–2 hours, shellac-based primer needs about 45 minutes, and oil-based primer needs 6–8 hours. Always check the can, since humidity slows dry time.
Will latex paint eventually peel off oil-based paint even with primer?
No, not if the primer is applied correctly and the surface is properly deglossed first. A good bond between primer and both paint layers is permanent under normal conditions.
Can I skip primer if I use a paint-and-primer-in-one product?
No. Those products are formulated for same-chemistry repaints (latex over latex), not for bridging oil to water-based paint.
What happens if I paint over oil-based paint without prepping it?
The new coat will likely bubble, crack, or peel within months, especially in high-touch or high-sun areas like doors, railings, and exterior trim.
Is oil-based paint still legal to use in 2026?
Most states restrict high-VOC oil-based paints for interior use, though some oil-based primers and exterior products remain available. Check your local regulations before buying.

Emily Escalante
Emily Escalante is a seasoned expert in the residential and commercial painting industry, with over 27 years of experience transforming homes across San Diego. His deep understanding of color, finishes, and surface preparation allows him to deliver exceptional results on every project. Emily Escalante is passionate about sharing practical painting advice, maintenance tips, and design insights that help homeowners make confident decisions. His expertise and dedication to quality are reflected in every article he contributes to the San Diego Custom Painting blog.
Related Article
- All Posts
- Cabinet Painting
- Home Painting
- Home Remodeling