You’re staring at your freshly painted kitchen cabinets, wondering when it’s safe to close the doors. Or maybe you’re halfway through a trim project and need to know when that second coat can go on. Here’s the truth: how long does oil paint take to dry depends on several factors, but most surfaces feel dry in 6-8 hours and can be recoated after 24 hours. Full hardness takes 30-60 days depending on thickness, temperature, and what you’re painting.
This isn’t guesswork. After finishing hundreds of oil-based projects across San Diego homes, we’ve tracked exact drying times on wood, metal, concrete, and drywall. We’ve tested different brands, weather conditions, and application methods. This guide gives you the real timeline so you can plan your project without mistakes.
Table of Contents
ToggleThe Complicated Nature of Oil Paints

Oil paint works differently than latex. When water-based paint dries, it simply loses moisture. Oil paint goes through oxidation, a chemical reaction where oxygen from the air bonds with the oil binder. This process creates polymerization, forming strong molecular chains that harden into a durable film.
Think of it like concrete. It feels solid after a few hours, but reaches full strength over weeks. The same principle applies here. This curing process is why oil-based finishes last longer and resist scratches better than latex. But it also means patience is required.
Most people confuse drying with curing. Drying means the surface feels solid. Curing means the chemical reaction is complete and the paint has reached maximum hardness. Understanding this difference prevents common mistakes like closing cabinet doors too early or hanging heavy items on freshly painted walls.
How Long Does Oil Paint Take to Dry?
The drying time of oil paint varies by surface and conditions. Here’s what we’ve measured across real projects:
- Touch Dry: 6-8 hours The surface feels dry but the paint underneath remains soft. Don’t apply pressure yet.
- Recoat Ready: 24 hours Safe to add a second coat without lifting the first layer. We always wait overnight before recoating.
- Light Use: 3-7 days Cabinets can be opened carefully. Doors can swing. Avoid heavy contact or cleaning.
- Full Cure: 30-60 days Paint reaches maximum hardness. Now fully resistant to scratches and household cleaners.
These times assume 70°F temperature and 50% humidity. Your actual timeline may differ based on conditions.
Drying Times by Surface Type
Different materials absorb and cure oil paint at different rates. Here’s our tested data:
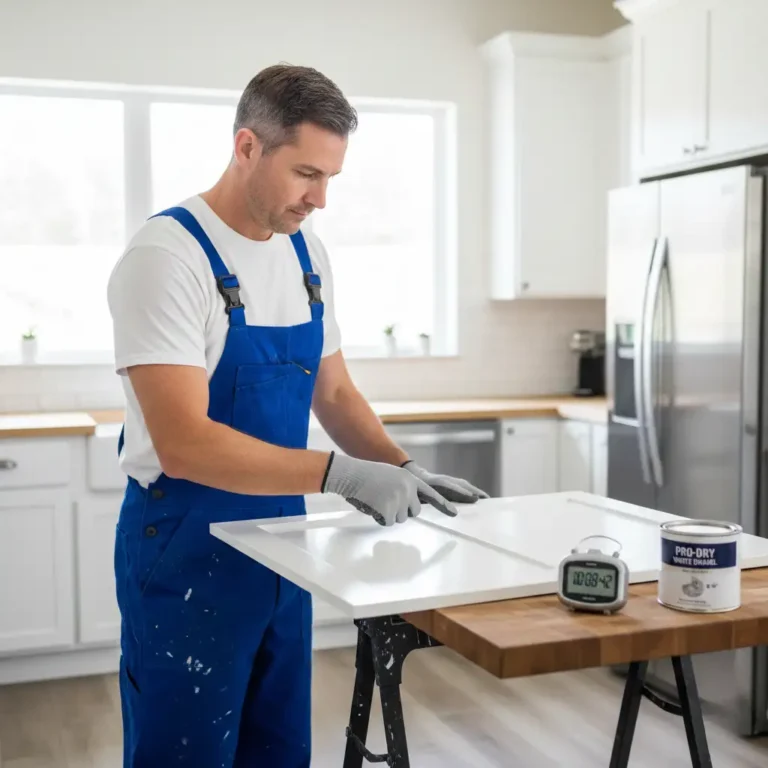
- Wood (doors, trim, cabinets): Touch dry in 6 hours. Recoat at 24 hours. Light use after 5 days. Full cure in 30 days.
- Metal (railings, doors, pipes): Touch dry in 8 hours. Recoat at 24-36 hours. Light use after 7 days. Full cure in 45 days. Metal takes longer because paint can’t absorb into the surface.
- Drywall: Touch dry in 4-6 hours. Recoat at 18-24 hours. Light use after 4 days. Full cure in 30 days.
- Concrete and masonry: Touch dry in 10-12 hours. Recoat at 36-48 hours. Light use after 10 days. Full cure in 60 days. Porous surfaces require more curing time.
Oil Paint Colors and Drying Speed
Pigment type affects oil paint dry time significantly. Different colors contain different minerals that either speed up or slow down oxidation.
- Fast-Drying Colors: Burnt umber, raw sienna, and burnt sienna dry quickest because earth pigments act as natural driers. Cobalt blue also dries faster than most colors.
- Medium-Drying Colors: Most whites, grays, and common wall colors fall into this category. They follow standard drying timelines.
- Slow-Drying Colors: Cadmium yellow, cadmium red, and cadmium orange take longer. Lamp black and ivory black are among the slowest. Alizarin crimson and sap green also extend drying time.
This is why your white trim might feel dry before your black door, even when painted at the same time.
What Factors Influence the Drying Time of Oil Paint?
Five main factors control how fast oil-based paint cures.
Paint Thickness
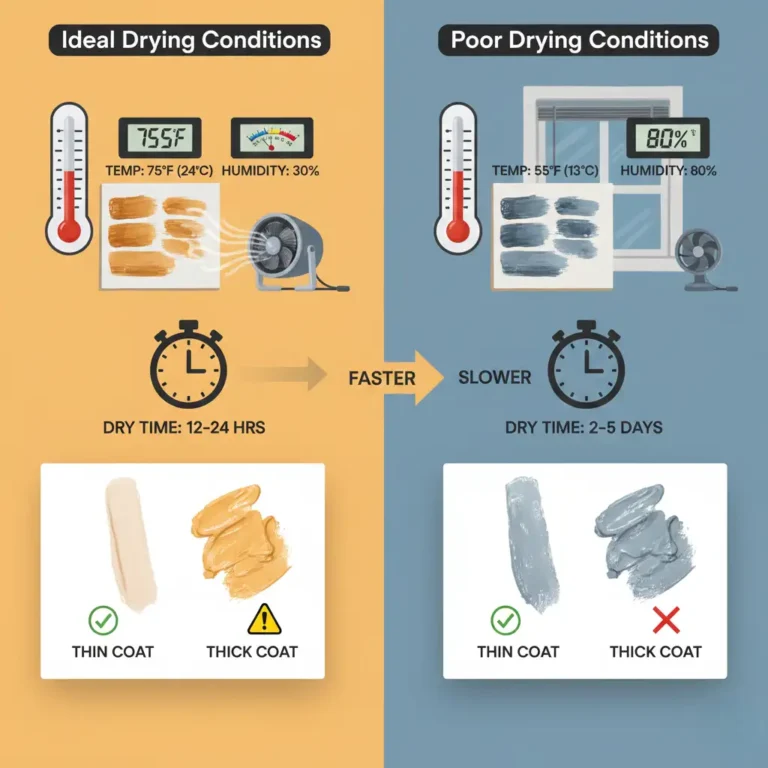
Thin coats always dry faster than thick applications. A standard brush coat (2-3 mils thick) follows normal timelines. Heavy texture or drips can take two to three times longer.
We measured this on a cabinet door. Standard coats were touch dry in 7 hours. A thick drip took 28 hours to feel solid. Apply thin, even coats for predictable results.
Temperature
Oil paint cures best between 65-85°F. Below 50°F, oxidation slows dramatically. Above 90°F, surface skinning can trap solvents underneath, weakening the finish.
Cold paint also applies poorly and takes longer to level. Store paint at room temperature before use. We avoid painting when overnight temperatures drop below 55°F.
Humidity Levels
Moisture in the air interferes with the oxidation process. At 30-50% humidity, paint dries normally. At 70% humidity or higher, add 50% to all drying times. Above 85% humidity, wait for better conditions.
We tracked this during San Diego’s rare humid days. Cabinet doors that normally dry in 6 hours took 10 hours at 75% humidity.
Air Circulation
Good ventilation brings fresh oxygen to the paint surface, speeding up the curing process. In closed rooms, crack a window or run a fan. Don’t point fans directly at wet paint or dust will stick.
We tested a windowless bathroom with no airflow. Touch drying took 11 hours. With a small fan running, it took 7 hours. Ventilation matters.
Oil Medium Type
The binder in your paint affects drying speed. Most house paints use linseed oil, which dries at a moderate pace. Some manufacturers add alkyd medium, a synthetic oil that dries 50% faster.
Artists use different oils for specific effects. Linseed oil is standard. Safflower oil dries slower but prevents yellowing in whites. Poppy oil keeps paint workable longest. For home projects, stick with standard linseed-based formulas or fast-drying alkyds.
What Are the Drying Stages of Oil Paint?

Understanding these stages prevents mistakes.
Stage 1: Surface Drying (6-12 hours)
The top layer forms a skin. Touch it lightly and it won’t feel wet. But press harder and you’ll feel softness underneath. The paint isn’t ready for anything yet. This stage just means solvents have evaporated from the surface.
Stage 2: Touch Drying (24-48 hours)
You can touch the paint without leaving fingerprints. It feels solid throughout, not just on top. This is your recoat window. The paint has oxidized enough to support another layer but still needs time underneath.
Stage 3: Set Drying (3-7 days)
The paint is hard enough for careful use. Cabinets can open. Doors can swing. This is when most people want to use their space. It’s safe with reasonable caution. Avoid heavy pressure or wet cleaning. Wait for a full cure before scrubbing.
Stage 4: Full Cure (30-60 days)
The paint reaches maximum hardness. Chemical reactions are complete. Now it’s fully scratch-resistant and can handle household cleaners. You can clean surfaces normally. Heavy use won’t damage the finish. This is the durable surface you paid for.
How Can I Make Oil Paint Dry Faster?
You can speed things up safely with these proven methods.
Add Fast Drying Medium
Mix Japan drier or alkyd medium into your paint. Follow label directions carefully. Too much actually slows drying and can affect durability. We use this sparingly. Adding 10% Japan drier cuts 2-3 hours off touch dry time when clients need faster turnaround.
Thin the Paint Slightly
Adding small amounts of mineral spirits or turpentine speeds evaporation. Use odorless solvent for indoor work. Don’t over-thin or you’ll weaken the paint film and reduce coverage. A 5-10% ratio works well without compromising quality.
Improve Ventilation
Open windows on opposite sides of the room. This creates cross-ventilation without blasting the paint. A ceiling fan on low helps too. Box fans pointed away from surfaces work well. Never point fans directly at wet paint or dust will stick.
Control Room Temperature
Keep the space at 70-75°F. Slightly warm is ideal. Space heaters work but keep them 6 feet away from wet paint. Too much direct heat causes surface skinning, trapping solvents underneath. Consistent temperature beats high heat.
Apply Thin, Even Coats
Two thin coats always beat one thick coat. Thin applications dry faster and look better. We brush in one direction, then barely tip off the surface. This leaves just enough paint for coverage without excess thickness.
Choose Fast-Drying Formulas
Modern alkyd paints cure faster than traditional oils. Benjamin Moore Advance recoats in 16 hours. That’s 8 hours faster than standard oil paint. Sherwin-Williams ProClassic follows similar timelines. These cost more but save time on multi-day projects.
Common Mistakes That Slow Drying
Avoid these errors that add hours or days to your timeline.
- Painting in high humidity: Check weather forecasts. Humid days add significant time. Wait for drier conditions when possible.
- Skipping primer: Bare wood absorbs oil and slows surface drying. Primer seals surfaces and promotes faster cure. Always prime raw wood.
- Using old paint: Paint sitting for years loses drying agents. It takes much longer to cure. Buy fresh when starting new projects.
- Over-thinning: Adding too much mineral spirits weakens the paint film and extends drying time. Stick to manufacturer recommendations.
- Poor surface preparation: Dirty or greasy surfaces prevent proper adhesion. The paint won’t bond correctly or cure properly. Clean and sand before painting.
- Recoating too early: Applying a second coat before the first is ready can lift paint or create wrinkles. Wait the full 24 hours minimum.
When to Use Oil-Based Paint
Oil paint excels in high-wear areas where durability matters more than drying speed.
Best applications: Kitchen cabinets and bathroom vanities get constant use. Entry doors and frames take weather and impacts. Window trim and baseboards need scratch resistance. Stair railings and handrails endure daily contact. Metal surfaces and furniture benefit from the hard finish.
Skip oil paint on: Interior walls where latex works fine. Ceilings where slow drying creates problems. Large flat surfaces where water-based options make more sense.
The glossy finish and scratch resistance make drying an oil painting worth the wait for surfaces that get touched frequently.
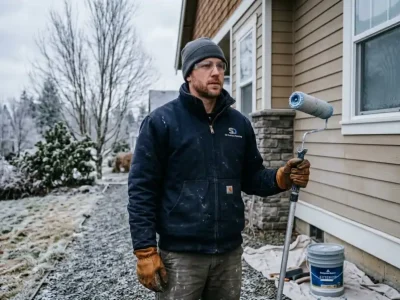
What We Do as a Painting Company
At San Diego Custom Painting, our 27 years of experience means we understand exactly how coastal climate affects oil-based finishes. We don’t just apply paint. We manage the curing process to ensure maximum durability.
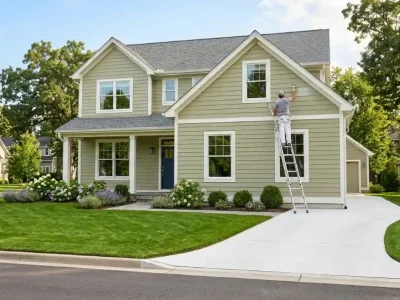
When performing interior, exterior, and cabinet painting services in San Diego on doors, trim, and cabinets, we follow strict temperature, humidity, and recoat guidelines. Our process ensures your oil-based finishes achieve the strongest possible cure. We use quality materials and proven techniques, protecting your investment against premature wear.
We track environmental conditions throughout each project. If humidity rises above acceptable levels, we adjust schedules rather than compromise quality. When temperatures drop, we reschedule to ensure proper curing. This attention to detail is why our finishes last decades, not years.
Final Thoughts
Understanding oil paint drying stages prevents costly mistakes. The 6-8 hours to touch dry is just the beginning. Full cure delivers the lasting finish you’re paying for. Don’t rush it.
Remember the key factors: thin coats, good airflow, moderate temperature, and low humidity. Control these and you control drying time. Modern alkyd formulas speed the process without sacrificing durability.
Oil paint isn’t the fastest option but it’s often the best for high-traffic surfaces. The extra wait delivers superior scratch resistance and longevity. Plan your timeline correctly and the results are worth it.
FAQs About Drying Time of Oil Paint
Can you speed up oil paint drying with a hair dryer?
No. Heat guns and hair dryers cause surface skinning that traps solvents underneath. This weakens the finish. The paint may feel dry but won’t cure properly. Use proper ventilation instead.
How long before oil paint stops smelling?
The odor fades within 24-48 hours with good ventilation. Full smell elimination takes 5-7 days. Low-VOC oil paints smell less but still need airflow during application.
Can I apply latex paint over oil paint?
Yes, but only after proper preparation. Sand the oil paint lightly, clean thoroughly, and apply bonding primer. The oil paint must be fully cured, at least 30 days old. Never apply oil over latex without primer.
Does oil paint dry faster in sunlight?
Direct sunlight warms surfaces too much. This causes uneven drying and potential cracking. Indirect light in a warm room works better than direct sun exposure.
What temperature is too cold for oil paint?
Below 50°F, oil paint becomes too thick to apply smoothly. Drying time increases dramatically. Below 40°F, don’t paint at all. The paint won’t cure properly and may fail.
Why is my oil paint still tacky after 24 hours?
Common causes include high humidity, low temperature, thick application, or old paint. Improve ventilation and wait longer. If tackiness persists after 48 hours, the paint may be bad.
How do you know when oil paint is fully cured?
After 30 days, press your thumbnail firmly into an inconspicuous area. If it doesn’t leave a mark, the paint is fully cured and ready for normal use.
What’s the difference between drying and curing?
Drying means solvents have evaporated and paint feels solid. Curing means oxidation is complete and paint has reached full hardness. Oil paint dries in hours but cures over weeks.