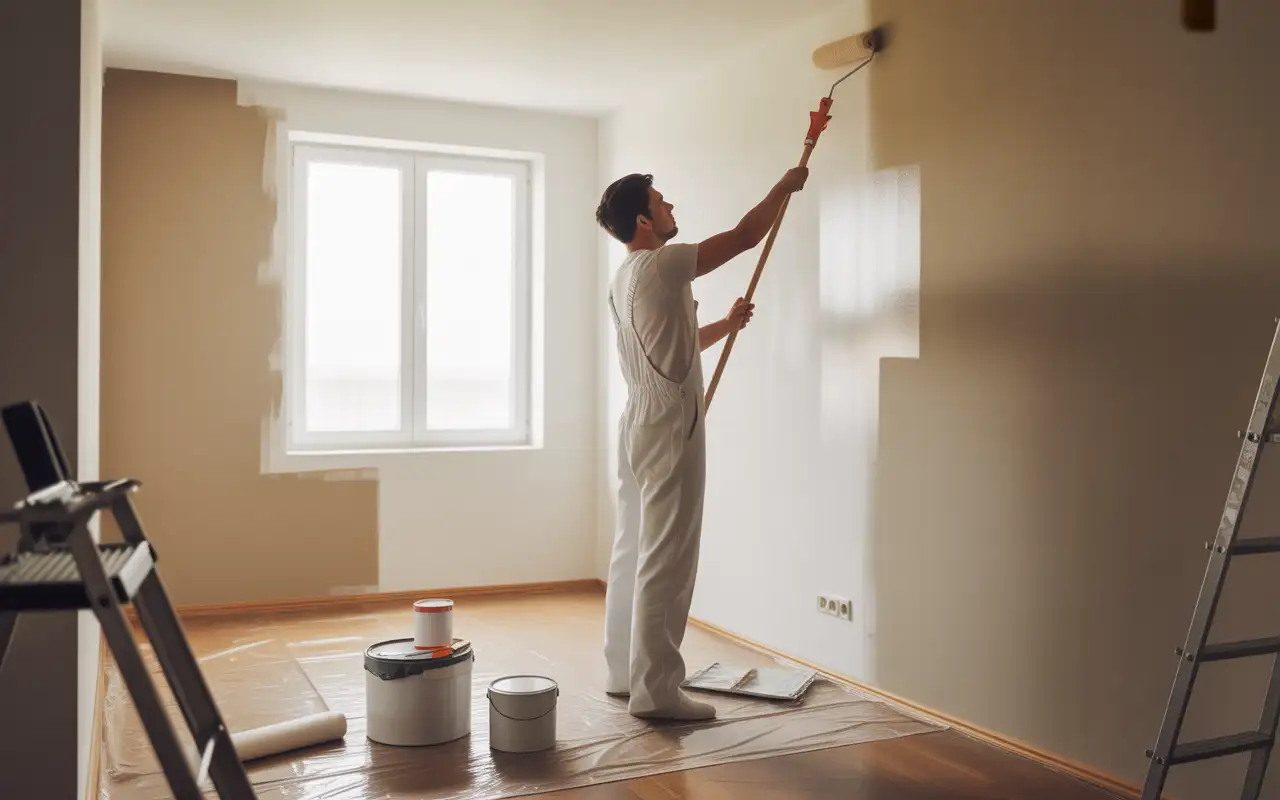
Over 24 million homes in the US contain lead-based paint hazards that pose serious health risks. If you’re wondering “can you paint over lead paint” during your home renovation project, you’re not alone. The good news is yes, you can safely paint over lead paint using proper encapsulation methods. This guide covers everything you need to know about painting over lead based paint safely and legally.
Can You Paint Over Lead Paint?

Yes, you can paint over lead paint, but only under specific conditions and with proper safety measures. The key is using EPA-approved encapsulation methods when the existing lead paint surface is stable and in good condition.
Table of Contents
ToggleLegal Framework and Requirements
The EPA’s RRP (Renovation, Repair, Painting) Rule governs all work on homes built before 1978. This regulation requires specific protocols when painting a house with lead paint. Commercial properties need certified contractors for any lead paint remediation work.
State and local regulations vary significantly. Some areas require permits for major renovations, while others have strict disclosure obligations for rental properties. Check your local requirements before starting any project.
When Painting Over Lead Paint is Safe
You can safely paint over lead based paint when these conditions are met:
- Paint surface is intact and adhering well
- No visible peeling, chipping, or flaking
- Surfaces are not high-friction areas like windows or doors
- No impact areas such as stairs or railings
- Surfaces can be cleaned and maintained easily
The science behind encapsulating lead paint involves creating a molecular barrier that prevents lead dust from becoming airborne. Modern encapsulant paint products use advanced polymer and cement formulations that bond directly to the lead paint surface.
When You Should NOT Paint Over Lead Paint
Never attempt painting over lead based paint in these situations:
- Deteriorating or damaged lead paint
- High-friction areas like window sills and door frames
- Children’s play areas requiring frequent cleaning
- Surfaces subject to heavy wear and tear
- Exterior surfaces with weather damage
These red flag situations require professional lead paint abatement rather than simple encapsulation.
What Paint Should You Use to Cover Lead Paint?
Regular paint will not safely cover lead paint. You need EPA-approved encapsulating products specifically designed for lead containment.
Top EPA-Approved Encapsulation Products
Fiberlock Lag-Kote is a penetrating encapsulant suitable for interior and exterior use. It costs $45-60 per gallon and provides excellent adhesion to lead paint surfaces.
Ecobond Lead Defender offers a water-based formula that’s VOC compliant. Each gallon covers 300-400 square feet and works well for DIY projects.
SEM Lead Encapsulator is professional-grade with fast-curing properties. It’s ideal for metal surfaces and provides superior durability.
Understanding Paint Types
Encapsulating primers create a barrier layer that prevents lead dust release. Standard primers are never sufficient for lead paint coverage. You need specialized sealers designed for specific surface types.
Interior formulations require low or zero VOC content, high washability ratings, and durability specifications. Exterior products need weather resistance, UV protection, and flexibility for thermal expansion.
Cost Analysis
Most projects require 2-3 coats of encapsulant paint. Calculate your square footage carefully to determine product needs. Lead paint remediation cost through encapsulation typically runs $2-4 per square foot, while complete removal can cost $8-15 per square foot.
Should You Strip or Sand Lead Paint?
The definitive answer is NO. The EPA strongly advises against stripping or sanding lead paint because these methods create dangerous lead dust that poses serious health risks through inhalation and ingestion.
Dangerous Methods to Avoid
Never use these prohibited techniques:
- Dry sanding creates maximum lead dust
- Heat guns above 1100°F can vaporize lead
- Open-flame burning produces extremely toxic fumes
- Pressure washing spreads contamination
These methods violate RRP rules and can result in significant fines and health hazards.
When Professional Removal is Necessary
Professional lead paint abatement becomes necessary for:
- Structural renovations affecting large areas
- Severely deteriorated paint conditions
- Converting spaces to child-occupied facilities
- Historical restoration projects
Safe alternative methods include wet scraping to minimize dust generation, chemical stripping with proper containment, and HEPA vacuum systems operated by certified professionals.
How to Test for Lead Paint
Age-based risk assessment provides the first clue. Homes built before 1950 have an 87% chance of containing lead paint. Properties from 1950-1978 have a 24% risk. Post-1978 homes have minimal risk since lead paint was banned for residential use.
Professional Testing Options
3M LeadCheck Swabs cost $8-12 for a 2-pack and offer 95% accuracy for positive results. However, they may miss low lead levels.
D-Lead test kits provide more sensitive detection with professional-grade accuracy. They cost more but offer better reliability for lead based paint test purposes.
Laboratory analysis using XRF testing provides the most accurate results. Paint chip analysis is considered the gold standard, costing $25-50 per sample with 3-5 business day turnaround.
DIY Testing Process
Start with thorough preparation by cleaning the test area. Follow kit instructions precisely for sample collection. Understanding color changes is crucial for proper interpretation. Document all results and locations for future reference.
Common Lead Paint Locations
Interior hotspots include window frames and sills, door frames and trim, stairway railings and spindles, plus kitchen and bathroom cabinets. Exterior priority areas cover siding and trim, porch railings and floors, window exteriors, and foundation elements.
5 Essential Tips for Painting Over Lead Paint
Tip 1: Prepare the Work Area Properly
Proper containment setup requires 6-mil plastic sheeting minimum. Seal all openings with tape and establish HEPA air filtration with negative pressure systems. Use entry and exit protocols including shoe covers and clothing changes.
Essential tools include N100 respirators (never use simple dust masks), disposable coveralls with hoods, double-layer nitrile gloves, HEPA vacuums with certified filters, and wet cleaning supplies with misting bottles.
Tip 2: Follow Wet Methods Approach
Always mist surfaces to prevent dust generation. If you must sand lead paint, only use wet methods. Clean as you go and never allow dust accumulation. Complete final cleaning with HEPA vacuum plus wet wipe sequence.
Use brushes rather than rollers for better penetration of encapsulant paint. Don’t rush the application rate and ensure full coverage. Maintain wet edges to prevent lap marks.
Tip 3: Apply Multiple Coats Correctly
Start with encapsulating primer as your first coat. Follow manufacturer dry time specifications exactly. Ensure 100% coverage before applying the second coat.
Use cross-hatch patterns for subsequent coats to avoid missed spots. Build proper film thickness to create an effective barrier. Conduct final inspections to check for holidays and thin spots.
Tip 4: Maintain Proper Ventilation
Natural ventilation works by opening windows in non-work areas. Use mechanical systems with fans directing airflow away from living spaces. HEPA units capture airborne particles effectively.
Worker protection requires properly fitted N100 masks, full coverage clothing for skin protection, and safety glasses with side shields for eye protection.
Tip 5: Execute Proper Cleanup and Disposal
Follow this cleanup sequence: HEPA vacuum all surfaces including walls and ceiling, wet clean with detergent solution, complete a second HEPA vacuum pass, and verify cleanup effectiveness with clearance testing.
Check local regulations for waste disposal requirements. Use designated hazardous waste facilities and keep disposal documentation. Store waste in sealed, properly labeled containers.
Final Thoughts
Painting over lead paint is safe when done correctly using proper encapsulation methods. Professional assessment is recommended for large projects, and safety protocols are non-negotiable. Long-term monitoring and maintenance remain essential for continued protection.
Consider calling professionals for projects over 100 square feet, when uncertain about lead presence, or when family health concerns exist (pregnant women, young children). Complex architectural features also benefit from professional expertise.
For comprehensive interior painting services and exterior painting services in San Diego, San Diego Custom Painting provides certified lead-safe work practices. Regular inspection schedules, proper touch-up protocols, and future renovation considerations should be part of your ongoing maintenance plan.
Frequently Asked Questions
What kind of paint can you use over lead paint?
Only EPA-approved encapsulating paints work for lead containment. These include penetrating encapsulants like Fiberlock Lag-Kote, water-based options like Ecobond Lead Defender, and professional products like SEM Lead Encapsulator. Regular oil or water based paints are insufficient and don’t create the necessary barrier to prevent lead dust release.
Key requirements include EPA recognition, minimum dry film thickness specifications, proper adhesion ratings for various substrates, and washability plus durability standards.
Does painting over lead paint make it safe?
Encapsulating lead paint effectively handles the immediate health risk by creating a barrier preventing lead dust generation. However, this is containment, not complete removal. The lead paint remains beneath the new coating.
Effectiveness depends on surface preparation quality, proper product selection and application, ongoing maintenance and monitoring, plus environmental conditions and wear patterns. Will painting over lead paint make it safe? Yes, when done properly, but periodic inspections and future renovation planning remain necessary.
How do you deal with lead paint in an old house?
Start with professional testing and condition evaluation during the assessment phase. Develop a remediation strategy based on findings during planning. Execute your chosen method (encapsulation versus removal) during implementation. Maintain ongoing monitoring and inspection.
Management strategies include encapsulation as the most cost-effective option for stable paint, replacement for windows and doors with deteriorated elements, professional abatement for extensive renovation projects, and interim controls for immediate safety while planning permanent solutions.
Family safety measures include regular cleaning protocols, air filtration systems, nutritional support with calcium, iron, and vitamin C, plus blood lead testing for children.
What paint will adhere to lead?
Encapsulating primers and paints with superior adhesion properties work best. Penetrating encapsulants soak into existing paint for mechanical bonding. Bridging primers offer flexible formulations accommodating substrate movement. Chemical bonding agents create molecular-level adhesion.
For glossy lead paint, use adhesion promoters or light abrasion. Chalky surfaces need penetrating primers to consolidate the substrate. Metal surfaces require rust-inhibitive primers with lead compatibility.


