Painting a basement ceiling black sounds bold. But it works. If your basement has exposed pipes, HVAC ducts, and wiring you want to hide, painting everything dark is the smartest fix. It creates a clean, industrial look without the cost of a drop ceiling. If you are searching for how to paint basement ceiling black, the short answer is simple: To paint a basement ceiling black, you clean the surface, prime it, then apply two coats of flat black paint using either a sprayer or a roller. That is the short answer.
This guide gives you the full picture. You will learn the exact tools, paint colors, step-by-step process, cost breakdown, and mistakes to avoid. By the end, you will feel confident enough to start this weekend.
Table of Contents
ToggleWhy Paint the Basement Ceiling Black?
Most unfinished basements look rough. Pipes hang low. Ducts run in every direction. Wires cross each other. Installing a drop ceiling costs $3 to $6 per square foot. Drywalling is even more expensive, and it blocks access to plumbing.
Painting the exposed ceiling black costs a fraction of that. It hides the mess visually. When everything is one dark color, your eyes stop picking out individual pipes. The ceiling reads as one surface.
It also keeps your ceiling height. In a basement with 6.5 to 7.5 foot ceilings, every inch matters. A drop ceiling can steal 4 to 6 inches. A painted basement ceiling keeps the full height and still looks finished.
Pros and Cons of Painting the Basement Ceiling Black
Before you grab a brush, it helps to weigh the benefits against the challenges.
The Pros
- Visual Height: Dark colors make the “ceiling” feel further away.
- Easy Access: You can still reach your electrical and plumbing lines if you have a leak or need a repair.
- Cost: It is the most affordable way to get a finished basement with black ceiling.
- Modern Aesthetic: It fits perfectly with industrial, rustic, or modern decor.
The Cons
- Lighting Needs: Black absorbs light. You will need to add more lamps or recessed lighting.
- Dust Visibility: While it hides pipes, a painted black basement ceiling can show grey dust over time.
- The Mess: Spraying paint overhead is a messy job that requires total protection of the floor and walls.
The Secret Ingredient: Dryfall Paint
If you want the best paint for basement ceiling projects, look for “Dryfall” paint. Professionals use this for commercial ceilings. The overspray is designed to dry before it hits the floor. When it lands, it is just a dry powder that you can sweep up. While you still need to cover your floors, it makes the cleanup much easier than using standard latex paint.
What You Need: Tools and Materials List
Before you start, gather everything. Stopping mid-project to run to the hardware store wastes time.
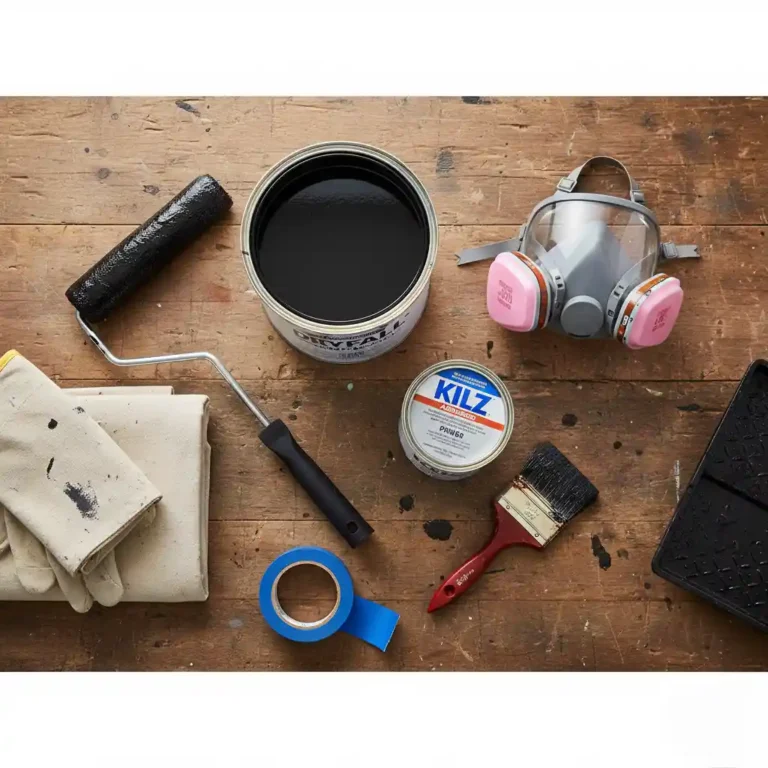
For sprayer method:
- Paint sprayer (Wagner or similar)
- Primer (spray cans or rollable)
- Flat black paint (one gallon covers around 350 square feet)
- Tyvek suit or old clothes you can trash
- Respirator mask (not just a dust mask)
- Safety goggles
- Drop cloths and plastic sheeting
- Painter’s tape
For roller method:
- Latex paint with primer, flat finish
- Small microfiber roller and large roller
- Sash brush for edges
- Old narrow brush for tight spots and knotholes
- Painter’s tape
- Drop cloth
How to Prepare Your Basement Ceiling for Painting
Prep is everything. Skipping this step ruins the final result.
Step 1: Check for moisture
Press your hand against the concrete walls and joists. If they feel damp, fix the moisture issue before painting. Paint will peel off a wet surface within months.
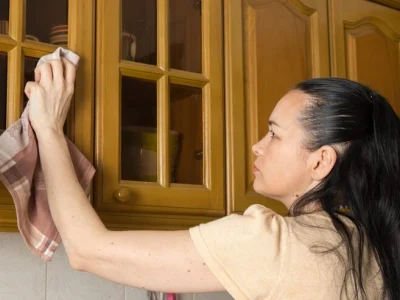
Step 2: Clean everything
Basements collect dust, cobwebs, and grease. Vacuum the joists, pipes, and ducts. Wipe with a dry cloth, then vacuum again. Finish with a damp wipe. Dust balled up in a paint roller creates a mess.
Step 3: Remove what you can
Pull out furniture. Unscrew switch plate covers. If pipes or wires can be rerouted or tidied, do it now. You will thank yourself later.
Step 4: Protect your floors and walls
Lay drop cloths across the floor. Use plastic sheeting if spraying. Tape off anything you are not painting.
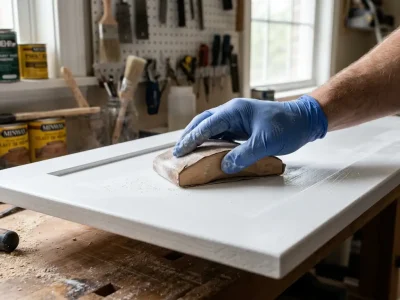
Step 5: Prime the surface
Bare wood soaks up paint fast. Skipping primer means you will need four or five coats of paint instead of two. Use a primer rated for bare wood and porous surfaces. One basement project used four full cans of spray primer before even touching the paint.
How to Paint Basement Ceiling Black Without a Sprayer
No sprayer? No problem. A roller works fine, especially in smaller rooms.
Step 1: Start with the edges and tight spots
Use a sash brush to cut in around walls and in corners. Use a narrow beat-up brush to get into knotholes, around wire staples, and between joists.
Step 2: Roll the flat areas
Use a small microfiber roller for pipes and ducts. Use a larger roller for open joist bays. Do not overload the roller. Start with less paint until you know how thick this paint runs.
Step 3: Work in sections
Finish one area completely before moving to the next. Overhead painting is tiring. Work for 30 to 45 minutes, then rest.
Step 4: Apply a second coat
Wait for the first coat to dry fully, usually two to four hours. Then apply a light second coat. This second coat catches the spots you missed.
Step 5: Keep a touch-up brush handy for a week
As you walk through the room, you will notice small missed spots. Keep the paint can nearby and hit those spots as you find them.
A 10×10 room painted this way costs under $50 in paint. It took one couple just one gallon of Sherwin-Williams flat black paint for that size space.
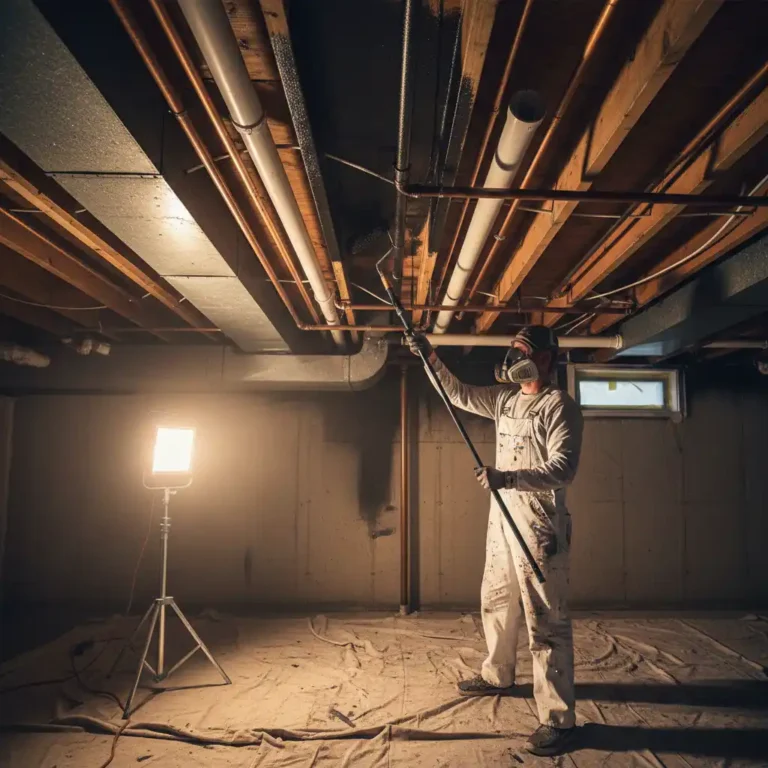
Tips for Spray Painting Your Basement Ceiling Black
A sprayer is faster on large basements. But it requires more prep and safety gear.
Tip 1: Cover everything. Overspray gets everywhere. Plastic sheeting on every wall and the floor is not optional.
Tip 2: Wear a respirator. Not a basic dust mask. A respirator rated for VOCs. Spraying black paint overhead for hours without proper protection is a real health risk.
Tip 3: Thin the paint if needed. If the sprayer is spitting or clogging, thin the paint slightly with water (for latex). Test on a scrap surface first.
Tip 4: Spray in two directions. Apply your first coat moving left to right. Apply the second coat moving front to back. This cross-direction method ensures even coverage on a complex exposed ceiling.
Tip 5: Follow up with a brush and roller. Even a good sprayer misses spots inside deep bays or behind pipes. Go back with a brush after spraying.
Cost to Paint Your Basement Ceiling Black
Here is a realistic cost breakdown:
Room Size | Paint Needed | Primer | Total Estimated Cost |
10×10 ft | 1 gallon | Optional | $40 to $65 |
20×20 ft | 2 gallons | 1 gallon | $90 to $140 |
30×20 ft (600 sq ft) | 3-4 gallons | 2 gallons | $160 to $230 |
These costs cover paint only. A paint sprayer rental runs $40 to $75 per day. Plastic sheeting, tape, and rollers add another $20 to $40 if you are buying fresh.
Dealing with Special Materials
Your ceiling is not just wood. You will encounter various “entities” that need special care:
PVC and Copper Pipes
Standard paint might flake off these surfaces. Apply a thin coat of bonding primer first. Once dry, your black paint will stick without a problem.
HVAC Ductwork
Metal expands and contracts with the heat. Using a matte finish help hide the small movements. Make sure the ducts are cool to the touch before you start painting.
Electrical Wires
It is safe to paint the outer insulation of your wires. However, do not paint over the face of junction boxes or any wire nuts where connections are made. Keep those accessible for future electrical work.
Lighting Tips for a Black Basement Ceiling
A dark ceiling absorbs light. Plan your lighting before you paint.
Use adjustable spotlights or track lighting. They blend into a black ceiling and can be angled to where you need light most. Plug-in spotlight versions exist if hardwiring is not an option.
Recessed LED pot lights also work well. They sit flush and disappear against the dark ceiling.
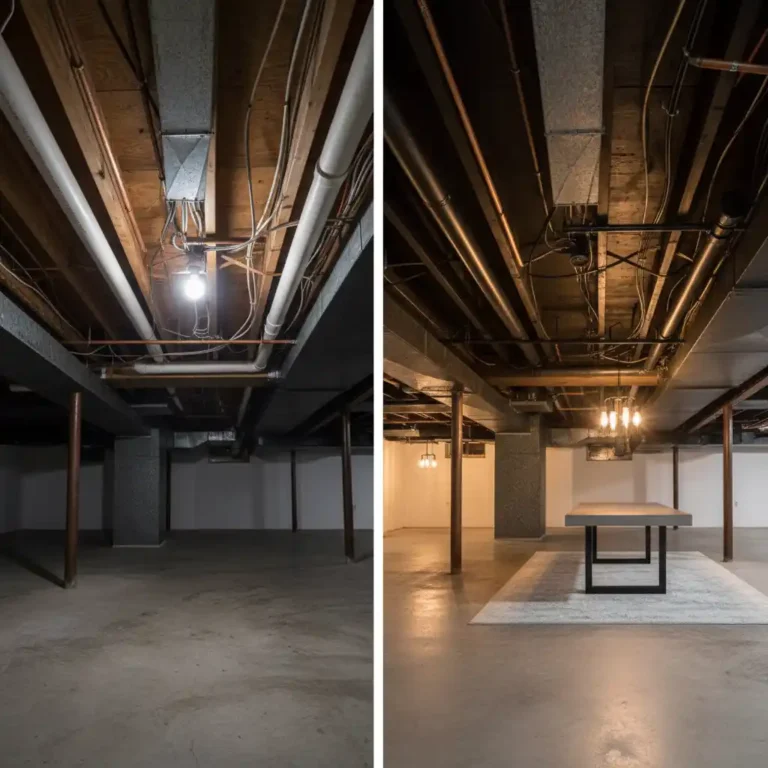
Keep your walls light. White or off-white walls like Sherwin-Williams Alabaster create contrast that makes the room feel open, not cramped. Basements with black ceilings and white walls consistently feel taller and more finished.
Final Thoughts
Painting your basement ceiling black is one of the highest-return DIY projects you can do. It costs under $200 for most rooms, hides years of messy utility work, and creates a look that feels intentional and designed.
If you are in the San Diego area and want professional results without the DIY learning curve, San Diego Custom Painting handles interior painting services in San Diego including basement ceilings, utility spaces, and full home interiors. A professional finish on a painted black basement ceiling takes this project from good to exceptional.
Whether you go DIY or hire a pro, the black ceiling works. Thousands of homeowners have finished basements with black ceilings that look better than drop ceiling alternatives at a fraction of the price.
Black Basement Ceiling Painting FAQs
Do I need to prime before painting a basement ceiling black?
Yes. Bare wood, plywood, and drywall absorb paint heavily. Without primer, you will need four or five coats of paint. Two coats over primer is the right approach.
What finish should I use for a black basement ceiling?
Always use flat or matte. Any sheen reflects light and highlights every pipe, nail, and imperfection.
How many gallons of paint do I need?
One gallon covers roughly 350 square feet with one coat. For two coats on a 400 square foot basement, plan on two to three gallons.
Does a black ceiling make a basement feel smaller?
No, it does the opposite when done right. A dark ceiling with light walls creates contrast that actually makes rooms feel taller. Many homeowners are surprised by how open their basement feels after painting.
How long does it take to paint a basement ceiling?
A 600+ square foot ceiling takes three to four full days with drying time between coats. A small 10×10 room can be done on a weekend.
Can I paint over insulation on the basement ceiling?
You can cover exposed insulation with a Thermo Pan (a foil-faced rigid panel) cut to fit, then paint over it. Do not spray directly onto fiberglass batt insulation.
Is painting a basement ceiling a good DIY project for beginners?
Yes, with patience. The work is physically demanding because it is all overhead. But the technique is simple. Prep well, prime, and apply two coats with a roller or sprayer.