You are looking at a freshly painted wall and feeling a knot in your stomach. The wet paint looks completely different from the little cardboard sample you brought home from the store. It is completely normal to worry that you just made an expensive mistake. The good news is that you can trust the process because wet paint rarely shows its true colors immediately.
Does paint dry darker or lighter? The short answer is that it almost always dries darker. Most interior wall paints experience a noticeable color shift as the moisture leaves the liquid film. This guide explains the exact physical reasons for this color change, how different finishes alter the final look, and how to make sure your walls end up looking exactly like your original choice.
Table of Contents
ToggleQuick Answer: Does Paint Dry Darker or Lighter?
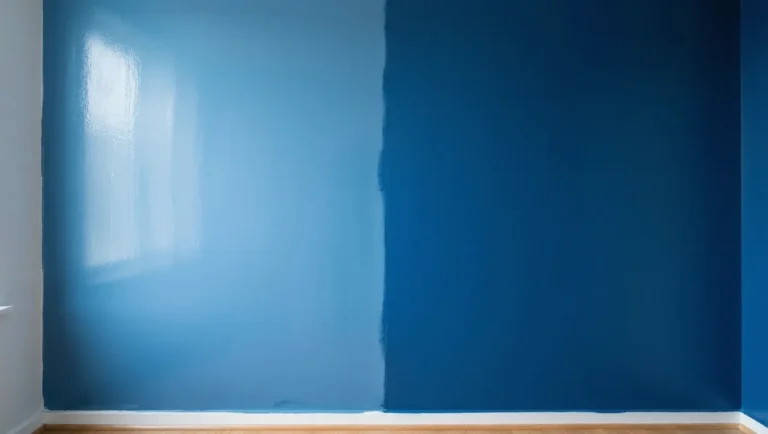
Here’s the short version if you need to know right now: paint dries darker in almost every case. Latex, acrylic, and most oil-based paints all follow this pattern. Wet paint reflects more light off its glossy, still-liquid surface. That reflection tricks your eyes into seeing a lighter shade than what’s actually in the can.
As the paint dries, three things happen at once. Water or solvent evaporates out of the paint film. The surface loses its wet shine and turns matte or semi-matte, depending on the sheen you bought. And the pigment particles, which were spread out in liquid, pack closer together. All three of these push the color toward looking richer and deeper, not lighter.
Full drying takes longer than most people think. The wall might feel dry to the touch in an hour, but the paint is still changing underneath the surface for up to 24 hours. Don’t judge the final color until at least a full day has passed. If you painted this morning and you’re comparing it to the swatch right now, you’re comparing an unfinished product to a finished sample. That’s not a fair fight, and it’s why so many people panic over nothing.
The Chemical Reason Behind the Wet-to-Dry Shift
To understand why this happens, you do not need a degree in chemistry. Paint consists of pigments, binders, and liquids. The binder holds everything together, and the liquid keeps it fluid enough to roll or brush onto your drywall.
In water-based options like latex and acrylic, the wet binder has a milky-white appearance. This white tint naturally makes the wet mixture look lighter in the can and on your roller. As the water evaporates, that milky binder turns completely transparent. With the white tint gone, the raw pigments are left behind, which causes the final surface to look deeper.
5 Factors That Impact Paint Color as it Dries
Not every can behaves the exact same way on a surface. Five primary variables determine how much a color will shift from the time you apply it to the time it cures.
1. The Specific Base Type
The chemical formula of your product determines its shifting behavior.
- Latex Paint: This common wall coating is water-based. It is highly prone to looking lighter when wet because of the milky binder. It will reliably darken as it loses water.
- Acrylic Paint: Acrylic polymers also use a water vehicle. They dry relatively fast, and they show a distinct darkening effect once the liquid clears.
- Oil-Based Paint: These products use organic solvents. They do not have a milky binder, so they stay closer to their final shade during application. However, oil products cure through a slow chemical reaction with oxygen. They can actually turn darker and slightly yellow over many months.
2. The Final Sheen or Finish
Every product has a specific gloss level. This is known as the finish.
High-gloss and semi-gloss variants reflect light like a mirror. This reflection can make the dried color appear deeper and richer under direct light. Matte and flat finishes absorb light instead of reflecting it. Because they scatter light in every direction, flat finishes often look slightly lighter on the wall compared to a high-gloss finish of the identical shade.
3. Light Reflectance Value (LRV)
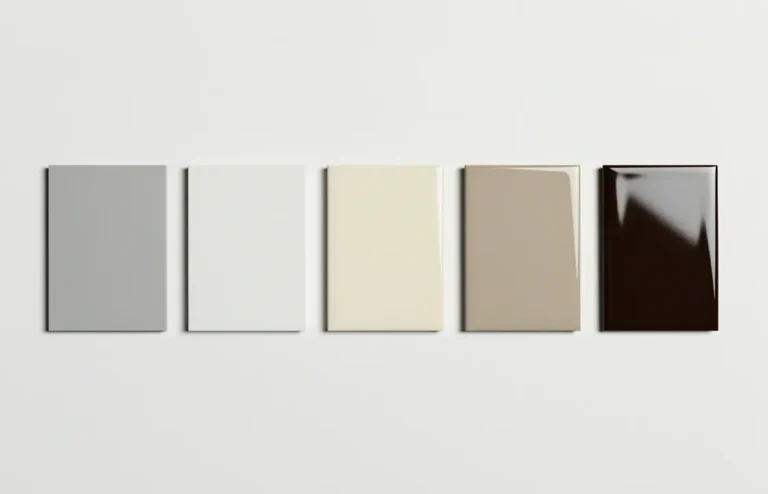
Every color swatch has a Light Reflectance Value number printed on the back. The scale goes from 0 to 100, where 0 is absolute black and 100 is pure white.
Colors with a low LRV absorb more light. When these deep shades are wet, the contrast with the final dry state is extreme. A dark navy or deep charcoal will look shockingly bright when wet but will deepen significantly as it sets. Light colors with a high LRV show a much smaller shift.
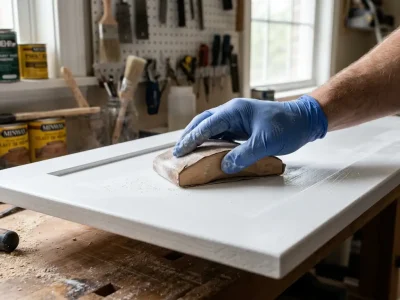
4. Substrate Porosity
The material underneath your new coat plays a major role. Bare, unprimed drywall acts like a sponge. It quickly sucks the liquid binders out of the paint film. This rapid absorption can alter how the pigment particles settle on the surface. When the surface absorbs the moisture too fast, the final shade can look uneven or lighter than intended.
5. Room Lighting Conditions
Metamerism is the scientific name for how a color changes under different light sources. Your wall might look exactly like the swatch at noon under natural sunlight. At night, under warm incandescent bulbs or cool LEDs, that same wall can appear two shades darker. The environment around the wall alters your perception of the shade.
Does Paint Get Darker With a Second Coat?
Yes, typically. The second coat isn’t there to add more color on top of the first. It’s there to finish what the first coat started. A single coat rarely reaches full pigment coverage, especially over primer or a lighter existing wall color. The surface underneath still shows through slightly, softening and lightening the true shade.
Once you apply the second coat, the pigment layer thickens and less light passes through to the wall behind it. Less light passing through means less of that underlying color diluting what you see. The result reads as darker, but really it’s just complete. This is also why a paint can that says “one coat coverage” on the label can still look thin after coat one on darker or more saturated colors. Two coats is still the safer standard for full, even color, and it’s what closes the gap between what’s on your wall and what’s on the swatch.
How Temperature and Humidity Affect Paint Shade
The environment in your room dictates the speed of the drying process. This speed directly influences the final appearance of the walls.
Weather Condition | Drying Speed | Impact on Appearance |
High Humidity | Very Slow | Paint stays wet longer. Pigments can settle unevenly, often leading to a darker or streaky finish. |
Low Humidity | Very Fast | Fast moisture loss. Can cause the top layer to set before the bottom layer releases its water. |
Cold Temperatures | Prolonged | Slows down evaporation. The prolonged wet state can make colors deepen past their intended shade. |
Hot Temperatures | Extreme Speed | Causes flash drying. The film can dry too fast, leading to light spots and surface texture issues. |
To get the most accurate color replication, always apply coatings when the indoor temperature is between 50 and 85 degrees Fahrenheit.
5 Tips for Ensuring You Choose the Right Shade
You can prevent surprises and protect your budget by following a few simple steps before coated rollers ever touch your actual walls.
1. Use Large Test Boards
Never paint small samples directly onto your wall. If you change your mind, those heavy sample patches can leave visible edges under your final coat. Instead, apply two coats onto a large piece of white poster board or a drywall scrap. This gives you a portable test sample.
2. Move the Sample Around
Take your portable test board and place it in different areas of the room. Hold it next to your trim, your flooring, and your furniture. Look at it in the dark corners and right next to the windows. You will see how the surrounding elements affect the color.
3. Study the Sample at Three Specific Times
Colors change throughout the day. Look at your test board in the morning under soft natural light. Check it again at 2:00 PM when the sun is brightest. Finally, view it at 8:00 PM with your artificial lights turned on. This ensures you like the shade under every condition.
4. Mix the Can Thoroughly
Pigments are heavy and naturally sink to the bottom of the can over time. If you do not stir the liquid, the top of the can will be thin and light. Use a wooden stir stick and scrape the very bottom of the container to distribute the pigments evenly before you begin.
5. Wait for the Full Cure Time
Do not judge your color after thirty minutes. A water-based coating might feel dry to the touch in an hour, but it takes several days to cure completely. The final color and sheen will only be locked in once the film is entirely cured.
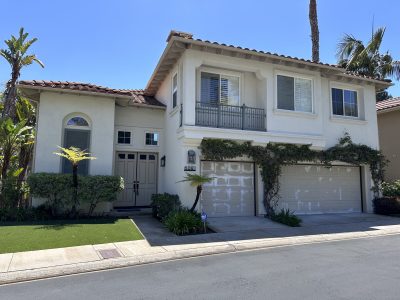
Why a Local Professional Makes the Difference
Achieving an exact color match requires managing real-world variables. This is especially true in regions with unique coastal weather patterns. For example, high humidity near the ocean can slow down drying times significantly, which alters how a finish cures.
Using professional painting services in San Diego can remove all the guesswork from your next home improvement project. The experienced team at San Diego Custom Painting knows exactly how local microclimates affect different chemical formulas. They prepare every surface properly, utilize tinted primers to control light reflection, and apply even coats perfectly. This ensures your chosen shade matches the store swatch perfectly without any stressful surprises.
If you want a flawless, stress-free finish on your home, contact an expert team today to get a precise estimate for your project.
Final Verdict
Paint dries darker in the vast majority of cases. Wet paint reflects light off its liquid surface and looks lighter than it really is. As it dries, that reflection fades, the pigment settles, and the true color comes through, usually within a few hours, fully within 24. The exceptions come down to paint type, sheen, coat count, primer, temperature, and humidity, all things you can control or plan around. If your wall looks off right now, don’t repaint in a panic. Wait a full day, check it under different lights, and compare it fairly to the swatch. Nine times out of ten, it’s going to match.
FAQs About Does Paint Dry Lighter or Darker
Why does my wall touch up paint look darker than the original wall?
This is a very common issue. Over time, daylight and oxygen fade the original coating on your walls. When you apply fresh liquid from the old can, the new patch contains fresh, unfaded pigments. The new spot will look deeper because the surrounding wall has lost its original intensity.
Does paint dry darker on drywall compared to wood?
Yes, it can look different because of how these materials absorb liquid. Drywall is highly porous and draws in moisture quickly. Wood has a different grain structure. If you do not apply a proper primer first, the different absorption rates will cause the identical can to look lighter or darker across the two surfaces.
How long do you have to wait to see the true paint color?
For standard water-based options, you can see a close approximation of the final shade within two to four hours. However, the true color and final gloss level will not stabilize completely until the product cures, which typically takes between two and four weeks.
Does a flat finish dry faster than a gloss finish?
Flat options contain a higher volume of pigments and less shiny binder material. This composition allows water to escape the film more freely. Because of this structural difference, flat options generally dry and reach their true shade faster than high-gloss products.