Have you just finished painting a room only to notice ugly streaks ruining your hard work? Those visible lines and uneven patches can turn an exciting home project into a frustrating mess. Paint streaks happen to everyone, from first-time DIYers to experienced painters.
The good news is that learning how to fix paint streaks on walls doesn’t require professional skills or expensive tools. This guide walks you through exactly what causes those annoying marks, how to remove them, and most importantly, how to prevent them from showing up again. By the end, you’ll have the confidence to tackle any streaky paint job.
Table of Contents
ToggleUnderstanding Paint Streaks
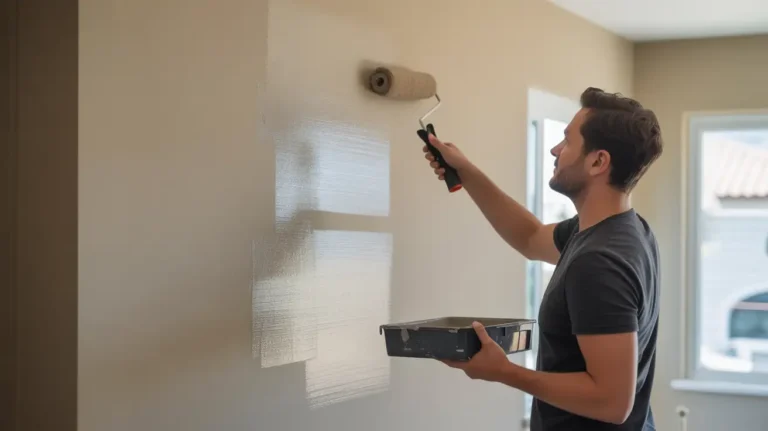
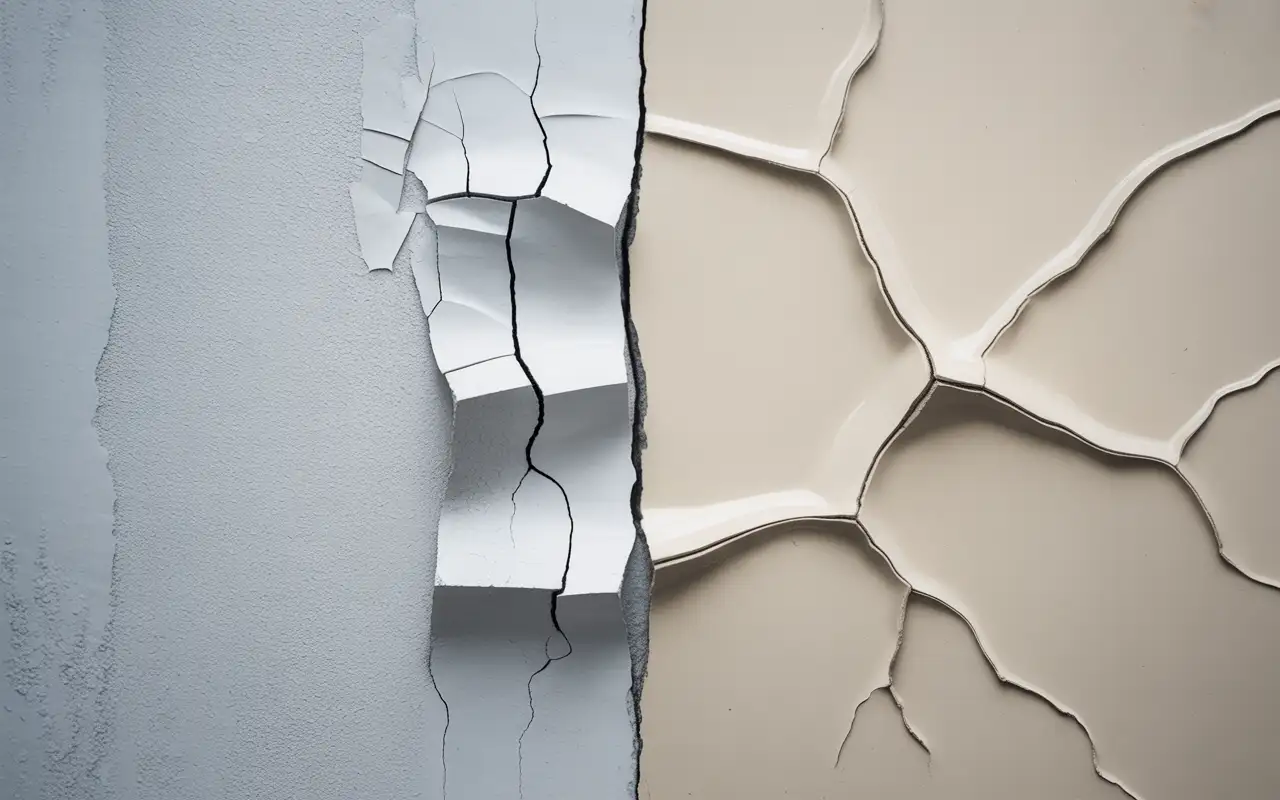
Paint streaks are visible lines, patches, or uneven areas that appear on your walls after painting. They stand out because they reflect light differently than the surrounding surface. These imperfections can appear while the paint is still wet or become obvious only after everything dries.
Most people don’t realize that paint streaks aren’t always the result of poor painting skills. Several factors work together to create these problems, from the tools you use to the condition of your walls. Understanding what you’re dealing with helps you choose the right fix.
What Causes Paint Streaks When Painting?

Several common mistakes lead to streaky walls. Here’s what usually goes wrong:
- Poor Quality Paint: Cheap paint contains less pigment and more filler. This means uneven coverage and visible streaks even after multiple coats. The paint doesn’t flow or level properly, leaving behind every roller mark and brush stroke.
- Unprepared Walls: Dirt, dust, grease, and old paint layers create an uneven surface. When you apply fresh paint over these problems, it doesn’t stick properly. The result is patchy areas where the paint adheres differently across the wall.
- Wrong Amount of Paint: Loading too much paint on your roller or brush creates drips, sags, and thick spots. Using too little paint causes thin coverage that lets the wall color show through in streaks.
- Improper Technique: Applying too much pressure squeezes excess paint from the edges of your roller. This leaves raised lines called roller marks. Painting back and forth in different directions also creates visible streaks because each stroke overlaps unevenly.
- Fast Drying Conditions: High room temperature or low humidity makes paint dry before it can level out. The paint sets in whatever pattern you applied it, highlighting every imperfection.
- Wrong Tools: Using a worn-out brush, cheap roller, or incorrect roller nap size for your wall texture almost guarantees streaks. The tools can’t hold or distribute paint evenly.
Types of Paint Streaks
Knowing which type of streak you’re dealing with helps you fix it correctly.
Raised-Edge Roller Marks
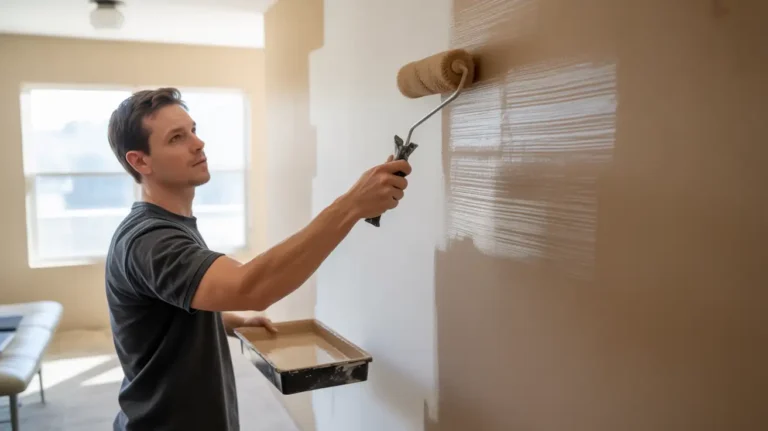
These appear as slightly elevated lines that follow your roller pattern. They happen when you overload the roller with paint. The edges of the roller carry more paint than the center, leaving behind ridges that dry into noticeable bumps. You can often feel these with your hand.
Streaky Brush Marks
Visible brush strokes appear when using paint brushes for walls incorrectly. This happens with old brushes that have lost their shape, applying paint too thick, or not maintaining a consistent stroke direction. The individual bristle marks remain visible after the paint dries.
Uneven Coverage and Paint Blotches
This shows up as areas of varying thickness across your wall. Some spots look darker or shinier than others. Wall paint uneven like this results from inconsistent paint application, not enough coats, or the paint drying too fast. You might also see paint clumps from unmixed paint or drips from overloading your tools.
Tools and Materials Needed
Having the right supplies makes all the difference. Here’s your complete list:
Essential Tools:
- High-quality paint roller with appropriate nap size (3/8 inch for smooth walls, 3/4 inch for textured surfaces)
- Quality paintbrush (brands like Purdy hold more paint and give smoother results)
- Foam paintbrush for detail work and touch-ups
- Fine grit sandpaper (120 to 150 grit works best)
- Sanding block for even pressure
- Paint tray with liner
Materials You’ll Need:
- High quality paint (don’t skimp here)
- Primer for bare or problem walls
- Painter’s tape for clean edges
- Drop cloths to protect floors
- Tack cloth or damp cloth for cleaning
- Wet sponge for wiping surfaces
- Patching compound for holes and cracks
Investing in high quality painting tools saves time and prevents streaks. A lambskin roller, for example, holds more paint and releases it evenly compared to cheap synthetic versions. Professional painters use these for good reason.
Preparing the Surface
Proper prep work prevents most paint streaks before they start. Never skip these steps.
- Clean Your Walls: Use a wet sponge or damp cloth to remove all dust, dirt, grease, and cobwebs. Pay special attention to kitchens and bathrooms where grease builds up. Let the walls dry completely before moving forward. Clean walls ensure the paint adheres properly and evenly.
- Fix Damage: Fill any holes, dents, or cracks with patching compound. Smooth it flat with your putty knife. Once dry, sand the patches flush with the wall surface using your sanding block. This creates a uniform base for painting.
- Sand Existing Paint: If you’re painting over old paint with visible roller marks or rough spots, lightly sand the entire surface with fine grit sandpaper. This removes imperfections and gives the new paint something to grip. Always sand in circular motions to avoid creating new scratches.
- Remove Dust: After sanding, wipe down everything with a tack cloth. This sticky cloth grabs every bit of dust. Even tiny particles can cause streaks when they get caught in wet paint. Some painters prefer a slightly damp cloth for this step.
- Apply Primer: Don’t skip this. Primer creates a uniform surface that helps paint go on smoothly. It’s essential when painting over dark colors, stains, or patched areas. Primer ensures the paint absorbs evenly across the entire wall, preventing streaks on walls.
- Tape Off Trim: Apply painter’s tape to baseboards, door frames, and window trim. Press the edges down firmly to prevent paint from bleeding underneath.
How to Fix Paint Streaks on Walls: Step-by-Step Process

The method you use depends on whether your paint is wet or already dried.
Fixing Fresh Paint Streaks
If you catch a streak of paint while it’s still wet, you’re in luck. This is the easiest situation to correct.
Step 1: Don’t panic. Wet paint is forgiving.
Step 2: Load your paint roller with a moderate amount of paint from your paint tray. Not too much, not too little.
Step 3: Gently roll over the streaky area using light, even pressure. Use long, smooth strokes in one direction.
Step 4: Blend the wet paint into the surrounding area. The goal is to redistribute the paint evenly.
Step 5: Step back and check from different angles. Look at the wall from the side to catch any remaining imperfections.
Step 6: If needed, make one final light pass with your roller to create a streak free finish.
Fixing Dried Paint Streaks
Dried streaks require more work but remain completely fixable.
Step 1: Let the paint cure completely. Wait at least 24 hours, preferably longer. Sanding too soon can damage the finish.
Step 2: Lightly sand the streaked areas with fine grit sandpaper. Use gentle circular motions. Your goal is smoothing the surface, not removing all the paint. Focus on the raised edges and rough spots.
Step 3: Wipe the sanded area with a tack cloth to remove all dust. Any dust left behind will create new streaks when you repaint.
Step 4: If you sanded through to the primer or wall, apply a thin coat of primer to those spots. Let it dry completely.
Step 5: Load your brush or roller with paint. For small areas, a brush works better. For larger sections, use your roller.
Step 6: Apply paint using smooth, even strokes. Match the direction of your original paint application. Apply light pressure and let the tool do the work.
Step 7: Feather the edges by gradually reducing pressure as you move away from the repaired area. This blends the new paint seamlessly into the old.
Step 8: Allow this coat of paint to dry completely. Check the results in good lighting.
Step 9: Apply a second coat if needed. Most fixes require two thin coats for perfect coverage. Thin coats dry faster and smoother than one thick coat.
How to Prevent Paint Streaks: Expert Tips
Prevention beats fixing problems after they happen. Follow these professional techniques.
- Use the W Pattern: When using a roller or brush, apply paint in a W or M pattern first. Then fill in the pattern with horizontal strokes. This technique distributes paint evenly and prevents roller marks from forming. The pattern ensures you’re not overworking any single area.
- Maintain Consistent Pressure: Too much pressure squeezes excess paint from your roller edges, creating lines. Too little pressure leaves thin, streaky coverage. Find the sweet spot where the paint flows smoothly without forcing it.
- Keep a Wet Edge: Always paint into wet areas before they dry. This prevents lap marks where dry and wet paint meet. Work in sections but complete each section quickly. Plan your painting path before you start painting.
- Load Tools Properly: Dip your roller about halfway into the paint tray. Roll it back and forth on the tray’s ridged section to distribute paint evenly and remove excess. For brushes, dip only the bottom third of the bristles. Tap off excess rather than wiping it on the can edge.
- Paint in One Direction: For the final coat, make all your finishing strokes go the same direction. This creates a uniform texture that reflects light consistently. Most painters finish with vertical strokes from ceiling to floor.
- Control Your Environment: Keep room temperature between 50-85°F. Avoid painting in direct sunlight or with fans blowing on wet paint. These conditions cause fast drying that leads to drips and prevent proper leveling.
- Choose Quality Over Price: High quality paint contains more pigment and better binders. It flows smoother, levels better, and covers evenly. You’ll need fewer coats and get better results. The same applies to your tools. A quality roller costs more but eliminates most streaking problems.
- Let Each Coat Dry Fully: Applying paint before the previous coat dries causes the layers to mix, creating streaks and an uneven finish. Follow the manufacturer’s recommended drying time. Usually 2-4 hours between coats works well, but check your paint can.
- Match Nap to Surface: Smooth walls need a 3/8 inch nap roller. Slightly textured walls work best with 1/2 inch. Heavily textured surfaces require 3/4 to 1 inch naps. The right nap size helps you avoid streaks when painting with a roller.
Common Mistakes That Create Streaks
Learn from these frequent errors so you don’t repeat them.
- Rushing the Job: Taking shortcuts always shows in the final result. Proper interior painting requires patience at every step. Allow time for prep, drying between coats, and careful application.
- Repainting Too Soon: Going over areas before they dry disturbs the paint film and creates texture problems. Once you paint a section, leave it alone until it’s completely dry.
- Using Old Paint: Paint sitting in your garage for years separates and degrades. Old paint doesn’t flow properly and causes streaking paint problems. Mix thoroughly or buy fresh.
- Skipping Primer: Bare drywall absorbs paint unevenly without primer. Dark colors show through light paint. Stains bleed through. Primer solves all these issues and creates a stable base.
- Wrong Sheen for the Space: High-gloss finishes highlight every imperfection and show streaks more than flat paint. Use flat or eggshell paint in areas where walls aren’t perfect. Save gloss for trim and cabinets.
When to Repaint Completely
Sometimes fixing individual streaks isn’t worth the effort. Consider repainting the entire wall if:
- Streaks cover more than 30% of the surface
- The paint color doesn’t match when you try touch-ups
- You used extremely poor quality paint originally
- Multiple types of problems exist (streaks, drips, and uneven coverage)
- Previous attempts at fixing made things worse
A fresh start with proper technique often takes less time than endless touch-ups.
Say Goodbye to Streaks with SD Custom Painting Company
You now know exactly how to fix paint streaks on walls and prevent them from happening again. The key lies in proper preparation, quality materials, and patient application. Whether you’re tackling interior painting or need exterior painting services in San Diego, these principles apply.
Many homeowners find that DIY painting projects take more time and effort than expected. If you’re looking for flawless results without the hassle, San Diego Custom Painting delivers professional quality that lasts. Our experienced team handles everything from surface prep to the final coat, ensuring smooth, streak free walls every time. We use premium materials and proven techniques that eliminate common painting problems before they start.
Contact us today for a free estimate and see why San Diego homeowners trust us for all their painting needs.
FAQs About Fixing Paint Streaks
Can I fix paint streaks without repainting the entire wall?
Yes, if you catch them early or the streaks are isolated. Fresh streaks smooth out easily with a roller. Dried streaks require sanding and touch-up paint. The key is blending the repair seamlessly into the surrounding area. Feather your edges and match your technique to the original application.
Why do my walls look streaky after two coats?
Several factors cause this. You might be using poor quality paint that lacks proper coverage. Applying paint over dirty or unprepared walls prevents even adhesion. Using the wrong roller nap size for your wall texture also creates streaks. Finally, not allowing enough drying time between coats lets the layers mix unevenly.
How long should I wait before fixing dried paint streaks?
Wait at least 24 hours, preferably 48-72 hours. Paint needs time to fully cure before you can sand it. Sanding too early damages the paint film and makes things worse. The wait time depends on humidity, temperature, and paint type. Oil-based paints need even longer.
What’s the best roller to avoid streaks?
Lambskin or high-quality microfiber rollers give the smoothest results. They hold more paint and release it evenly compared to cheap foam or synthetic rollers. Match the nap size to your wall texture. For most interior walls, a 3/8 inch to 1/2 inch nap works perfectly.
Do I need to sand between coats to prevent streaks?
No, sanding between coats isn’t necessary for preventing streaks. Sand only if you have drips, dust particles, or other defects in the dried paint. For normal painting, simply ensure each coat dries completely before applying paint again. Light sanding helps if your first coat feels rough or has imperfections.
Can bad lighting cause paint to look streaky?
Bad lighting can make streaks more visible, but it doesn’t cause them. Paint reflects light based on its texture and thickness. Uneven application shows up clearly under raking light (light hitting the wall at an angle). Always inspect your work from multiple angles and in good lighting as you paint.
Will a second coat hide all the streaks?
Not always. If the first coat has raised roller marks or heavy texture, the second coat follows that same texture. You must fix the underlying problem first. Sand down any raised areas, ensure even coverage, and use proper technique on subsequent coats. Two thin, properly applied coats beat one thick coat every time.


