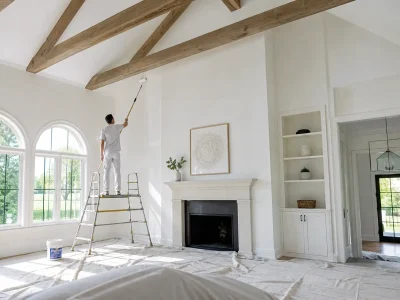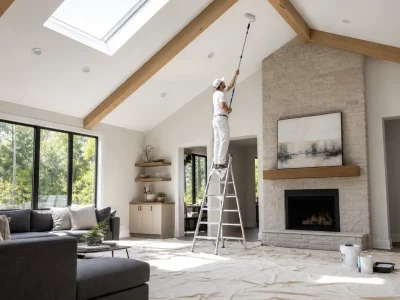

Yes, you absolutely can! However, your success will depend largely on how well you prepare the surface first.
Polyurethane is a strong, durable coating designed to protect wood, and that same toughness makes it difficult for paint to penetrate. Many people try to paint over wood, furniture, cabinets, or door trim without enough surface preparation and regret it days later when the paint flakes, peels, or blisters. This guide covers everything you need to know about polyurethane, primer, and paint to get a finish that lasts.
Table of Contents
Toggle
How to Identify a Polyurethane Finish
Before you start, figure out what type of finish is actually on the surface. Varnish, shellac, lacquer, and polyurethane can all look similar, but each requires different treatment.
To test an unused or hidden area:
- Rub with a little denatured alcohol. If the finish softens or flattens, it’s likely shellac.
- Try acetone. A reaction suggests lacquer or another softer finish.
- No reaction to either? You likely have polyurethane. Urethane finishes typically range from clear to slightly yellow or brown and often look and feel like a thick, hard, shiny plastic coating over the wood. It’s commonly found on furniture, handrails, moldings, floors, and doorknobs.
Identifying the finish correctly makes the rest of the process and your paint choice much easier.
Oil-Based vs. Water-Based Polyurethane
- Water-based polyurethane dries clear and is generally less durable than oil-based versions.
- Oil-based polyurethane dries with an amber tint and is more durable, but tends to be greasier and dirtier, so it needs more thorough cleaning before painting.
Most prep steps are the same regardless of which type you’re working with. One exception: on water-based finishes, use dry sanding methods, since moisture can cause the wood grain to lift.
Why Paint Doesn't Stick to Polyurethane
Polyurethane creates a smooth, sealed surface that resists water, stains, and unfortunately paint. If you spray or brush paint directly onto it without prep, the paint will sit on top rather than bond, and it will eventually peel, scratch, or flake off.
That’s why you sand the surface first: not to make it visibly rough, but to create tiny scratches the primer can grip. The primer then acts as a bonding layer between the paint and the polyurethane. Skip either step, and even premium paint will fail within a few months.
Common Reasons Paint Fails
Most paint failures on polyurethane come down to skipped or rushed prep work, including:
- Not cleaning the surface thoroughly
- Sanding too little (or not at all)
- Using the wrong primer
- Applying paint too thick, or in too many layers
- Not allowing enough drying time between coats
Avoid these mistakes and your finish will hold up far longer.
Step-by-Step Process for Painting Over Polyurethane
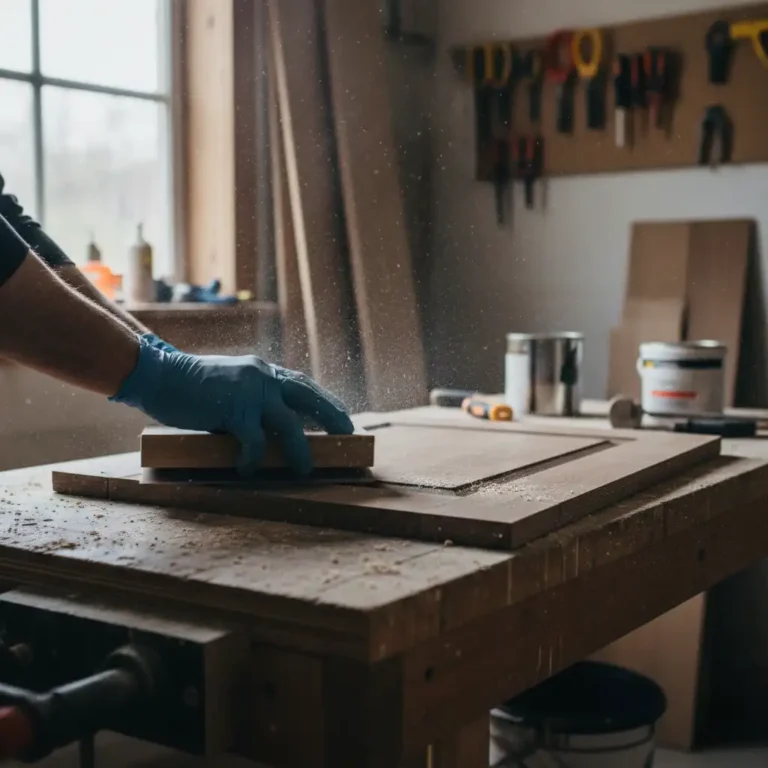
Step 1: Clean the Surface Completely
Wipe away all grease, wax, and dirt before, during, and after any scraping. For cabinets, furniture, and molding, use a degreaser, mineral spirits, or a heavily diluted dish soap solution with a lint-free cloth, then dry thoroughly. Even small touch-up areas need this step.
Step 2: Sand the Surface
The goal is to remove the surface’s smoothness so paint has something to grip.
For flat surfaces:
- Start with 120–150 grit sandpaper (coarse) to break the sheen.
- Finish with 180–220 grit sandpaper for a smoother, paint-ready texture.
For delicate details and fine furniture: use a sanding sponge or a liquid deglosser instead of sandpaper. You don’t need to sand through the polyurethane entirely just dull it enough for the primer to adhere.
Step 3: Remove the Dust
Sanding leaves behind fine dust that can ruin your paint job if left on the surface. Remove it completely with a tack cloth, vacuum, or microfiber cloth, and let the surface dry before priming.
Step 4: Apply the Right Primer
Choose a primer based on your project and surface:
Primer Type | Best Use |
Oil-Based Bonding Primer | Cabinets, furniture, trim |
Shellac-Based Primer | Heavy stains or tannins |
Water-Based Adhesion Primer | Low-odor projects |
Apply a thin, even coat and let it dry completely before painting.
Choosing the Best Paint for Polyurethane Surfaces
Once the surface is properly prepped, several paint types will work well:
- Acrylic latex is the most popular choice, affordable, easy to apply, low-odor, and durable. With a good adhesion primer, latex bonds reliably to a polyurethane-coated surface.
- Oil-based enamel takes longer to cure but dries into a very hard, durable finish. It’s a common choice for kitchens.
- Chalk paint can also be used, though it doesn’t bond as strongly as a dedicated primer would, so adhesion may be less reliable long-term.
Using Spray Paint
Spray paint is a good option for trim, furniture, and smaller projects, since it leaves a smoother finish without visible brushstrokes.
The prep steps are the same as above:
- Clean the surface thoroughly and let it dry.
- Degloss or sand to remove the sheen.
- Apply primer and let it dry fully.
- Apply 3–4 thin coats of spray paint, holding the can 8–12 inches (20–30 cm) from the surface and using light, even passes.
Best Paint Sheens for Different Projects
- Satin: Great for trim and molding hides minor imperfections well.
- Semi-gloss: A durable, easy-to-clean option for kitchen cabinets, furniture, and doors.
- Matte: Gives a modern look but shows dirt and grease more easily.
- High gloss: Extremely durable but highlights every surface flaw, so it demands the most careful prep.
Choose your sheen based on how much wear, cleaning, and handling the surface will see — it affects both appearance and long-term durability.
Surface-Specific Tips
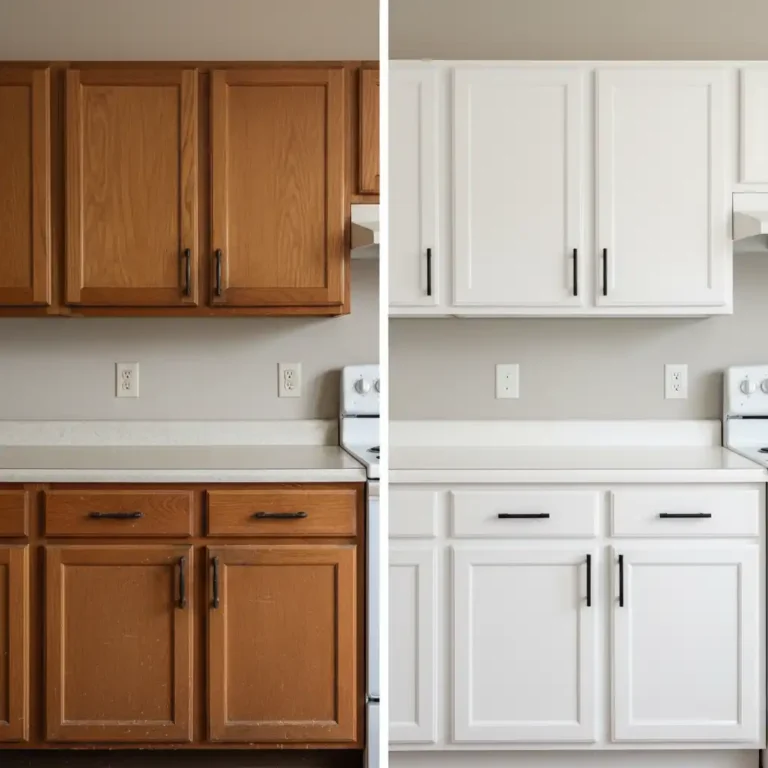
- Cabinets: Remove hardware and number the doors before starting. Apply at least two coats of a good bonding primer.
- Furniture: Liquid deglossers work well here since they reach into detailed corners and joints that are hard to sand.
- Trim and Doors: Use thin coats and a high-quality brush for the smoothest, least noticeable finish.
- Hardwood Floors: Use a heavy-duty, floor-rated primer and paint, since floors take much more foot traffic and wear.
DIY or Hire a Professional?
Many homeowners can comfortably handle smaller jobs, furniture, trim, and small cabinet doors, for example. Larger or more complex projects, like full kitchen cabinets or hardwood floors, take significantly more time, effort, and experience. A professional will also bring the right tools and techniques for a more durable, polished result.
Either way, don’t skip the prep. That’s what determines whether the finish lasts.
Conclusion
So, can you paint over polyurethane? Yes as long as you properly prepare the surface. Clean it, sand it, prime it, and apply thin, even coats of paint.
Whether you’re refinishing cabinets, furniture, trim, or doors, taking the time to do the prep work right means your finish will last for years. Skip the shortcuts, and you’ll likely be dealing with peeling paint and a more expensive redo down the line.
FAQs
Can I paint directly on polyurethane?
You can, but it won’t last. Sanding and priming are what give the paint the adhesion it needs to stay put.
Does latex paint work over polyurethane?
Yes. Once the surface is lightly sanded (or deglossed) and primed, latex paint adheres well.
Can I skip sanding by using a deglosser instead?
Sometimes liquid deglossers can replace sanding on certain surfaces. That said, sanding generally creates the strongest bond.